
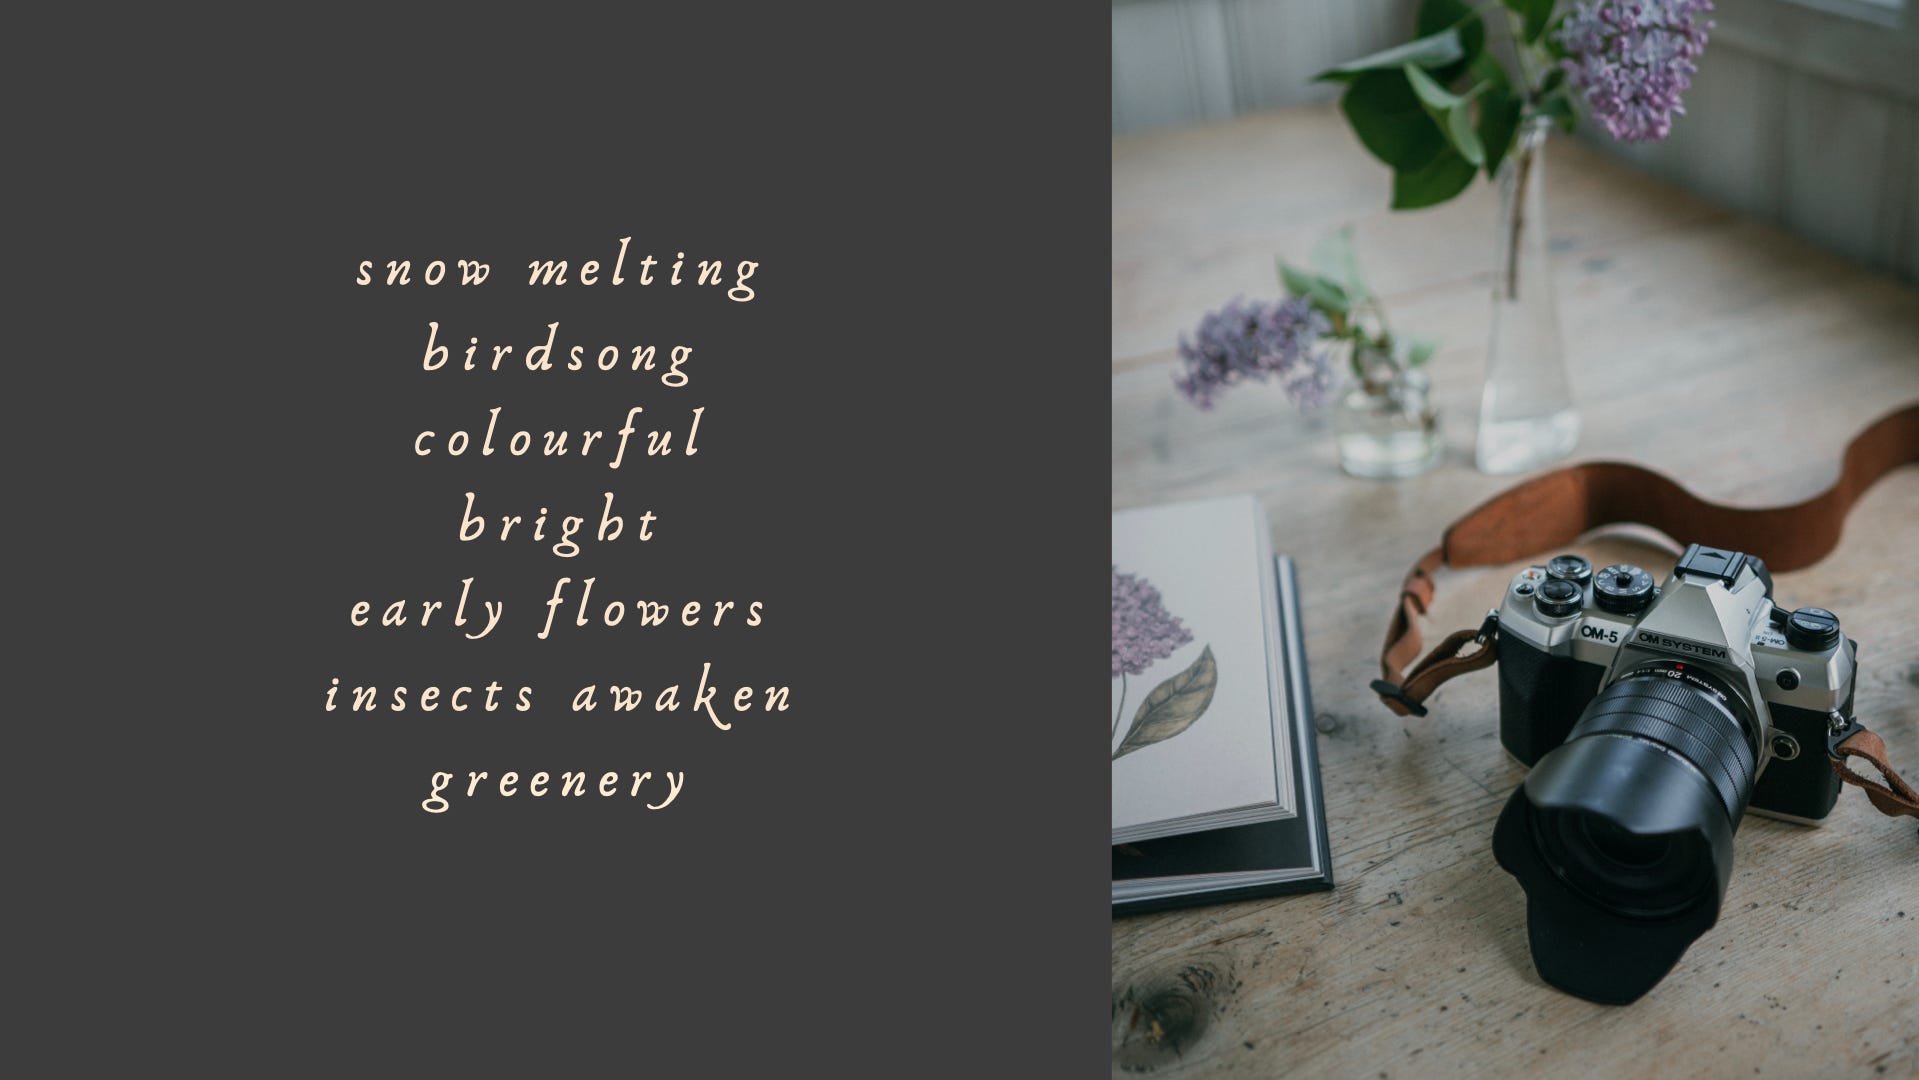
Spring Photography - Capturing the season
Creative tools and tips that help you photograph nature as she awakens

Last week I had the honor of hosting a live webinar together with OM System, where I talked about my favourite creative tips for capturing spring. In this post I wanted to write a bit more about the topics I covered.
A thing to note before we dive in to these creative tips and tools: These are not automatically “the right way” to take a picture. If you feel inclined to utilize these tips, you need to adapt them to fit your photographic style, and use them in a way that helps you tell the story you want to tell. That will look very different for everyone. In this article I share how I use them.
So take them, change them, and make them yours!
If you missed the webinar, it was recorded and is still available to watch:
If you like this kind of educational content and would like to show your support, an easy way is to buy me a coffee. It would mean a lot to me ♥︎
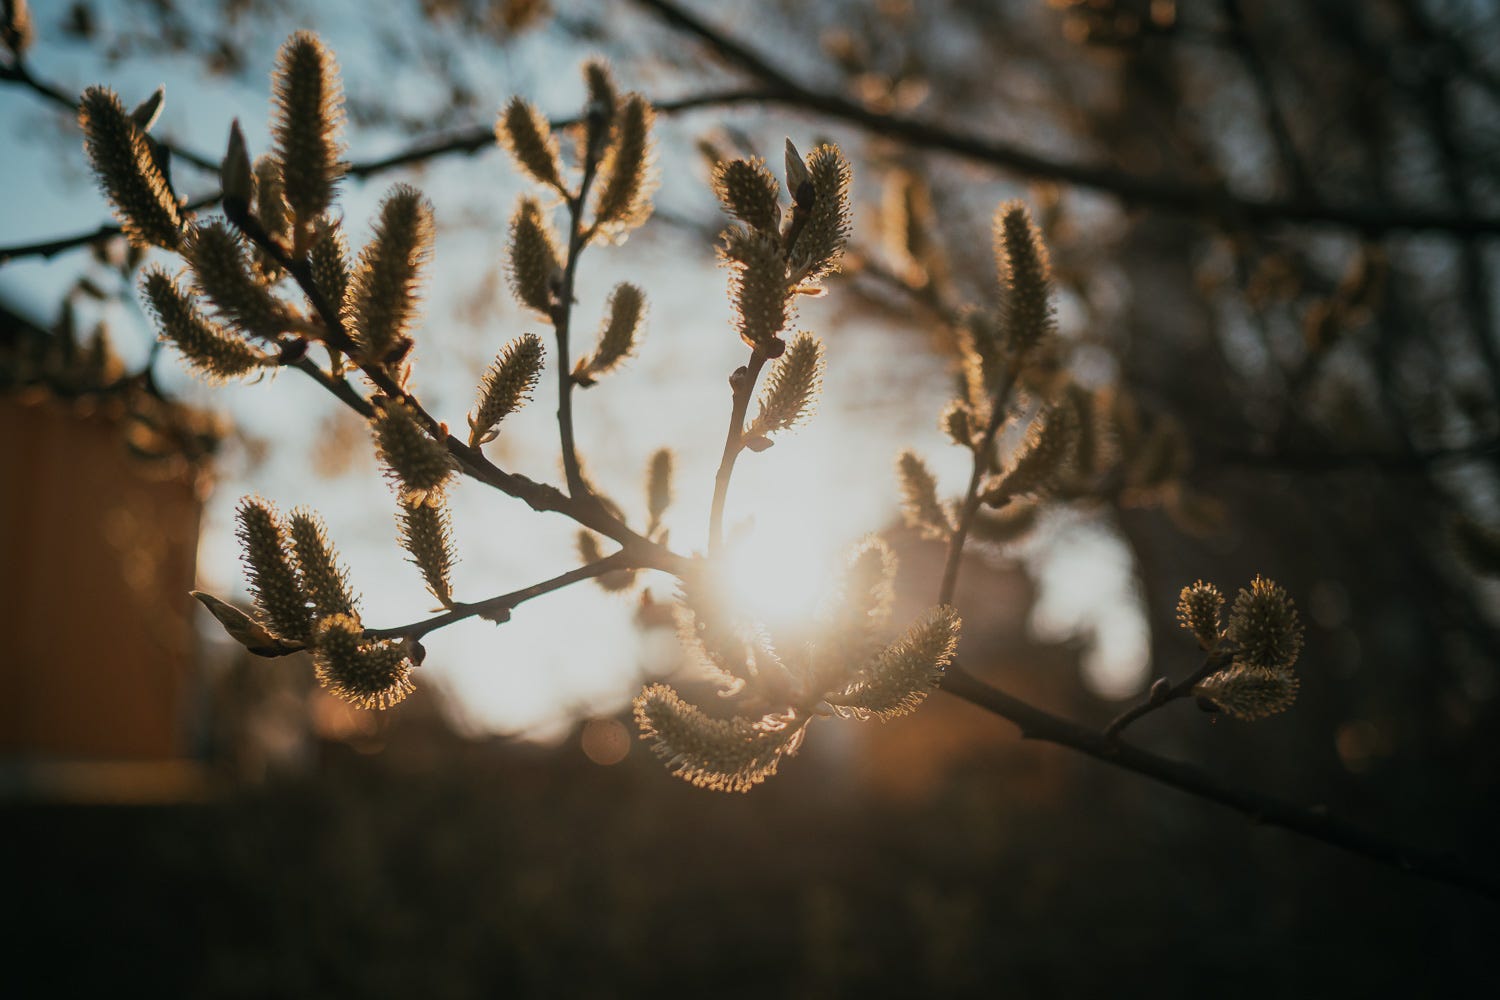
With winter coming to an end to the sound of snow dripping and birdsong, the days are growing longer and warmer. I even saw a butterfly the other day!
Each time a season shifts into another, I like to sit down and make a list of the things I associate with the new season. This helps me be aware of that subjects I want to capture, that tell the story of nature.
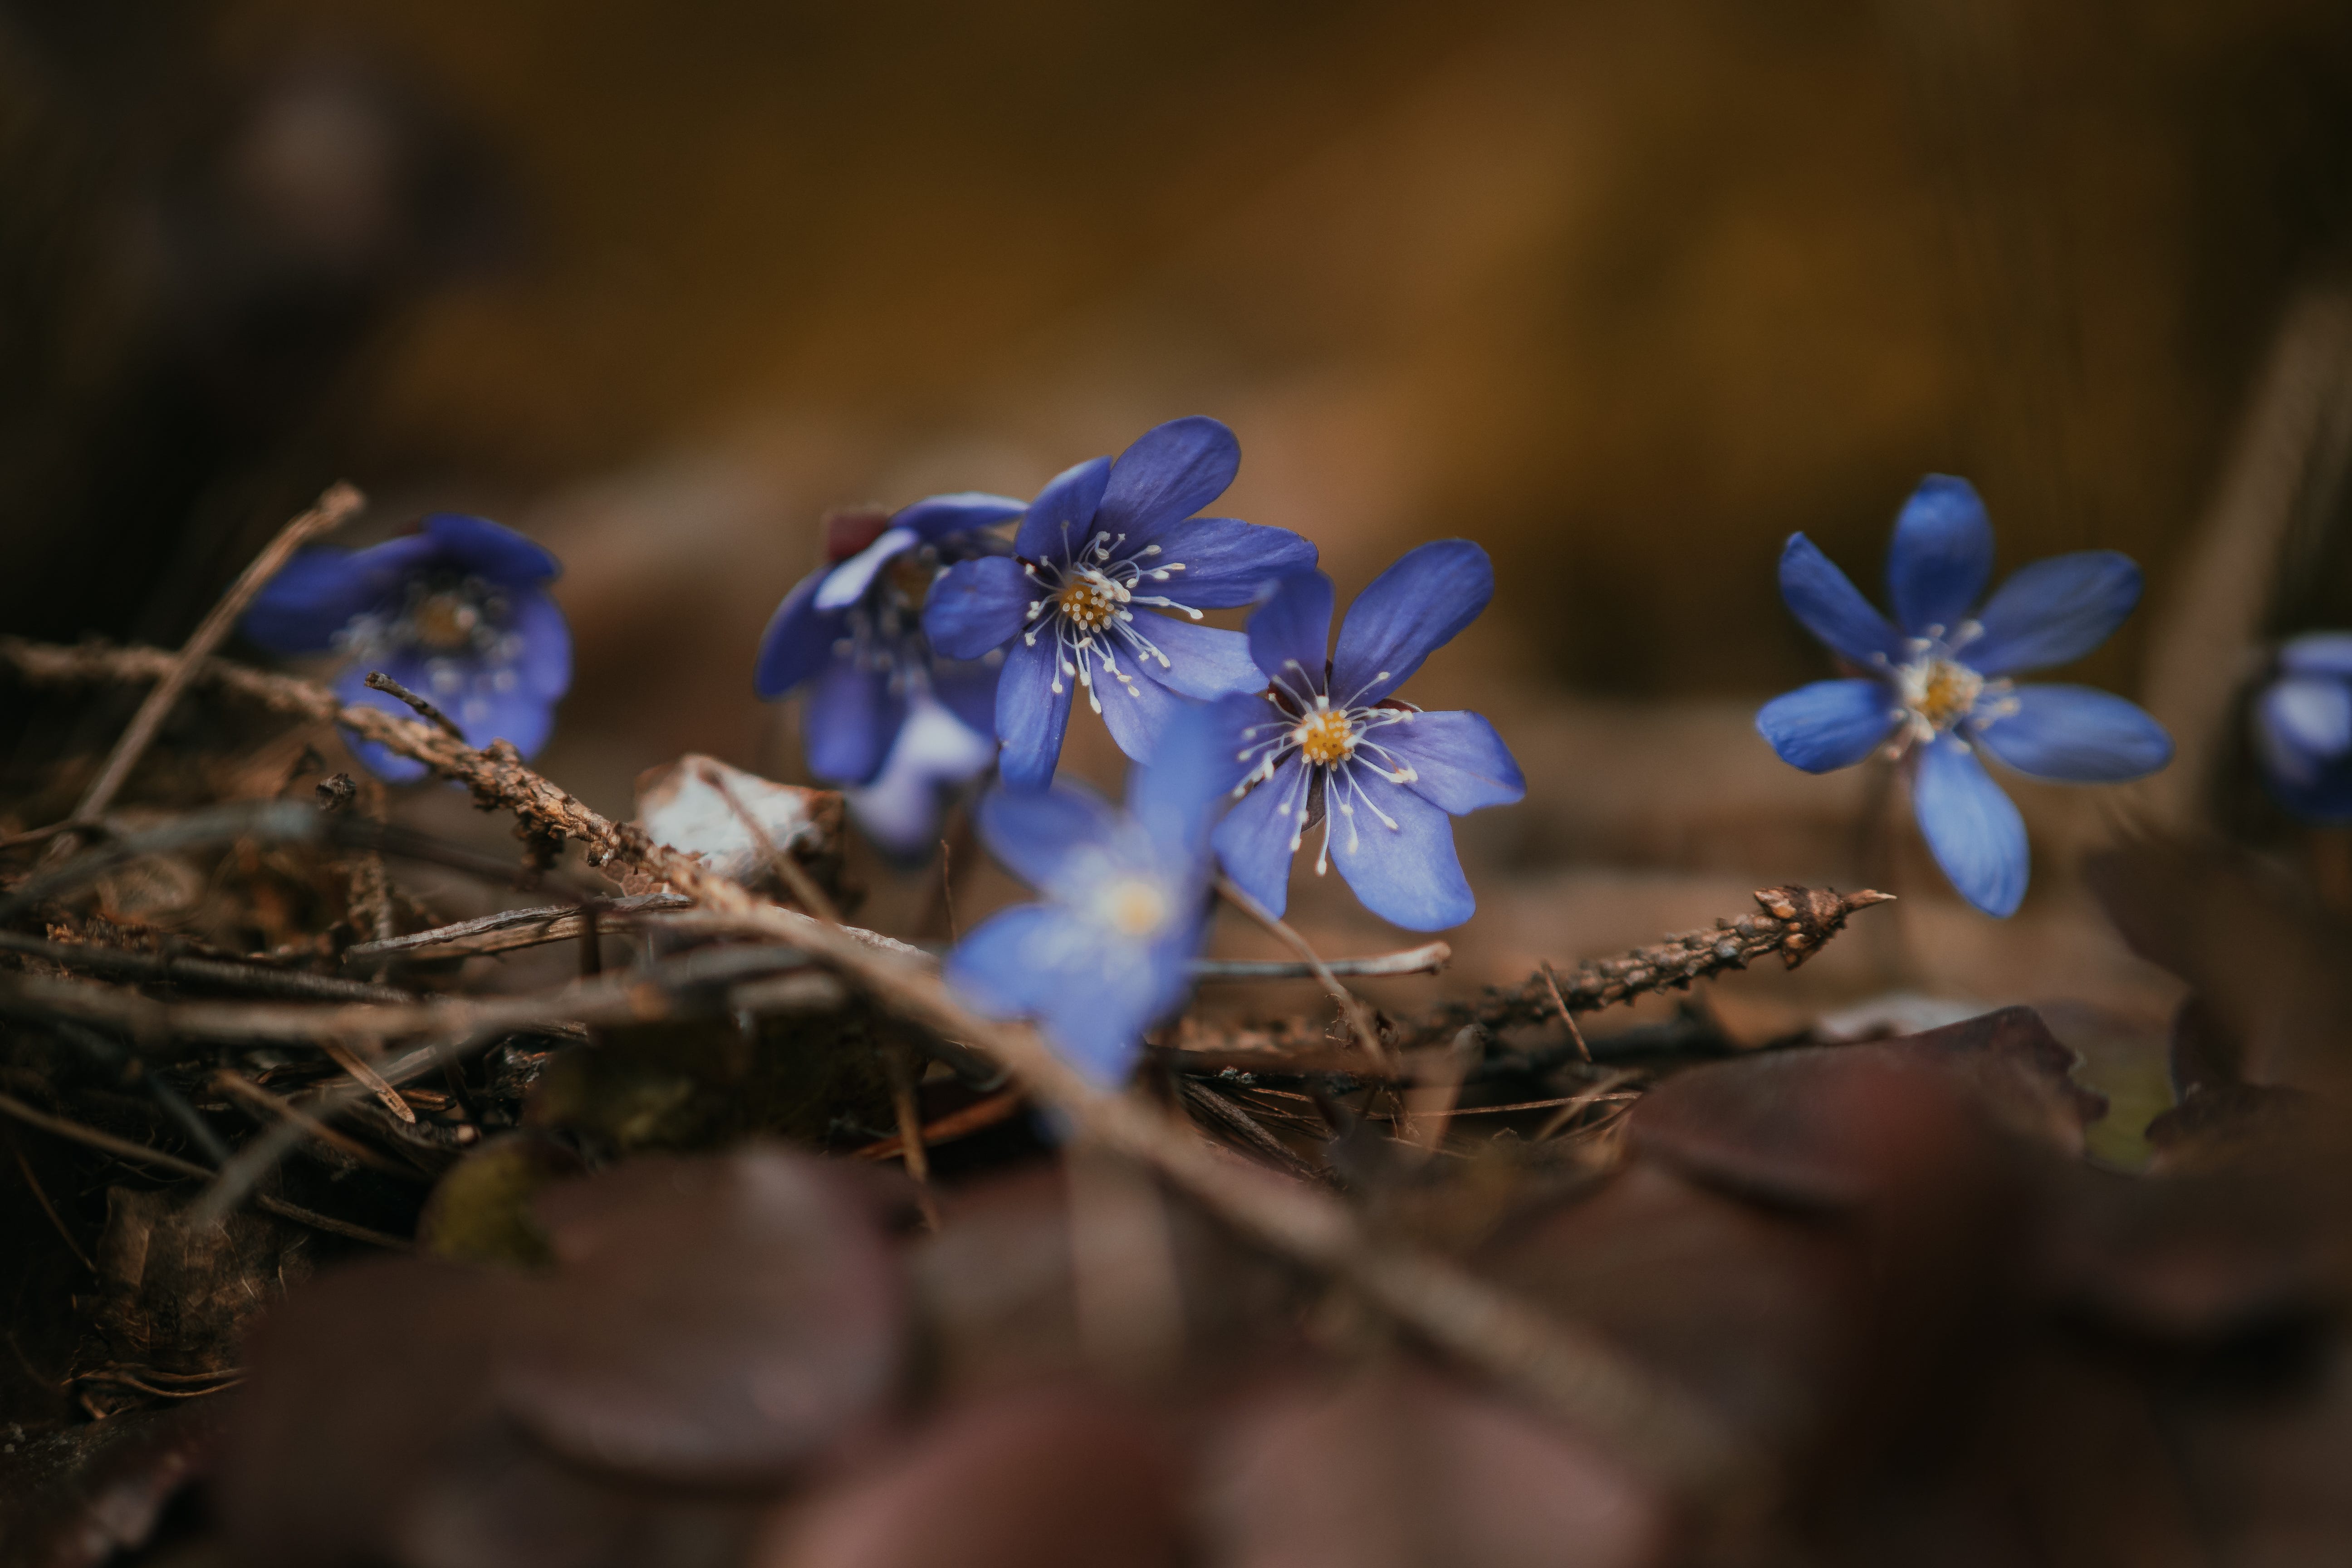
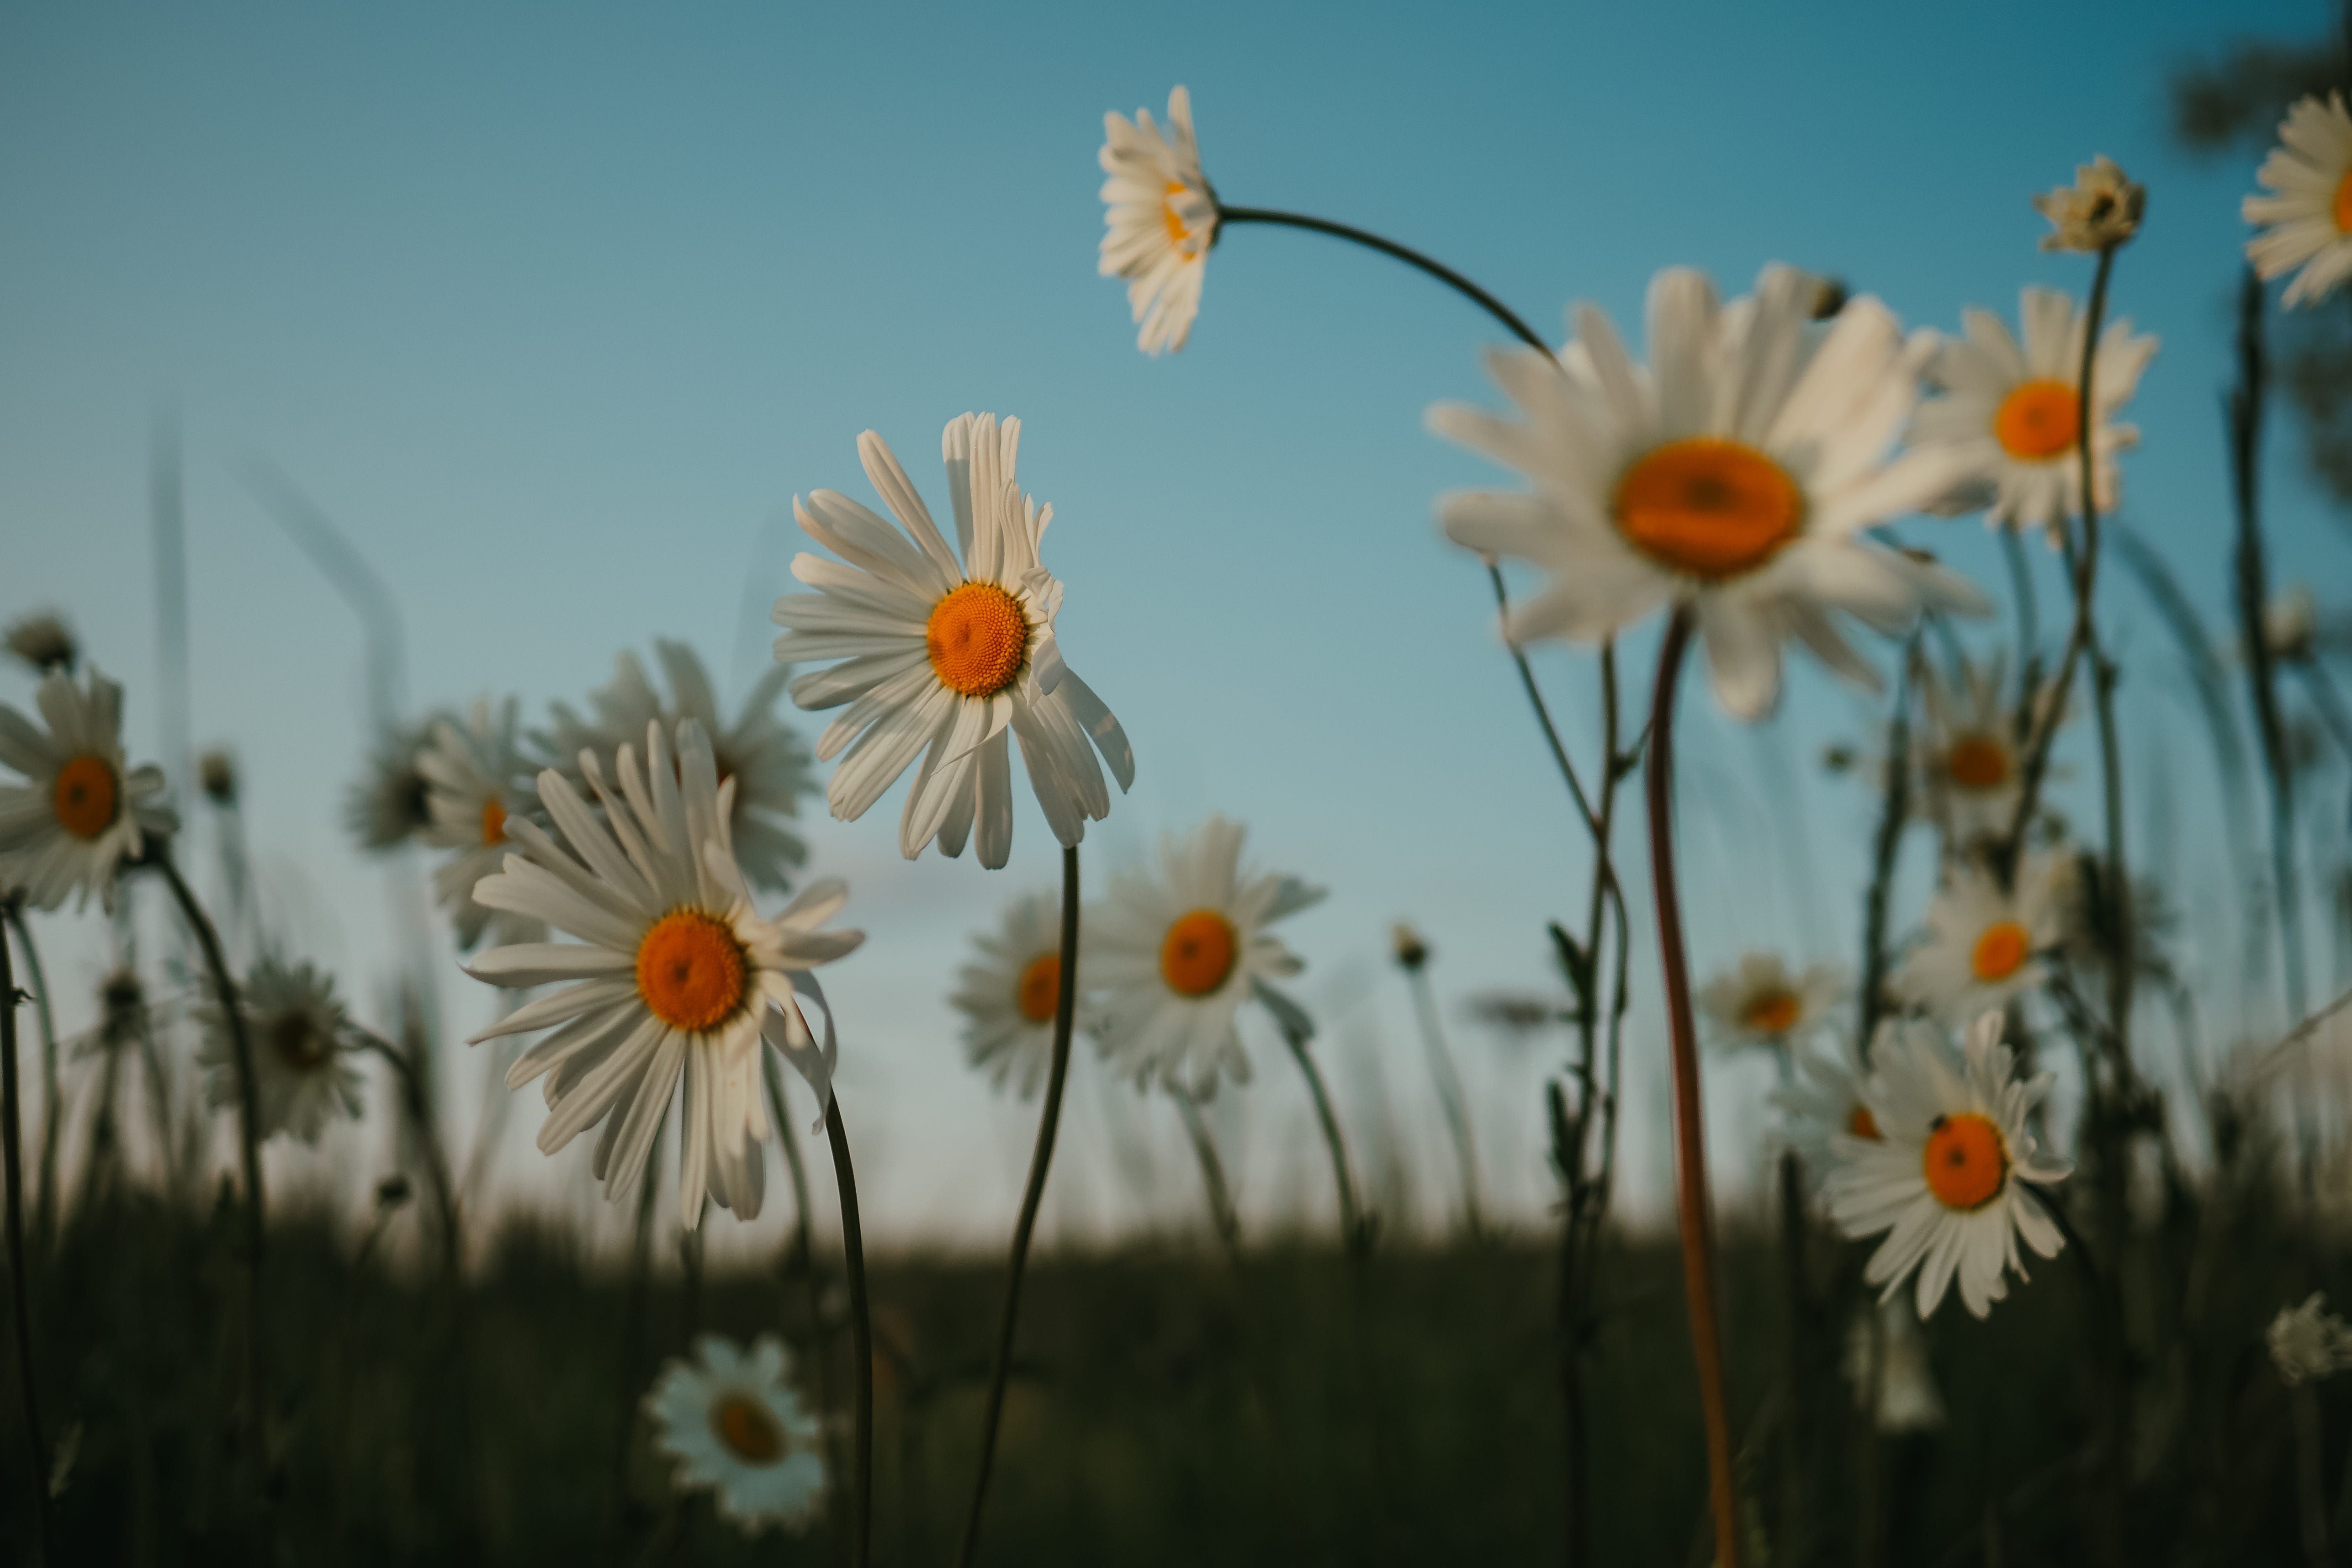
Nature awakens all around us
One of the most important things to remember, is that spring is arriving everywhere, and that you don’t have to travel far to capture compelling images. Most of these photos are taking within 5-10 minutes from my house.
My own garden, the nearby park, a ditch on the side of the road on my way to work or trees lining a street during an evening stroll. Whether you live in in the city or on the countryside, in a house or an apartment, spring can be found.
Because nature always finds a way.
Shoot in ‘good’ light
This is true for all photography, if your light is not good, it does not matter how great your subject is, or what gear you use or how well you have the settings dialed in - you won’t get a great photo.
But what is good light? It depends on a few parameters: Your subject, your style and the story you want to tell. But in most cases, really hars, strong light shining directly onto your subject is less ideal. Of course, not having enough light / it being really dark also is not good.
I’ve written an extensive post on light that you can read here:
Drawing with Light

The morning light shines in through the kitchen window and is filtered through my hair, giving it a warm tone and making it seem like a golden lens flare dancing in my peripheral vision. It puts a smile on my face.
For me, good light is soft, and warm. So I am mostly out shooting during golden hour, either around sunrise or sunset. The light just wraps around my subjects like a blanket and it makes everything look absolutely magical.
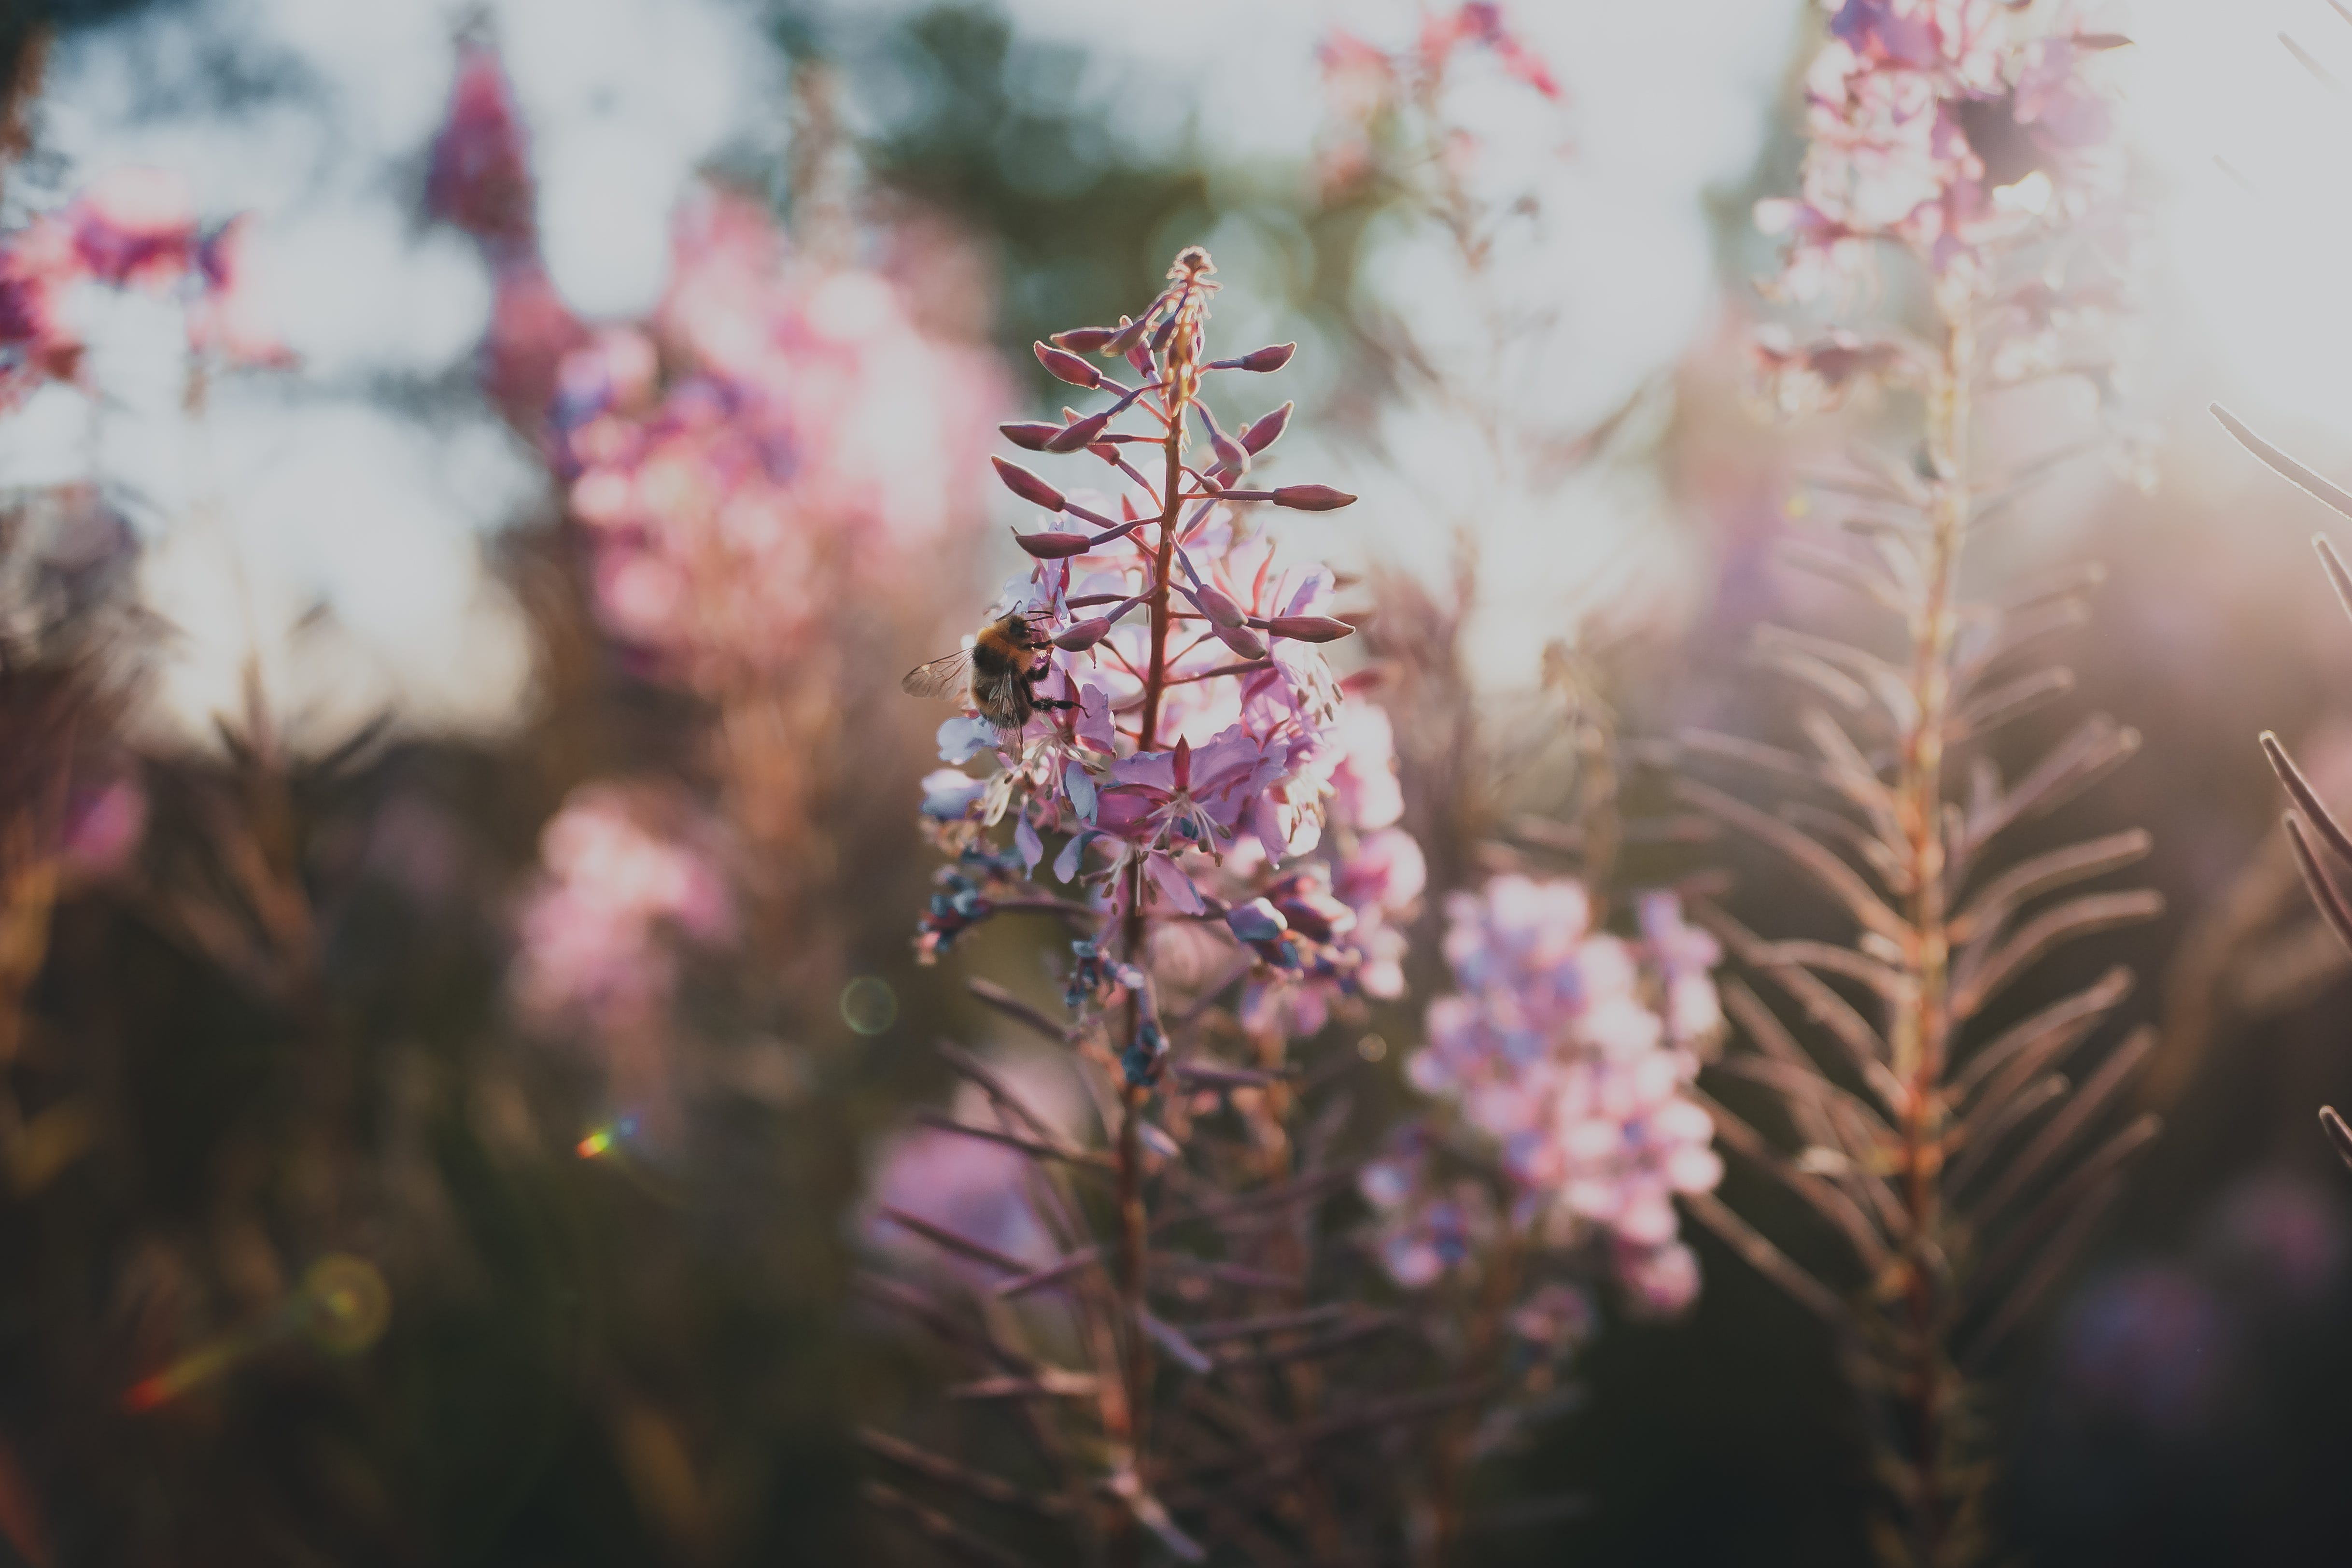

As you can see, I also lean heavily towards using backlight. I just love the look of it, and I am not afraid to get lensflares in my images - they’re gorgeous!
But, I understand you can’t always be out during sunrise or sunset. Sometimes all you have might be a walk during lunch, and then the sun sits high, it’s harsh and the shadows are strong. So what do we do? Well, I have a few tips up my sleeve that I’d like to share with you.
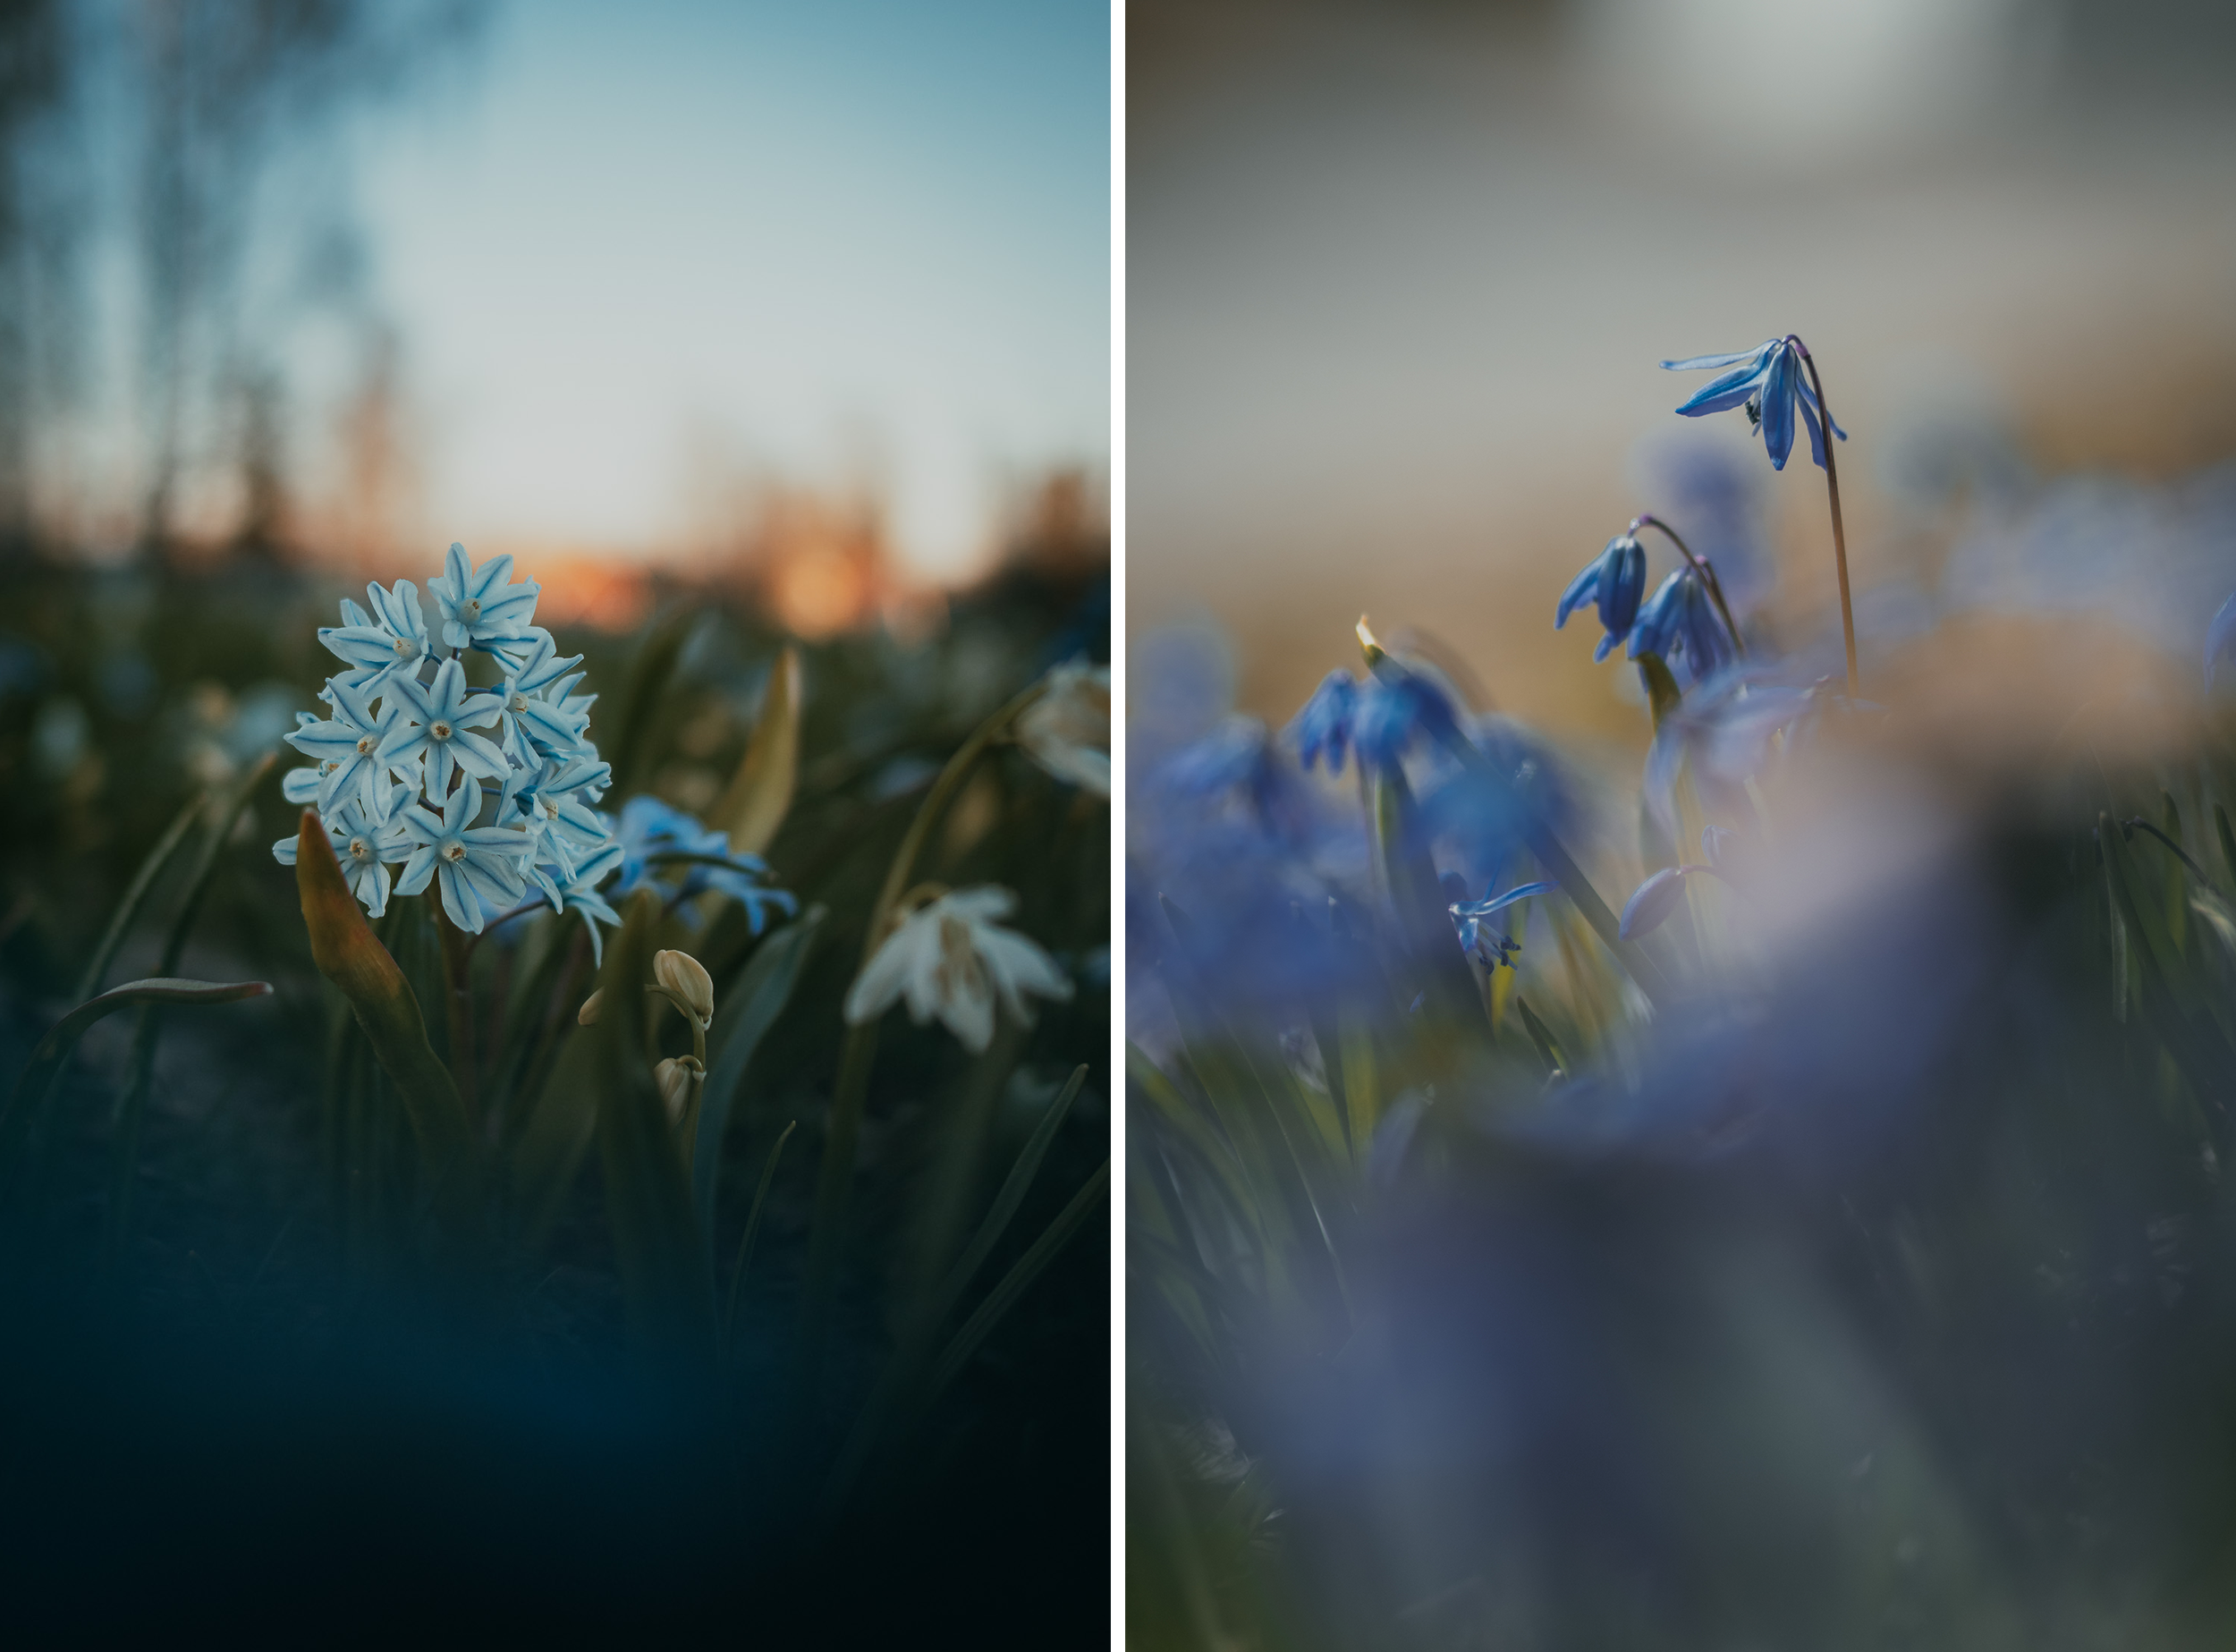
Shooting during harsh sunlight
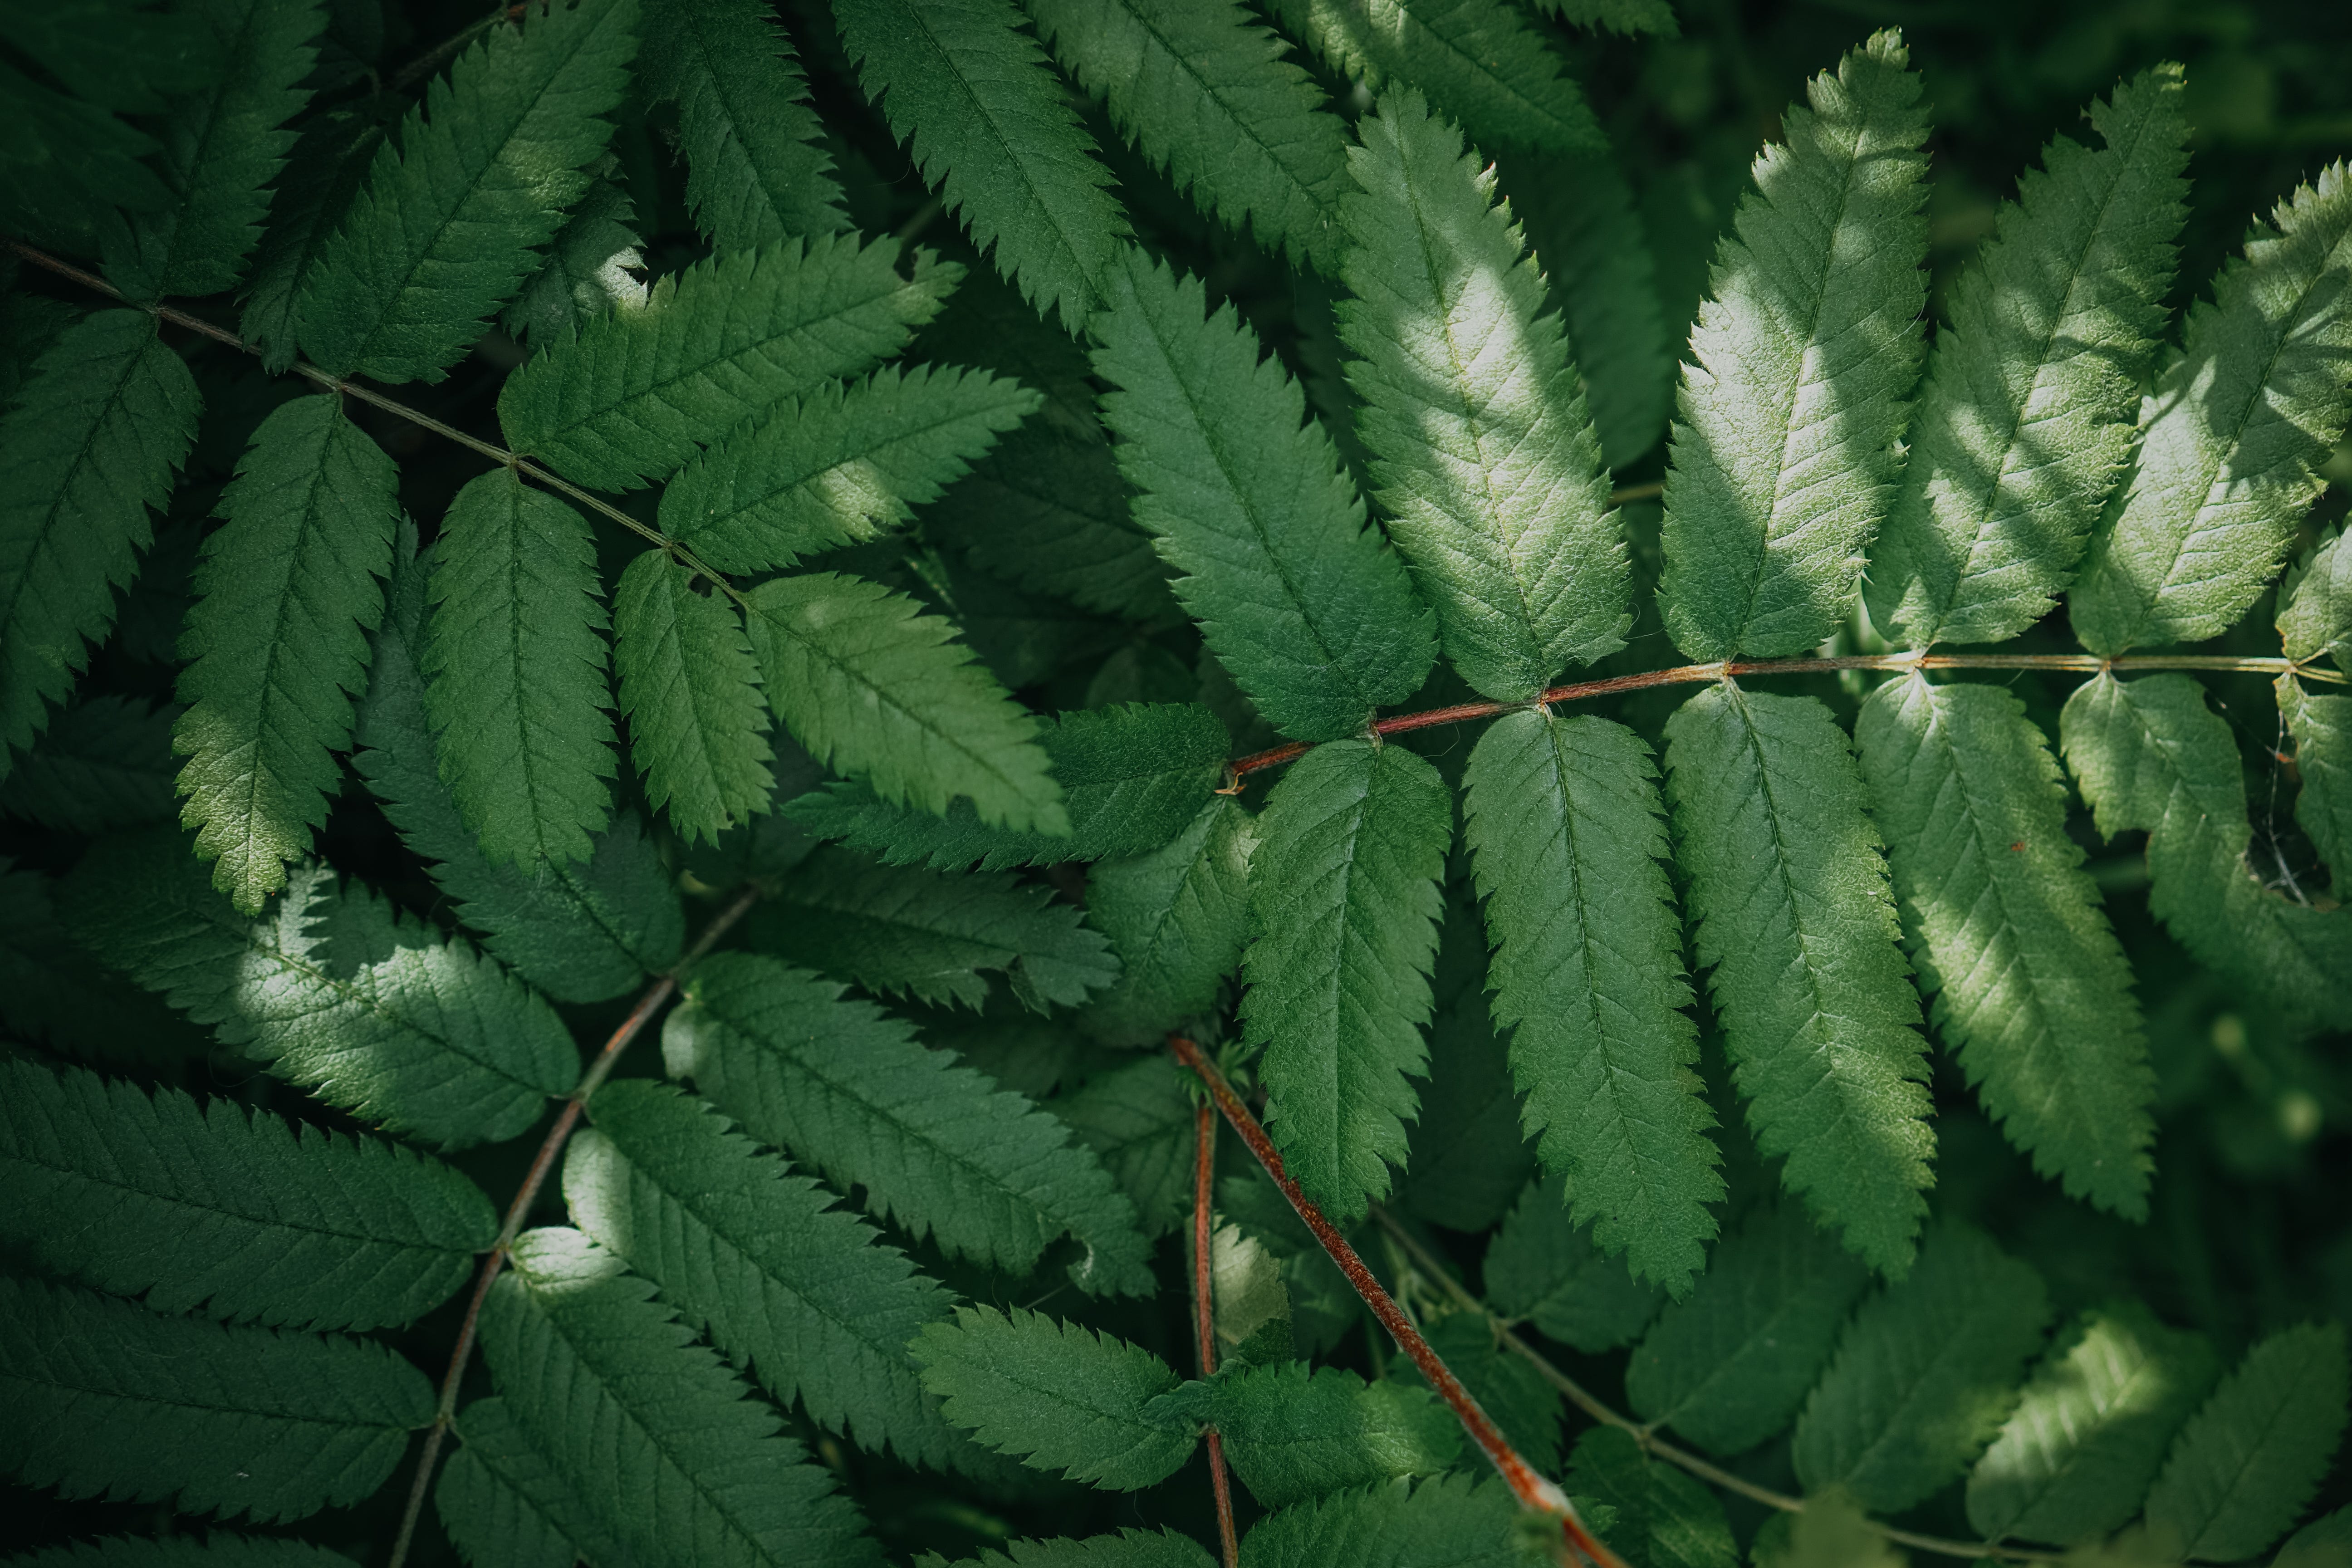
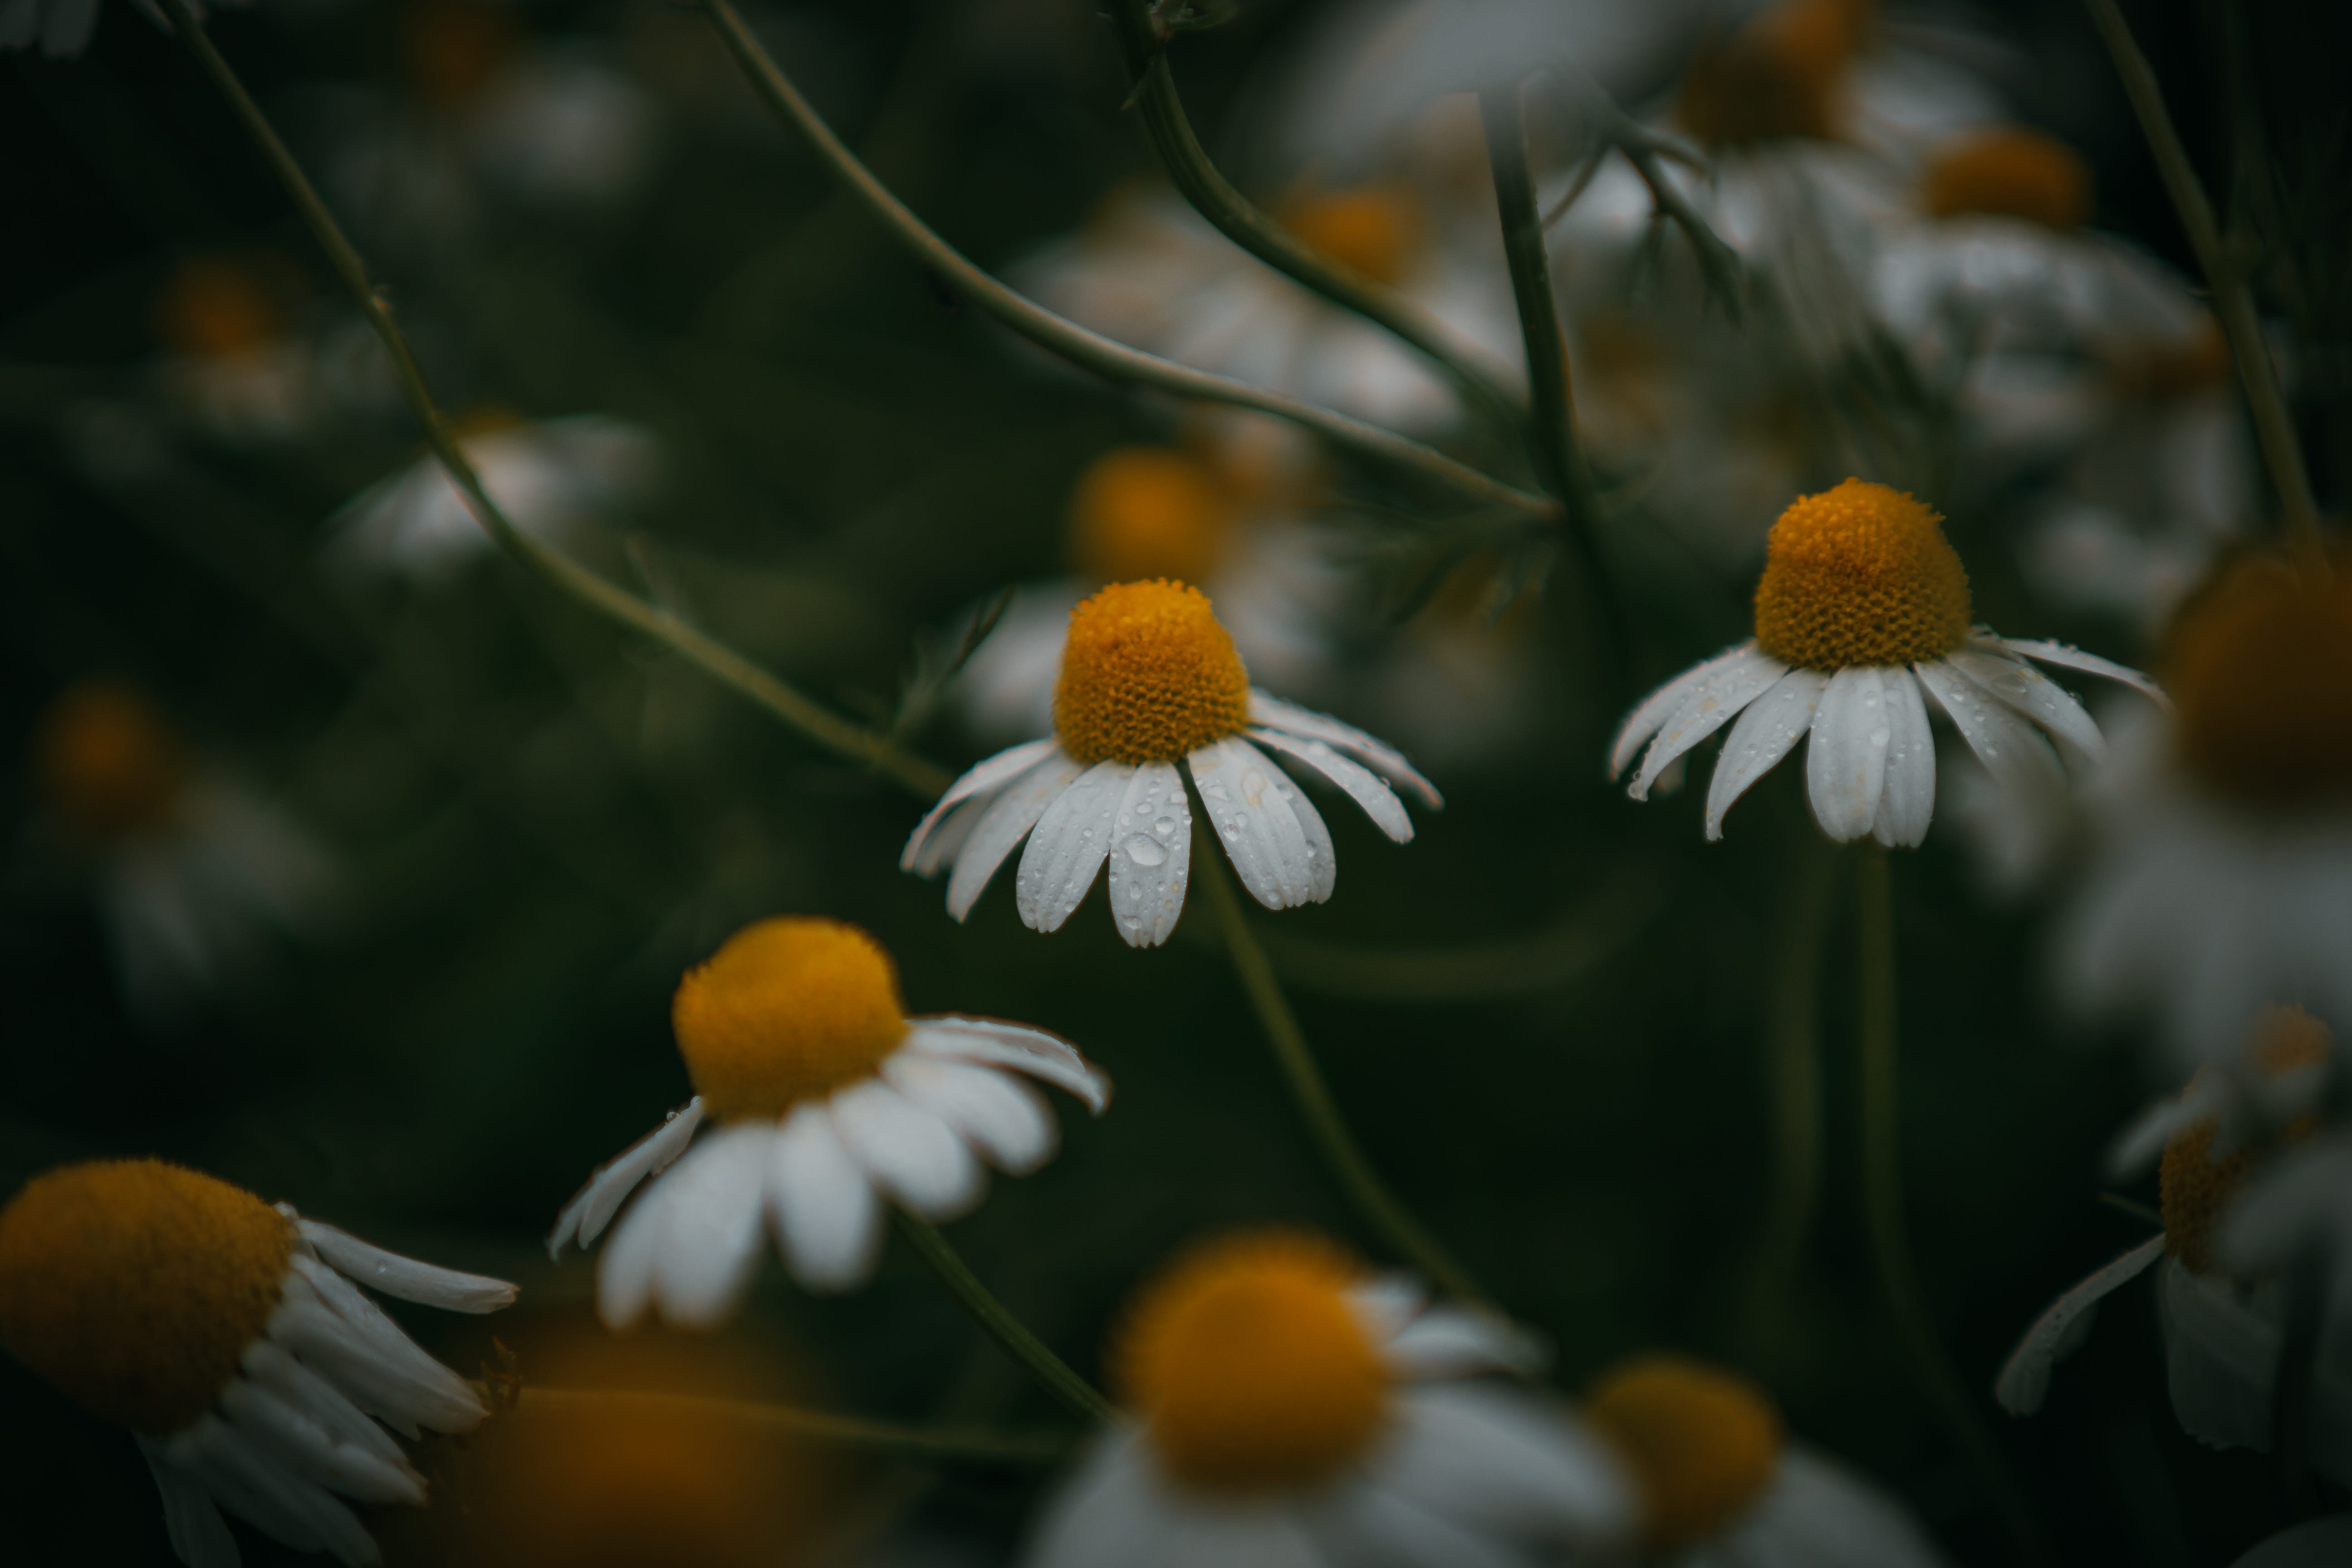
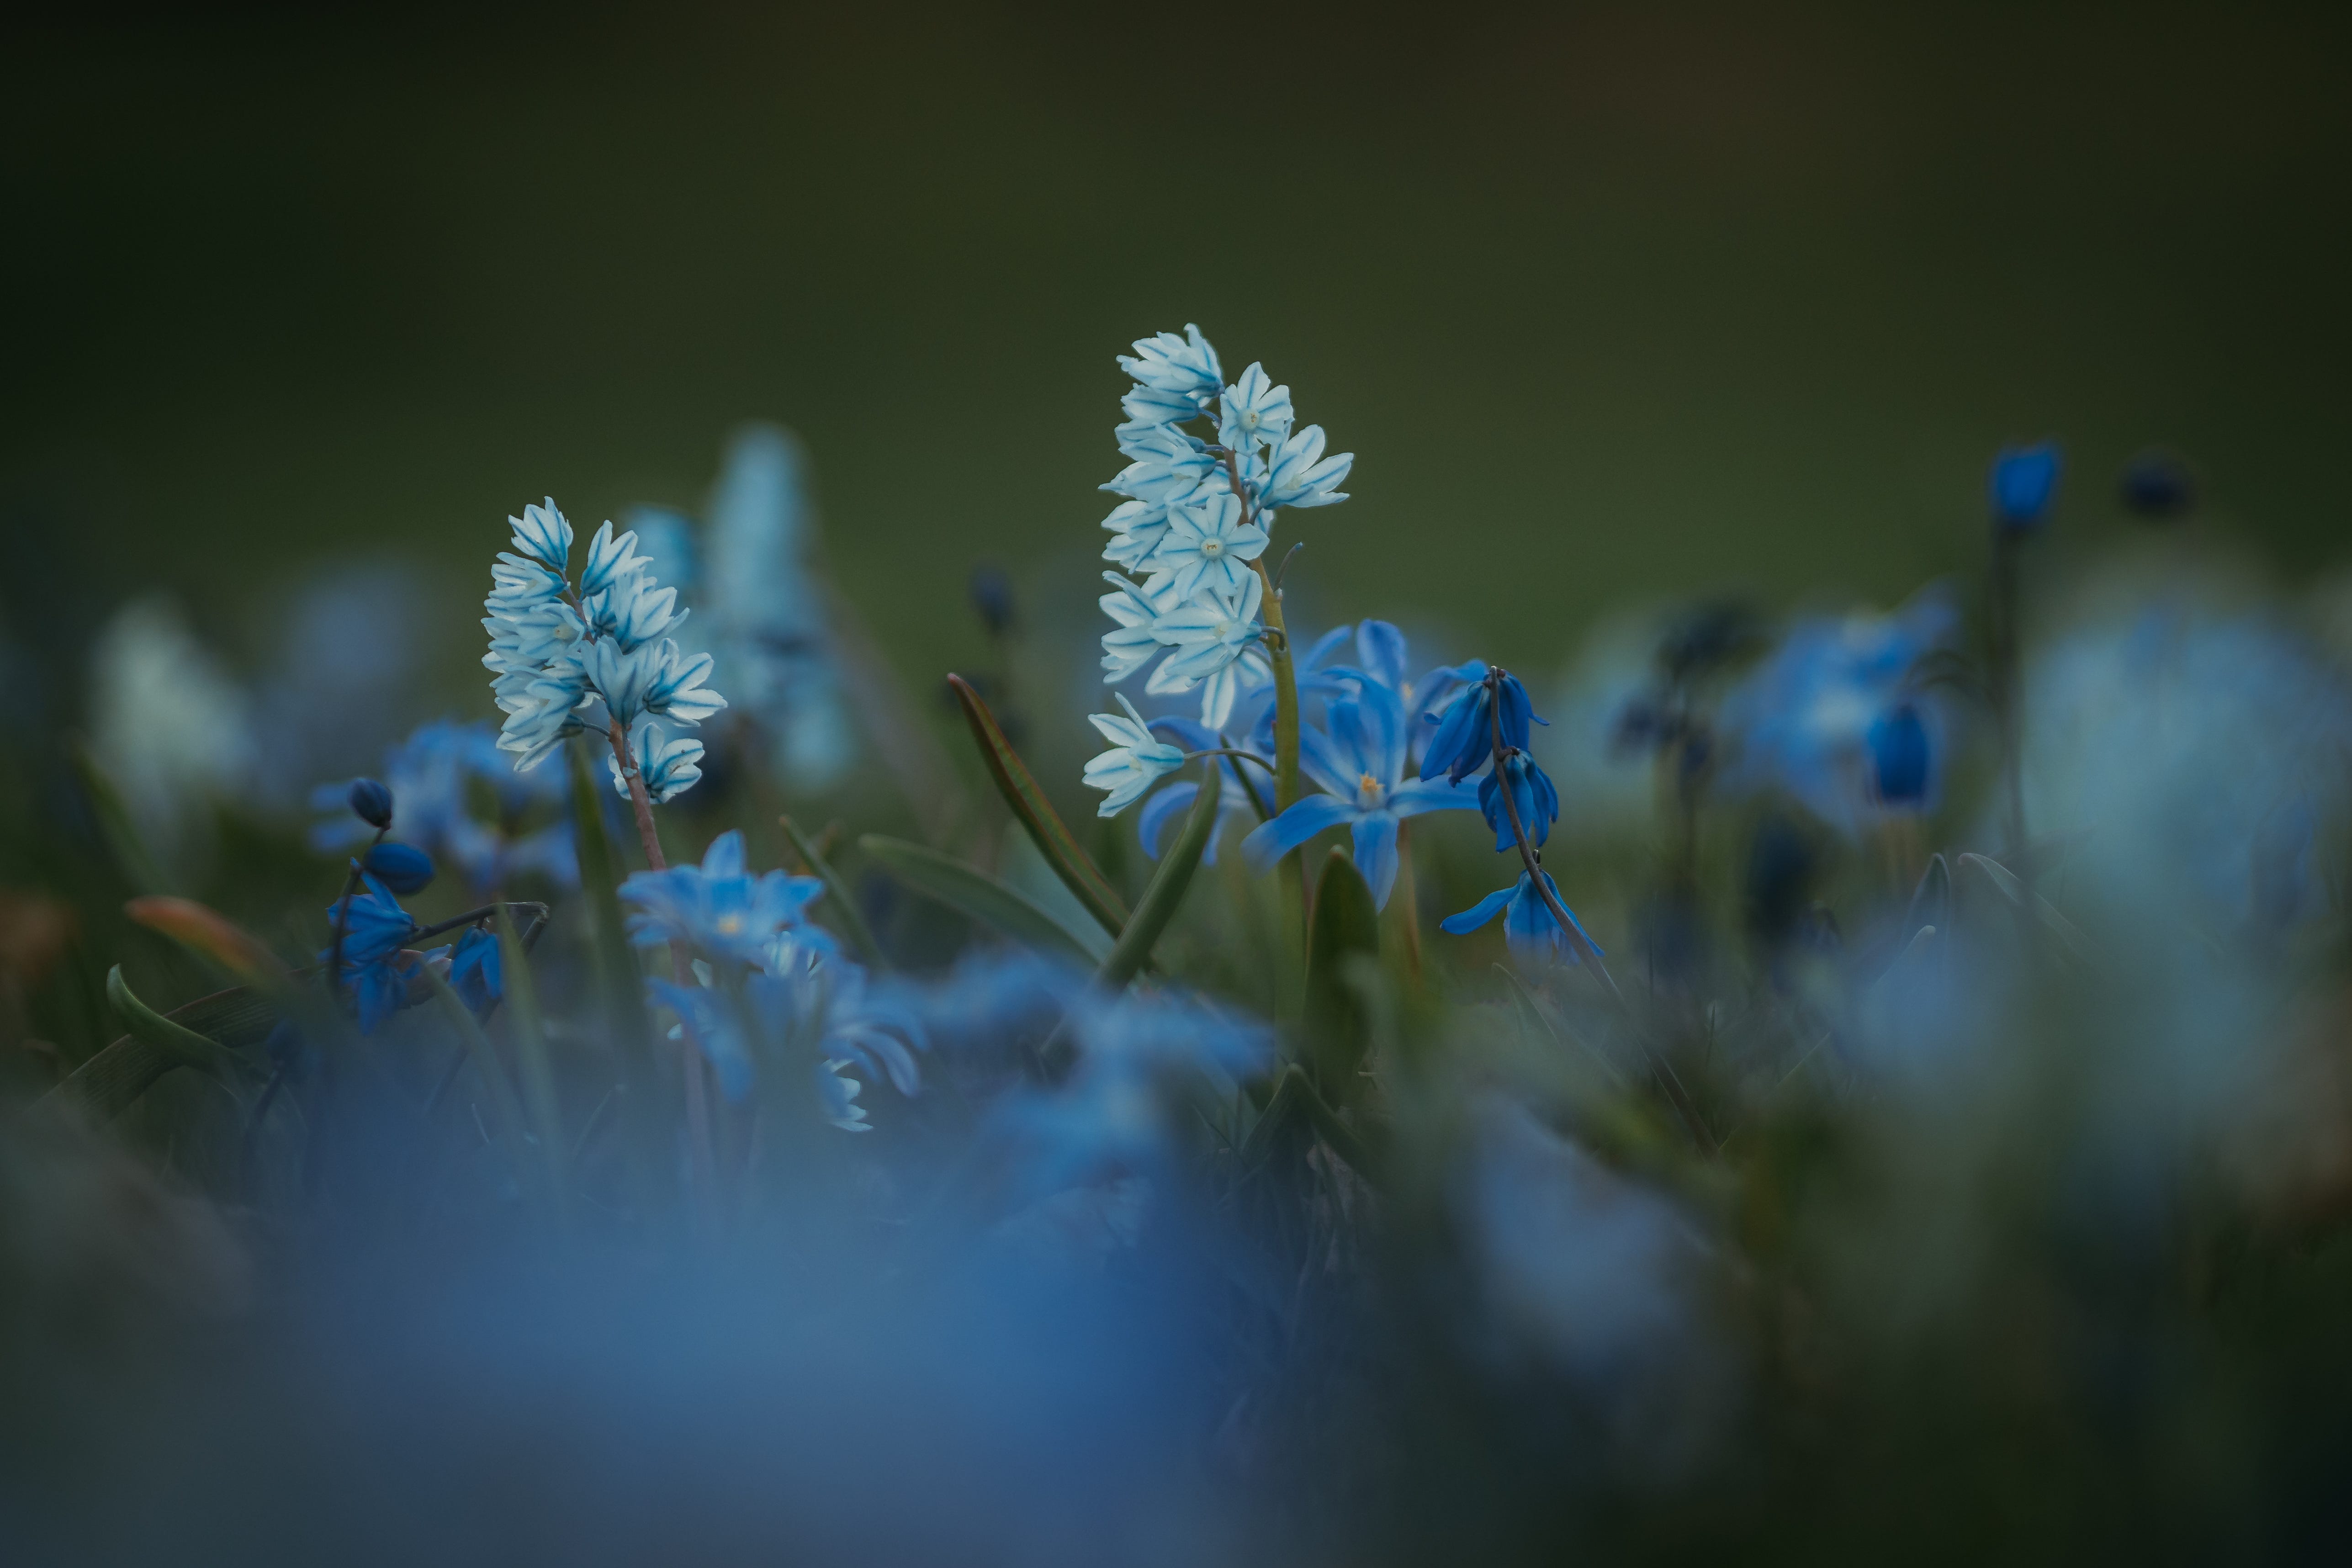
My number one tip is of course to try and find shade, or use indirect light. There’s always a spot somewhere, where a tree, building or bush casts some shade - hopefully on a patch of small flowers.
As you can see to the right of the photo below, it is rather sunny. But I was able to find some shade and there’s just dappled sunlight with some shadows on the flower. If you can find a spot where the sun is filtered through the leaves of a tree, or taller grass and / or flowers - it can look beautiful!
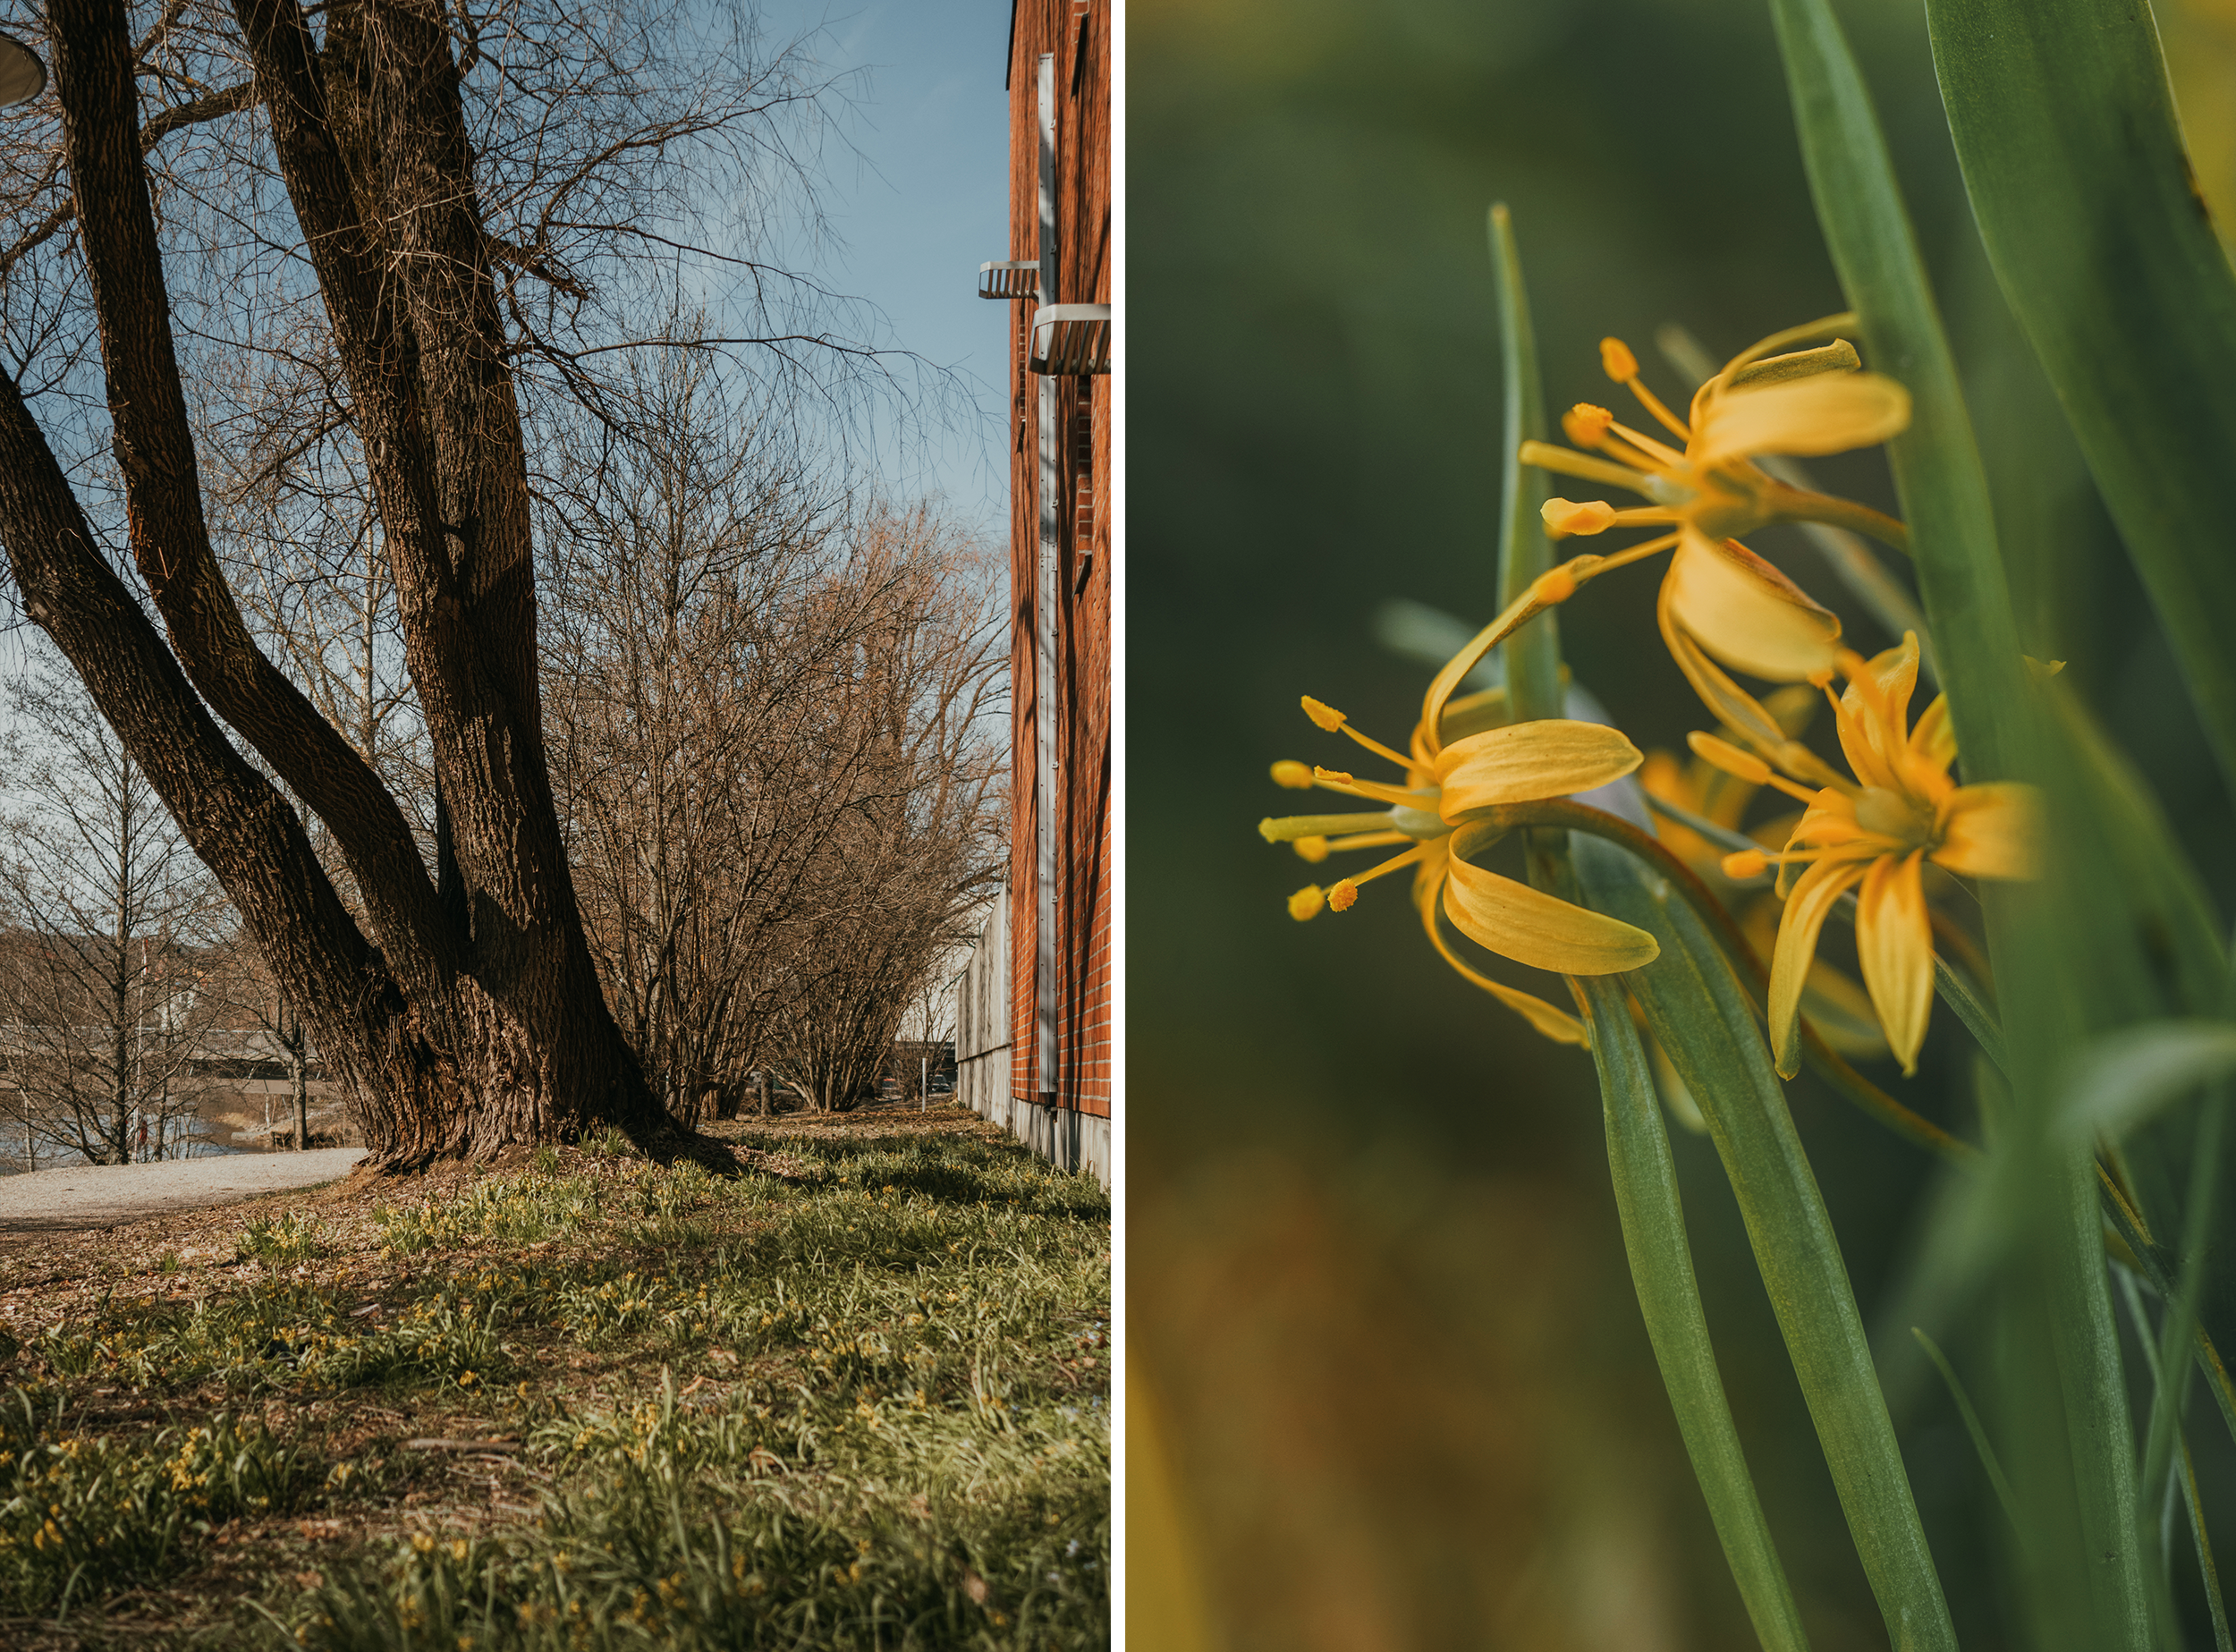
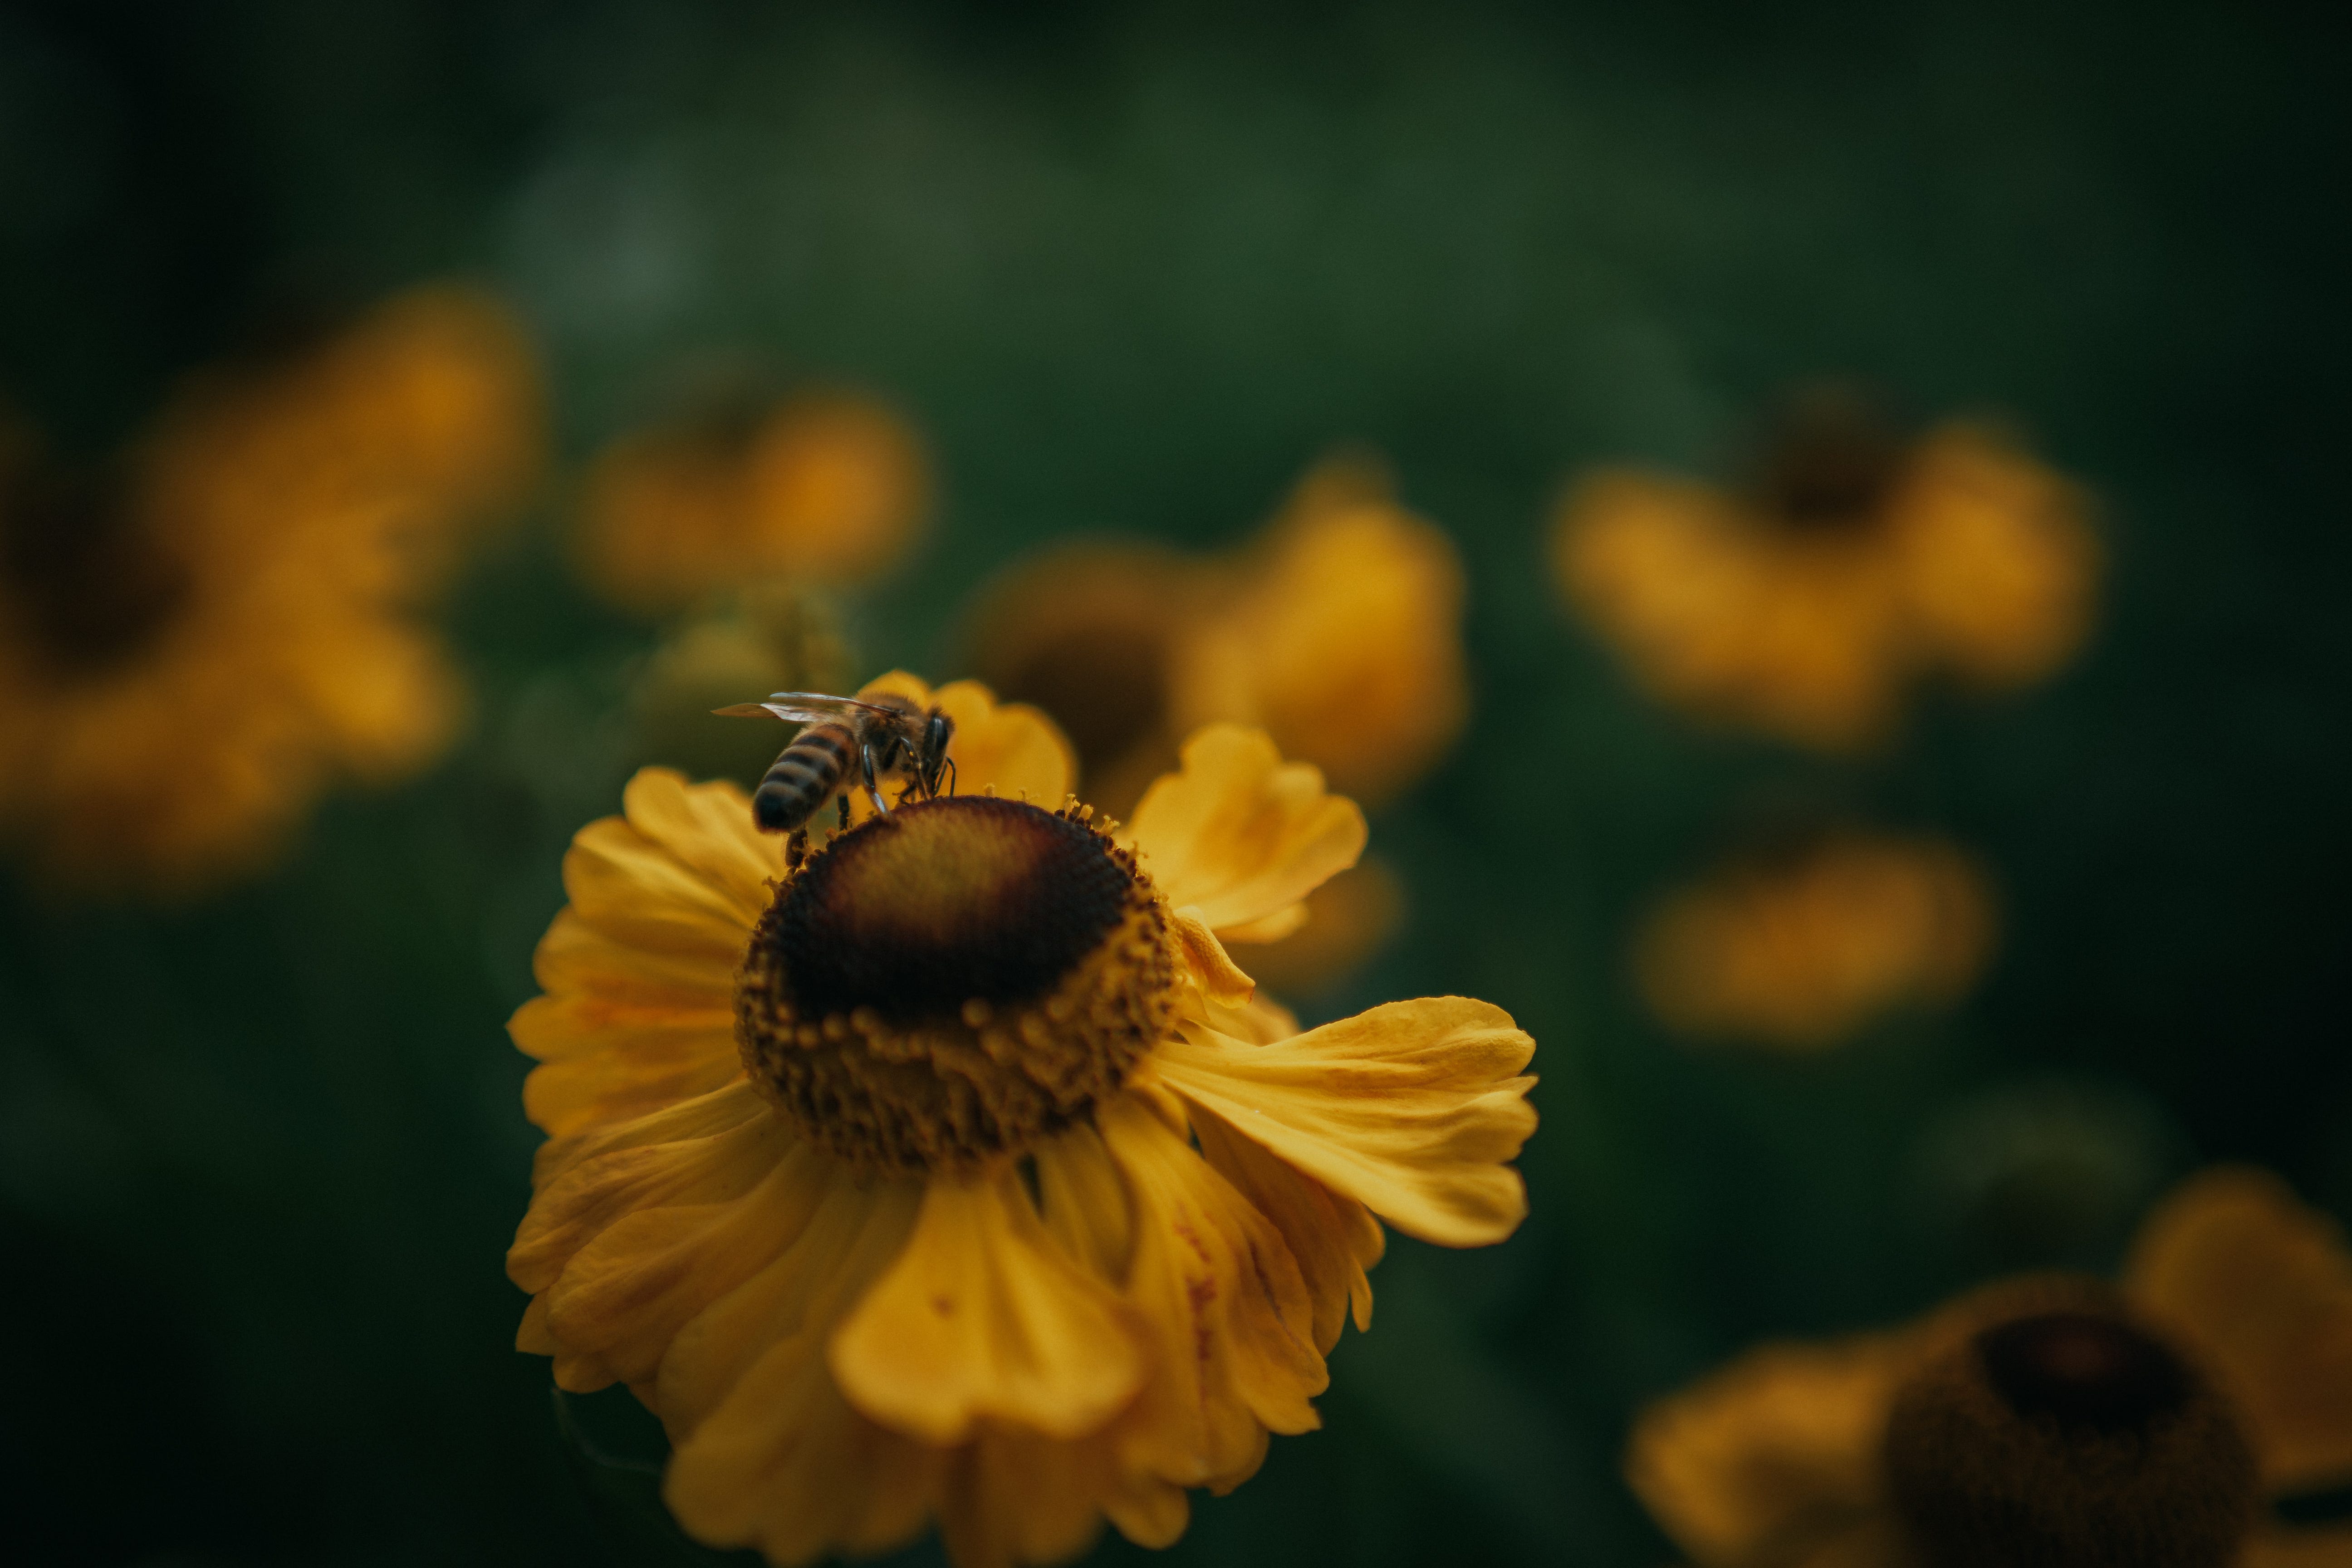
I was walking to work one day, and noticed all these yellow stars of betlehem, or Gagea lutea, flowers on the grass. But it was in the middle of the day and super sunny. But, there were some tall trees around and I was still able to get a good photo without the light being too strong.
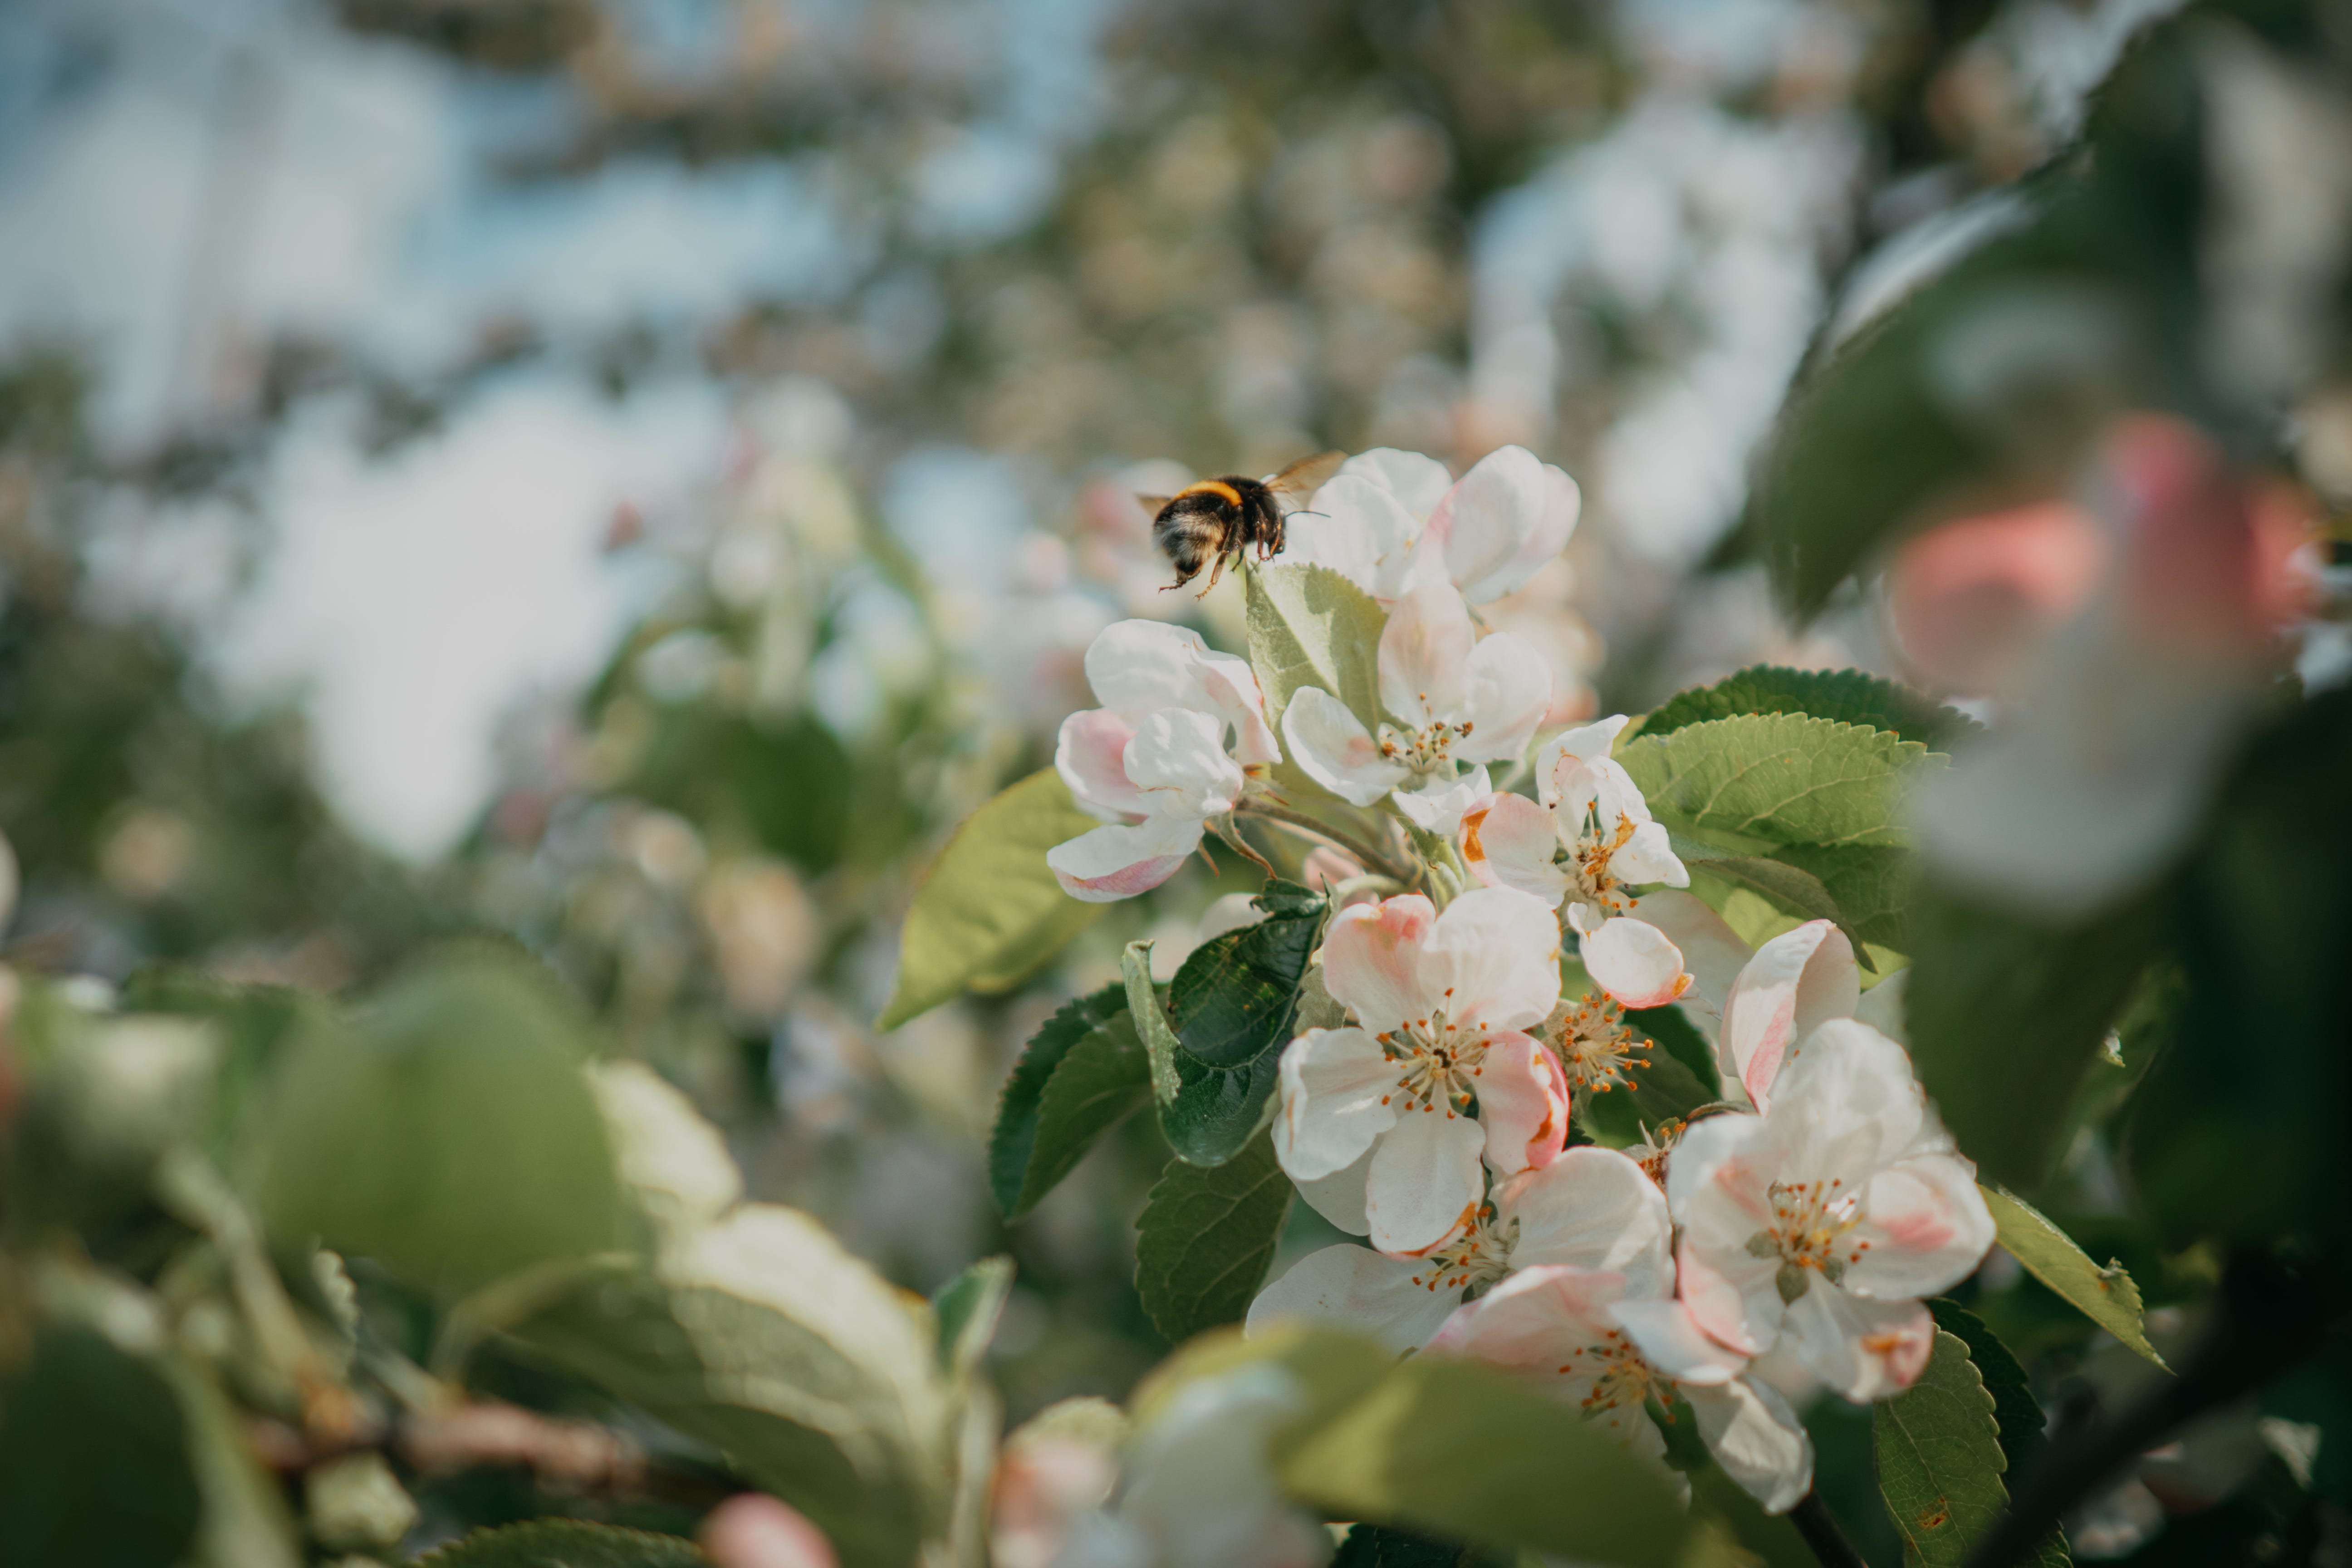
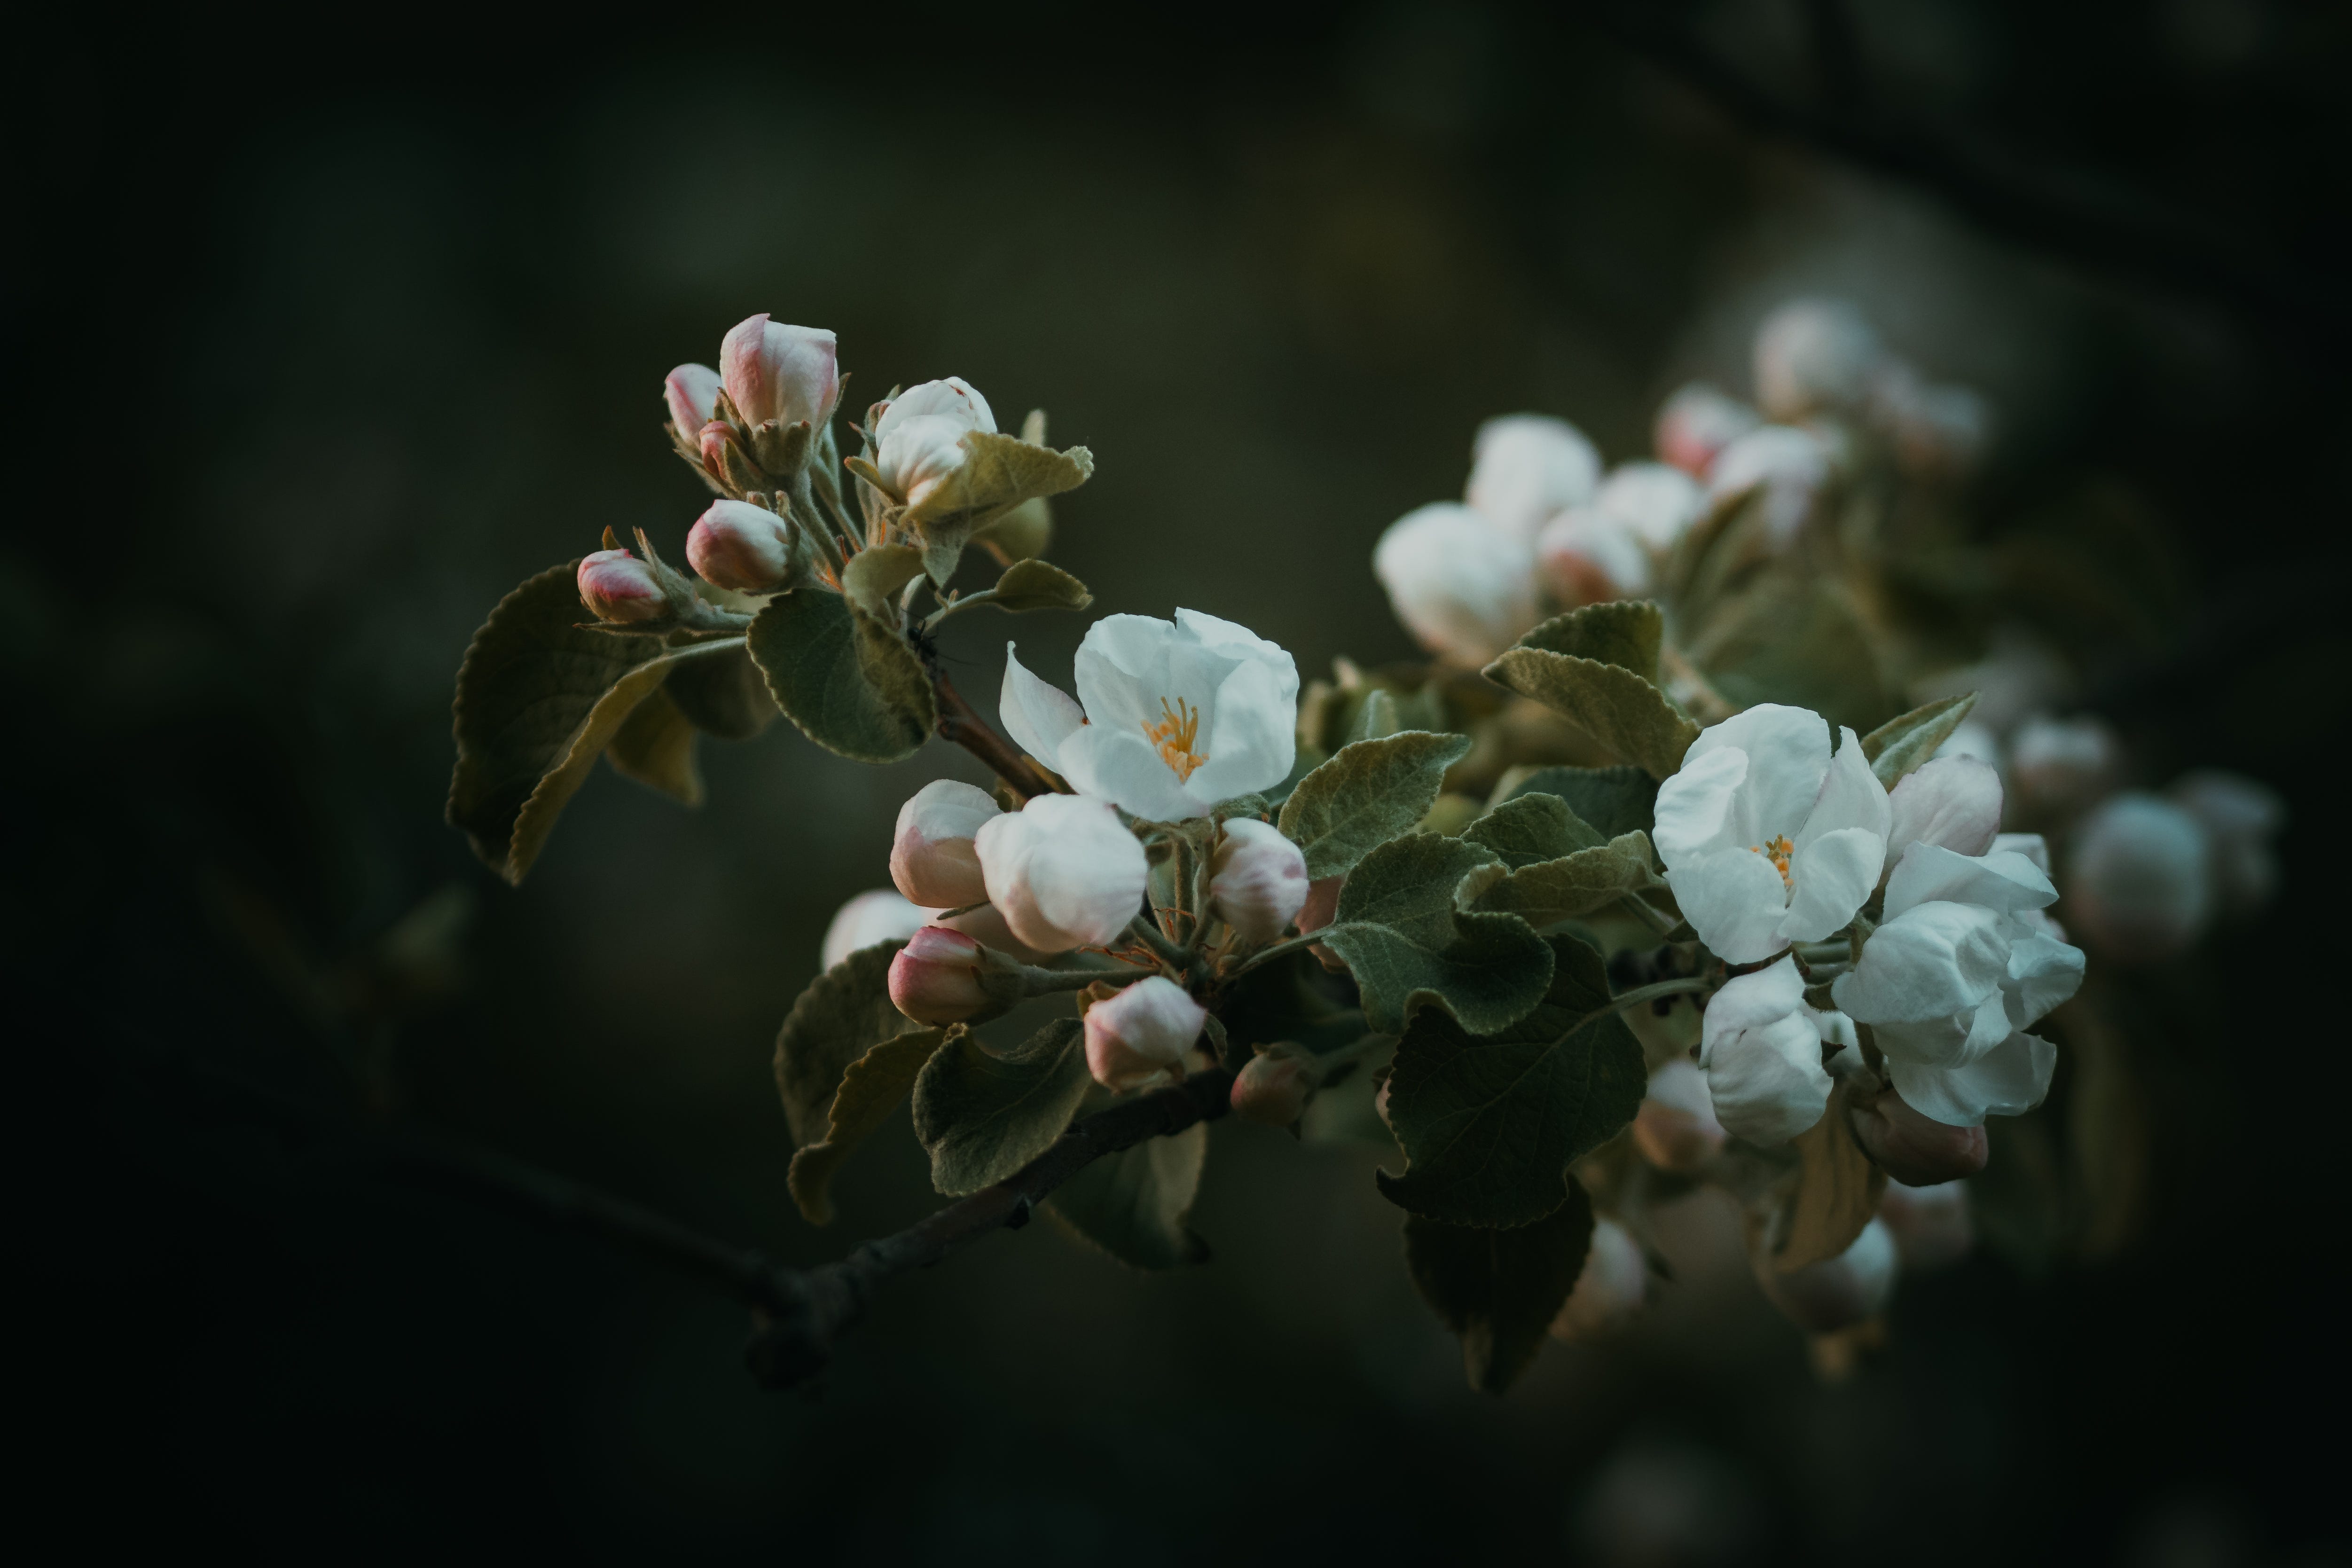
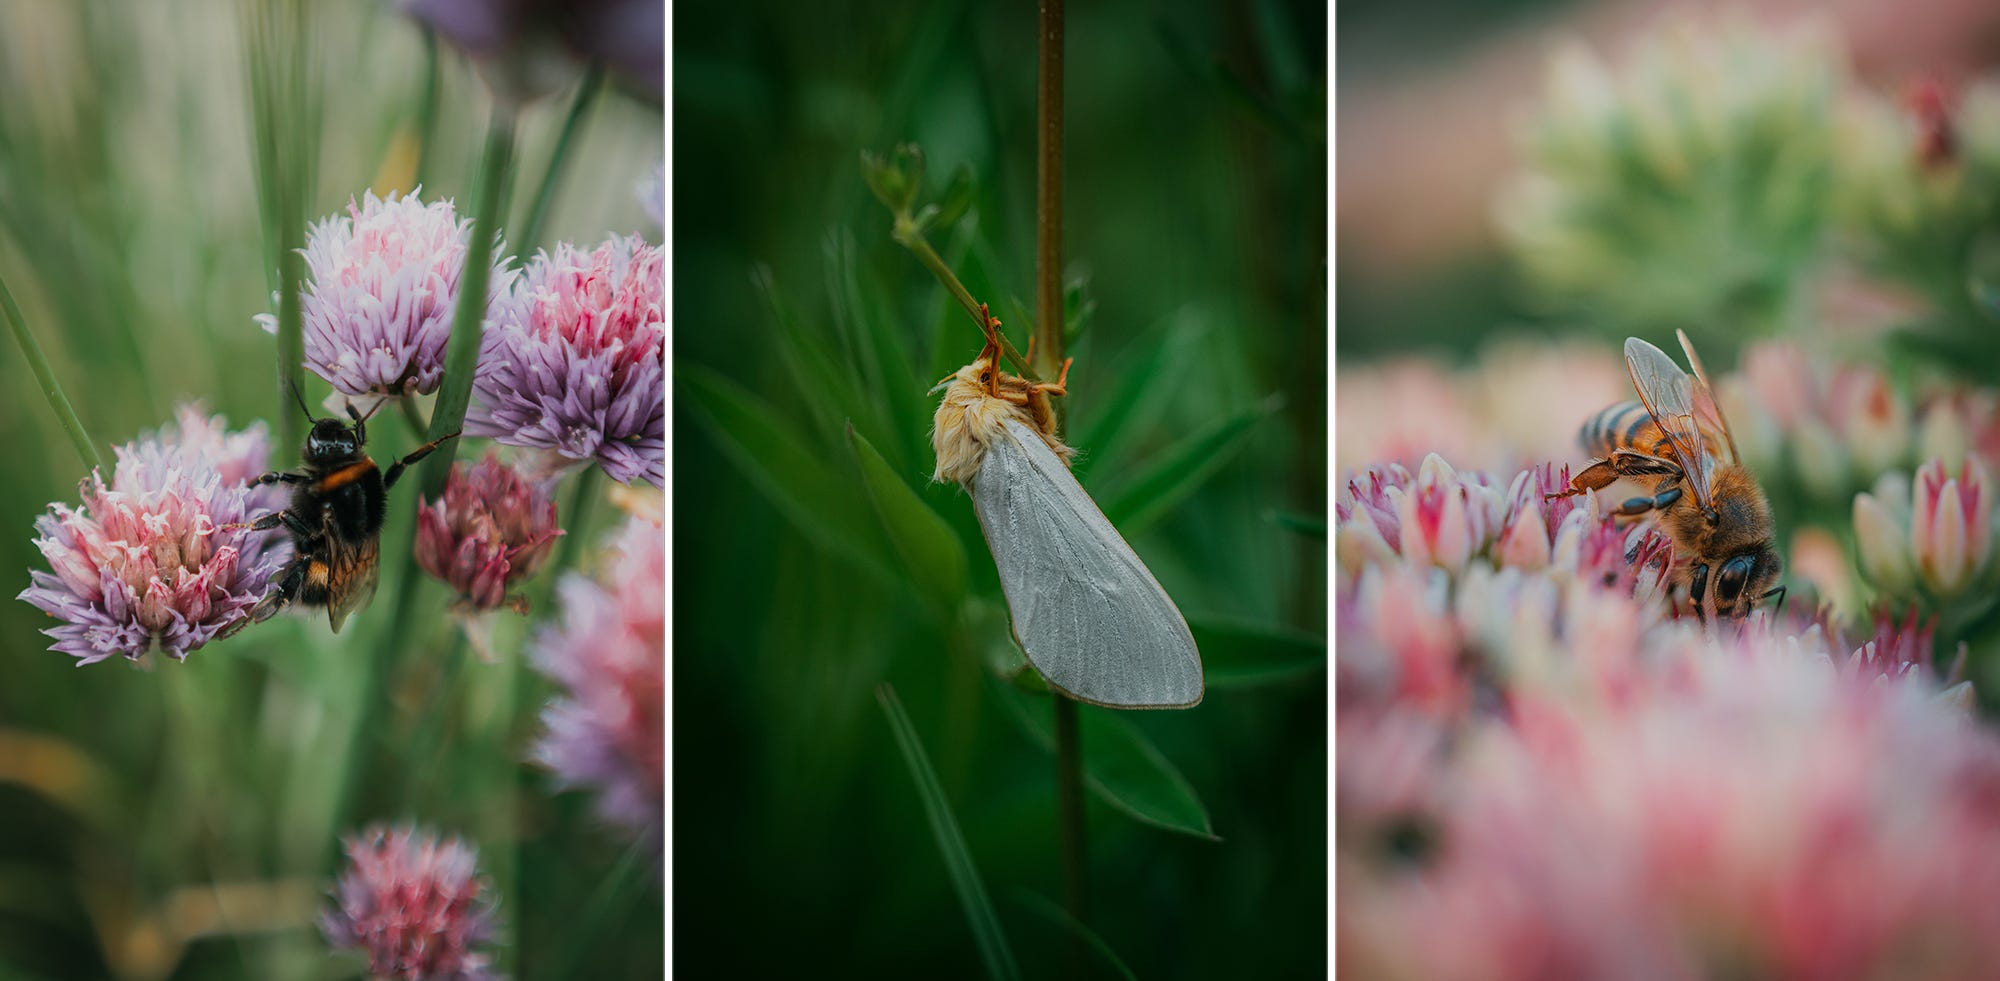
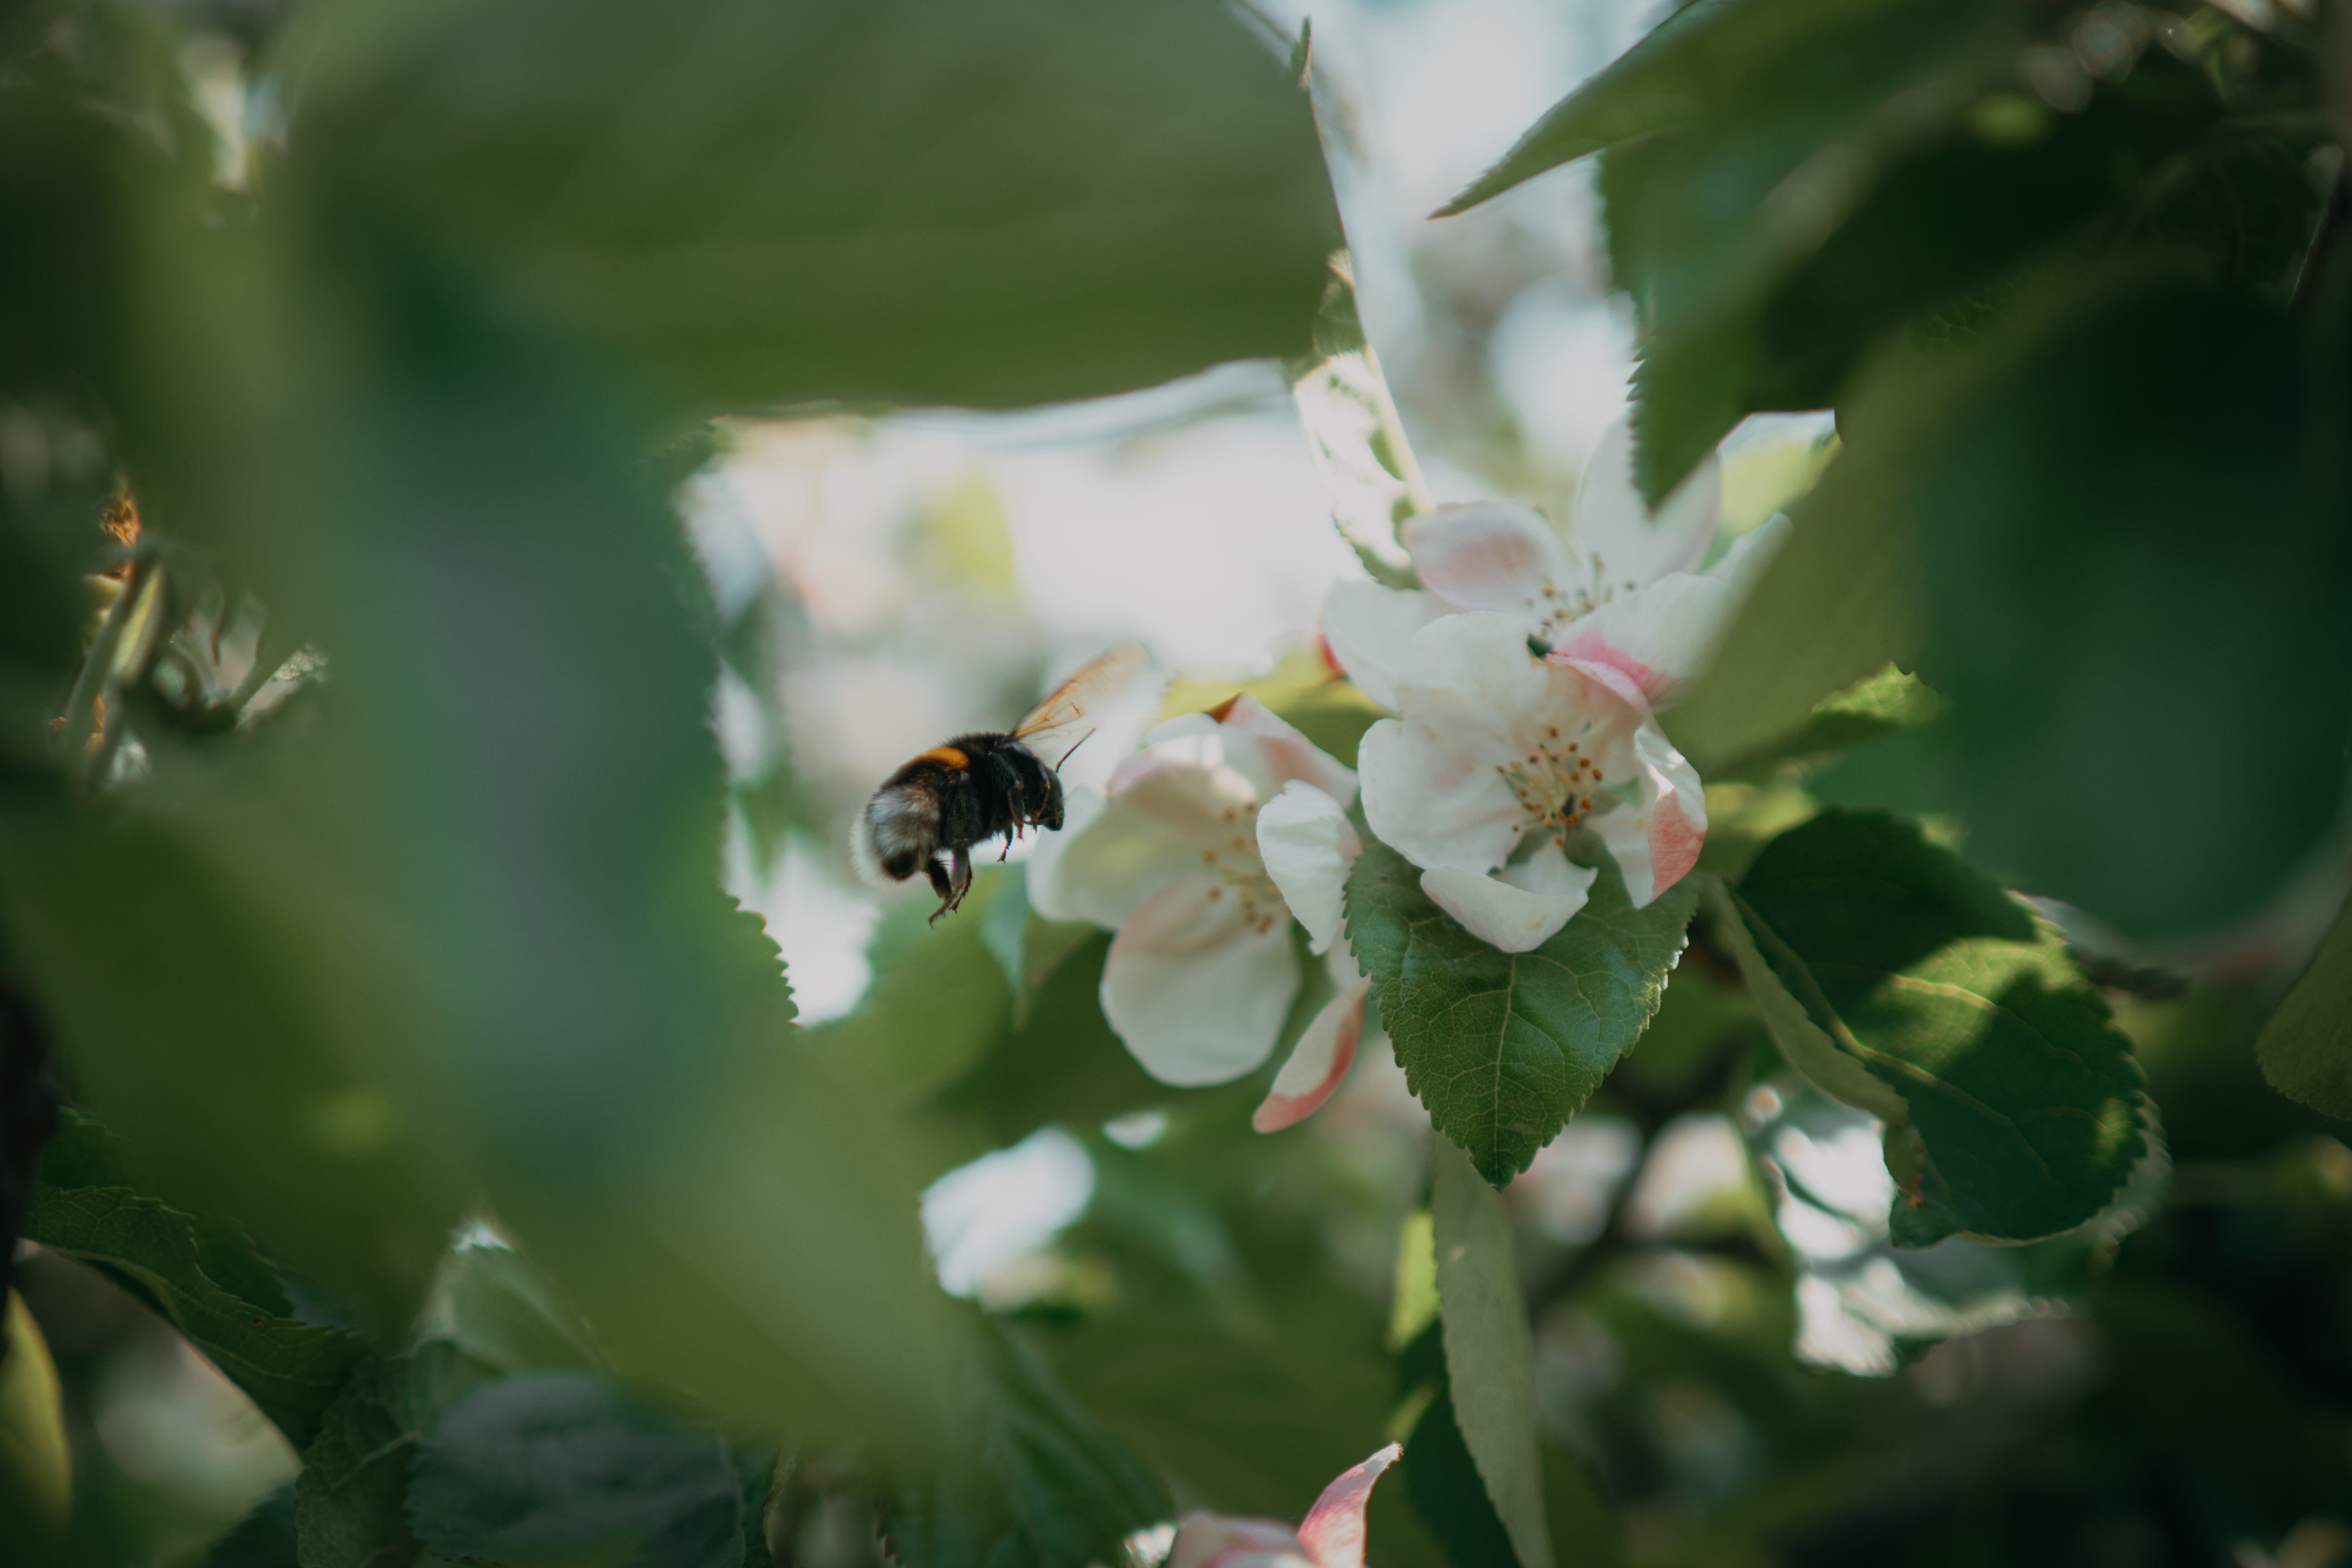
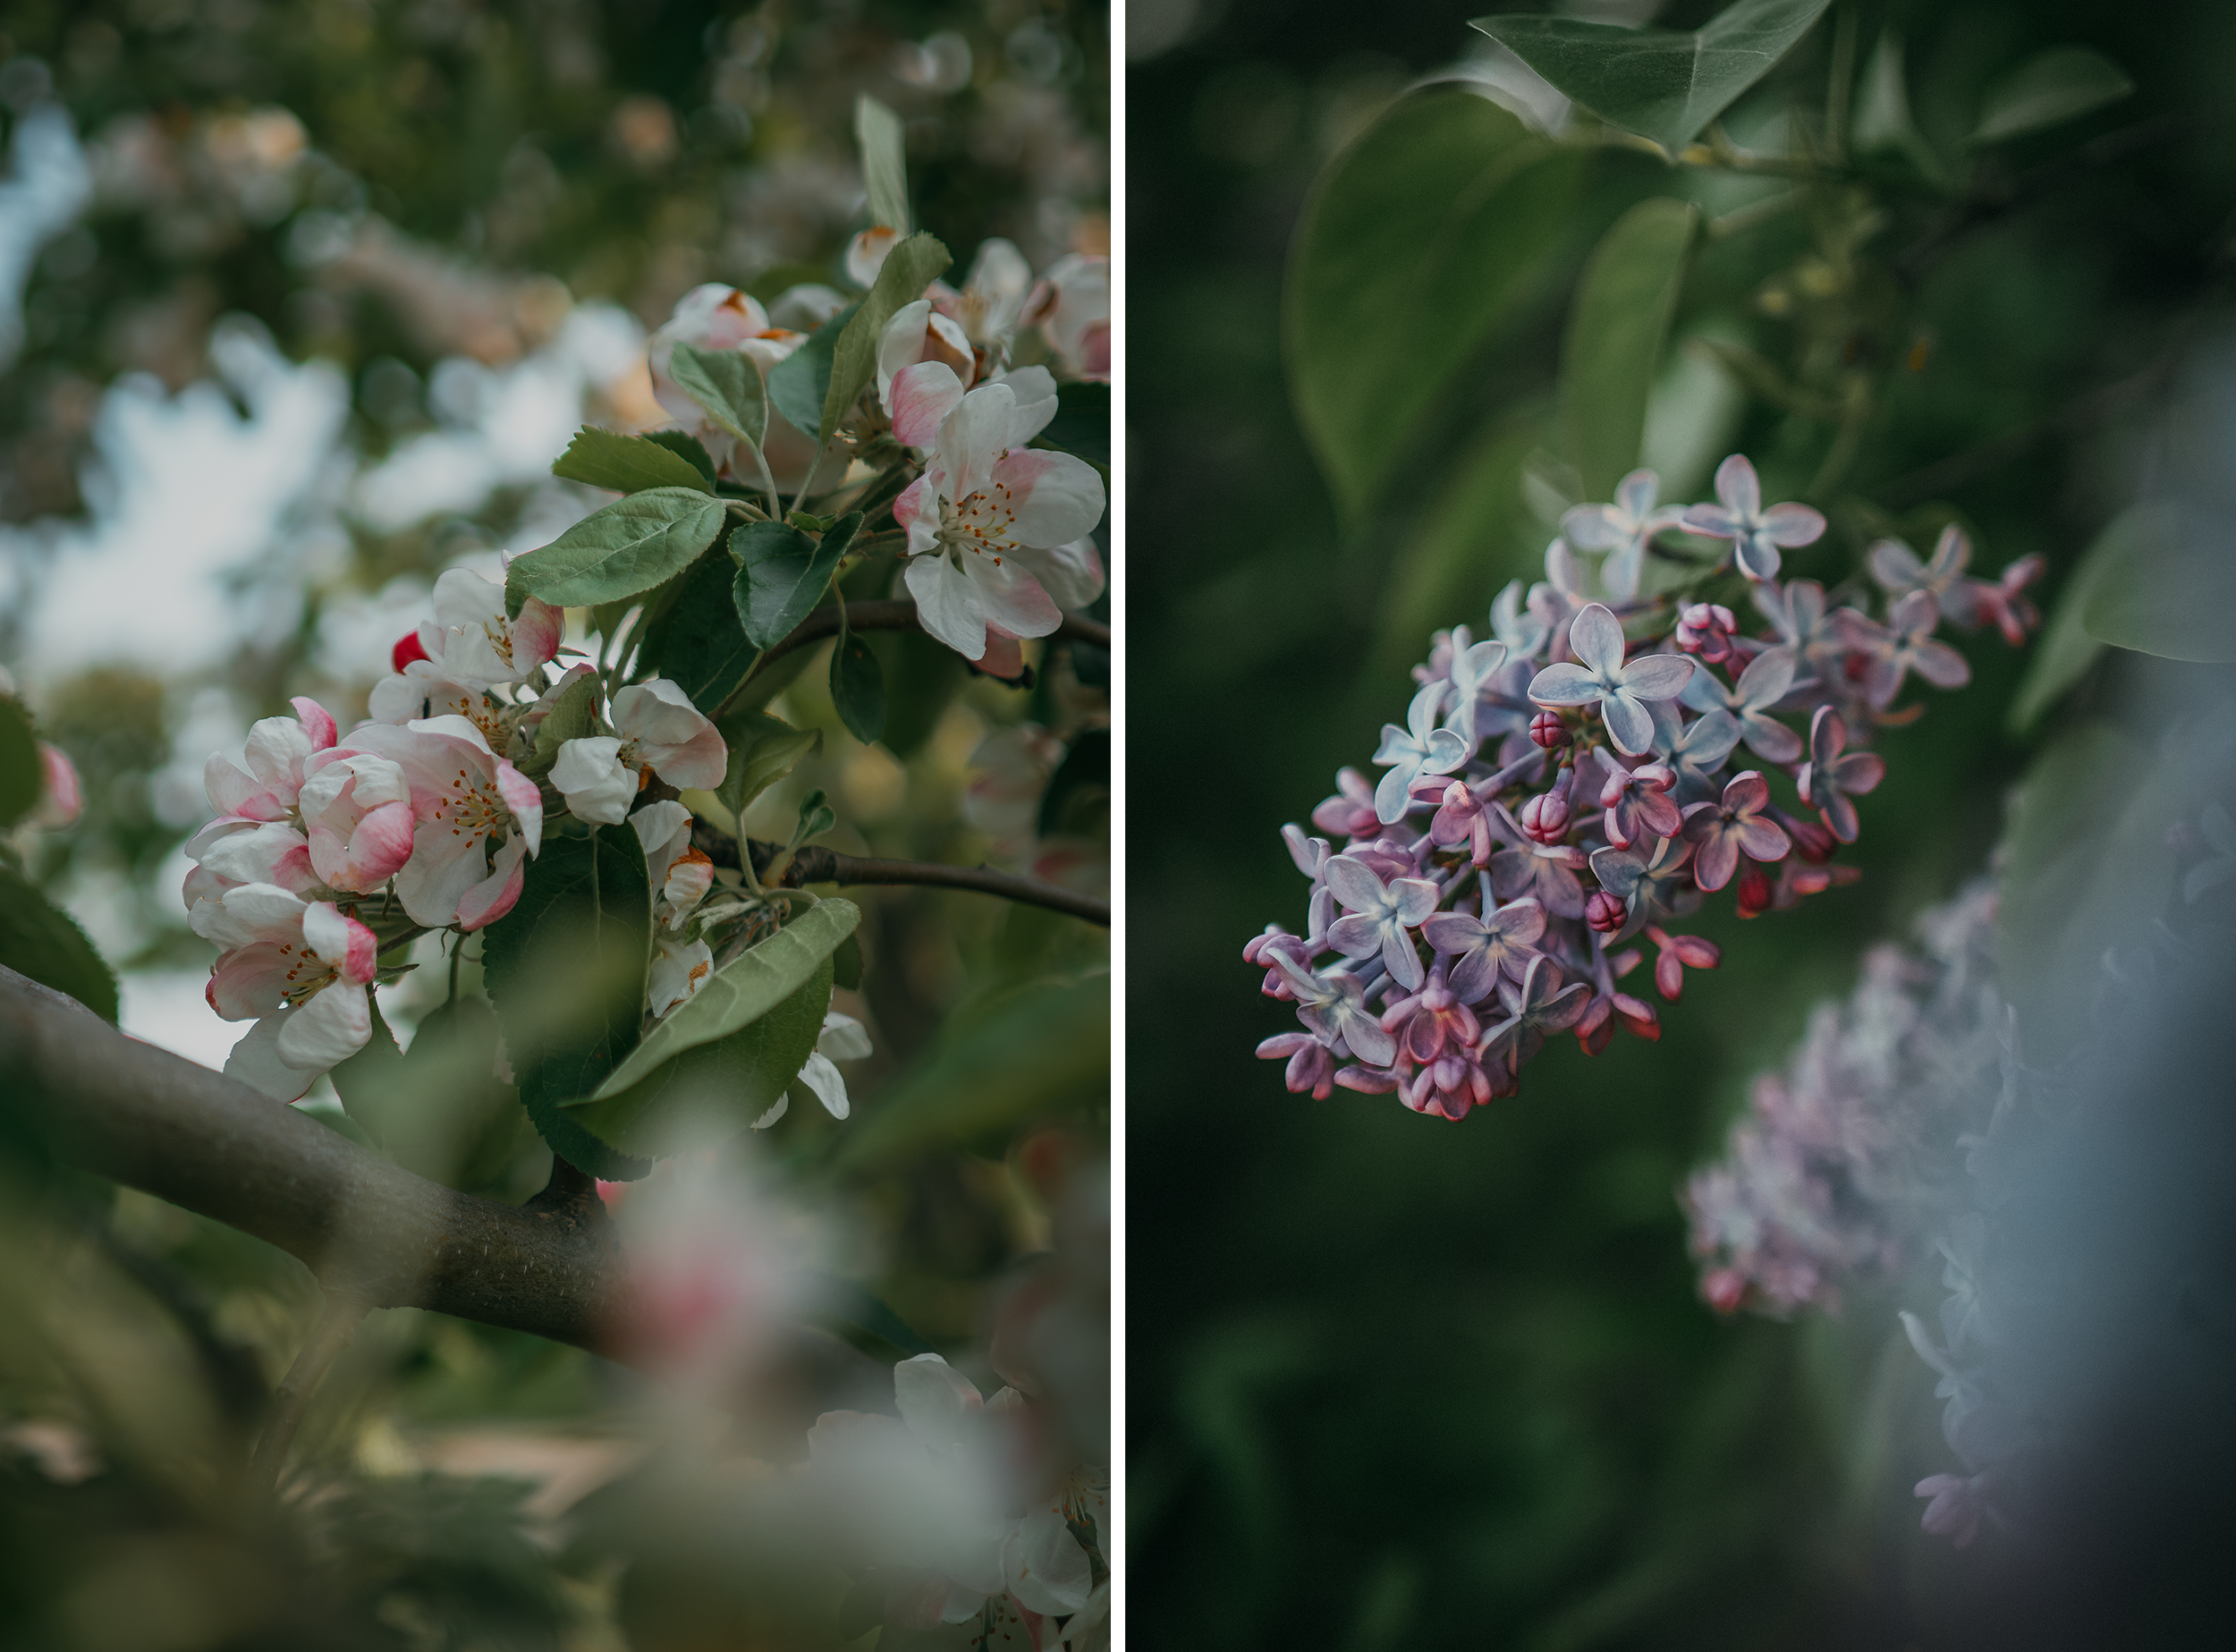
In this picture with a bumblebee in some apple blossoms, I was able to find a branch and flowers that were shaded by the other branches of the same tree. Going in close and using nature is a great way to take photos mid day. And the topic of going in close, leads me into my next creative tip:
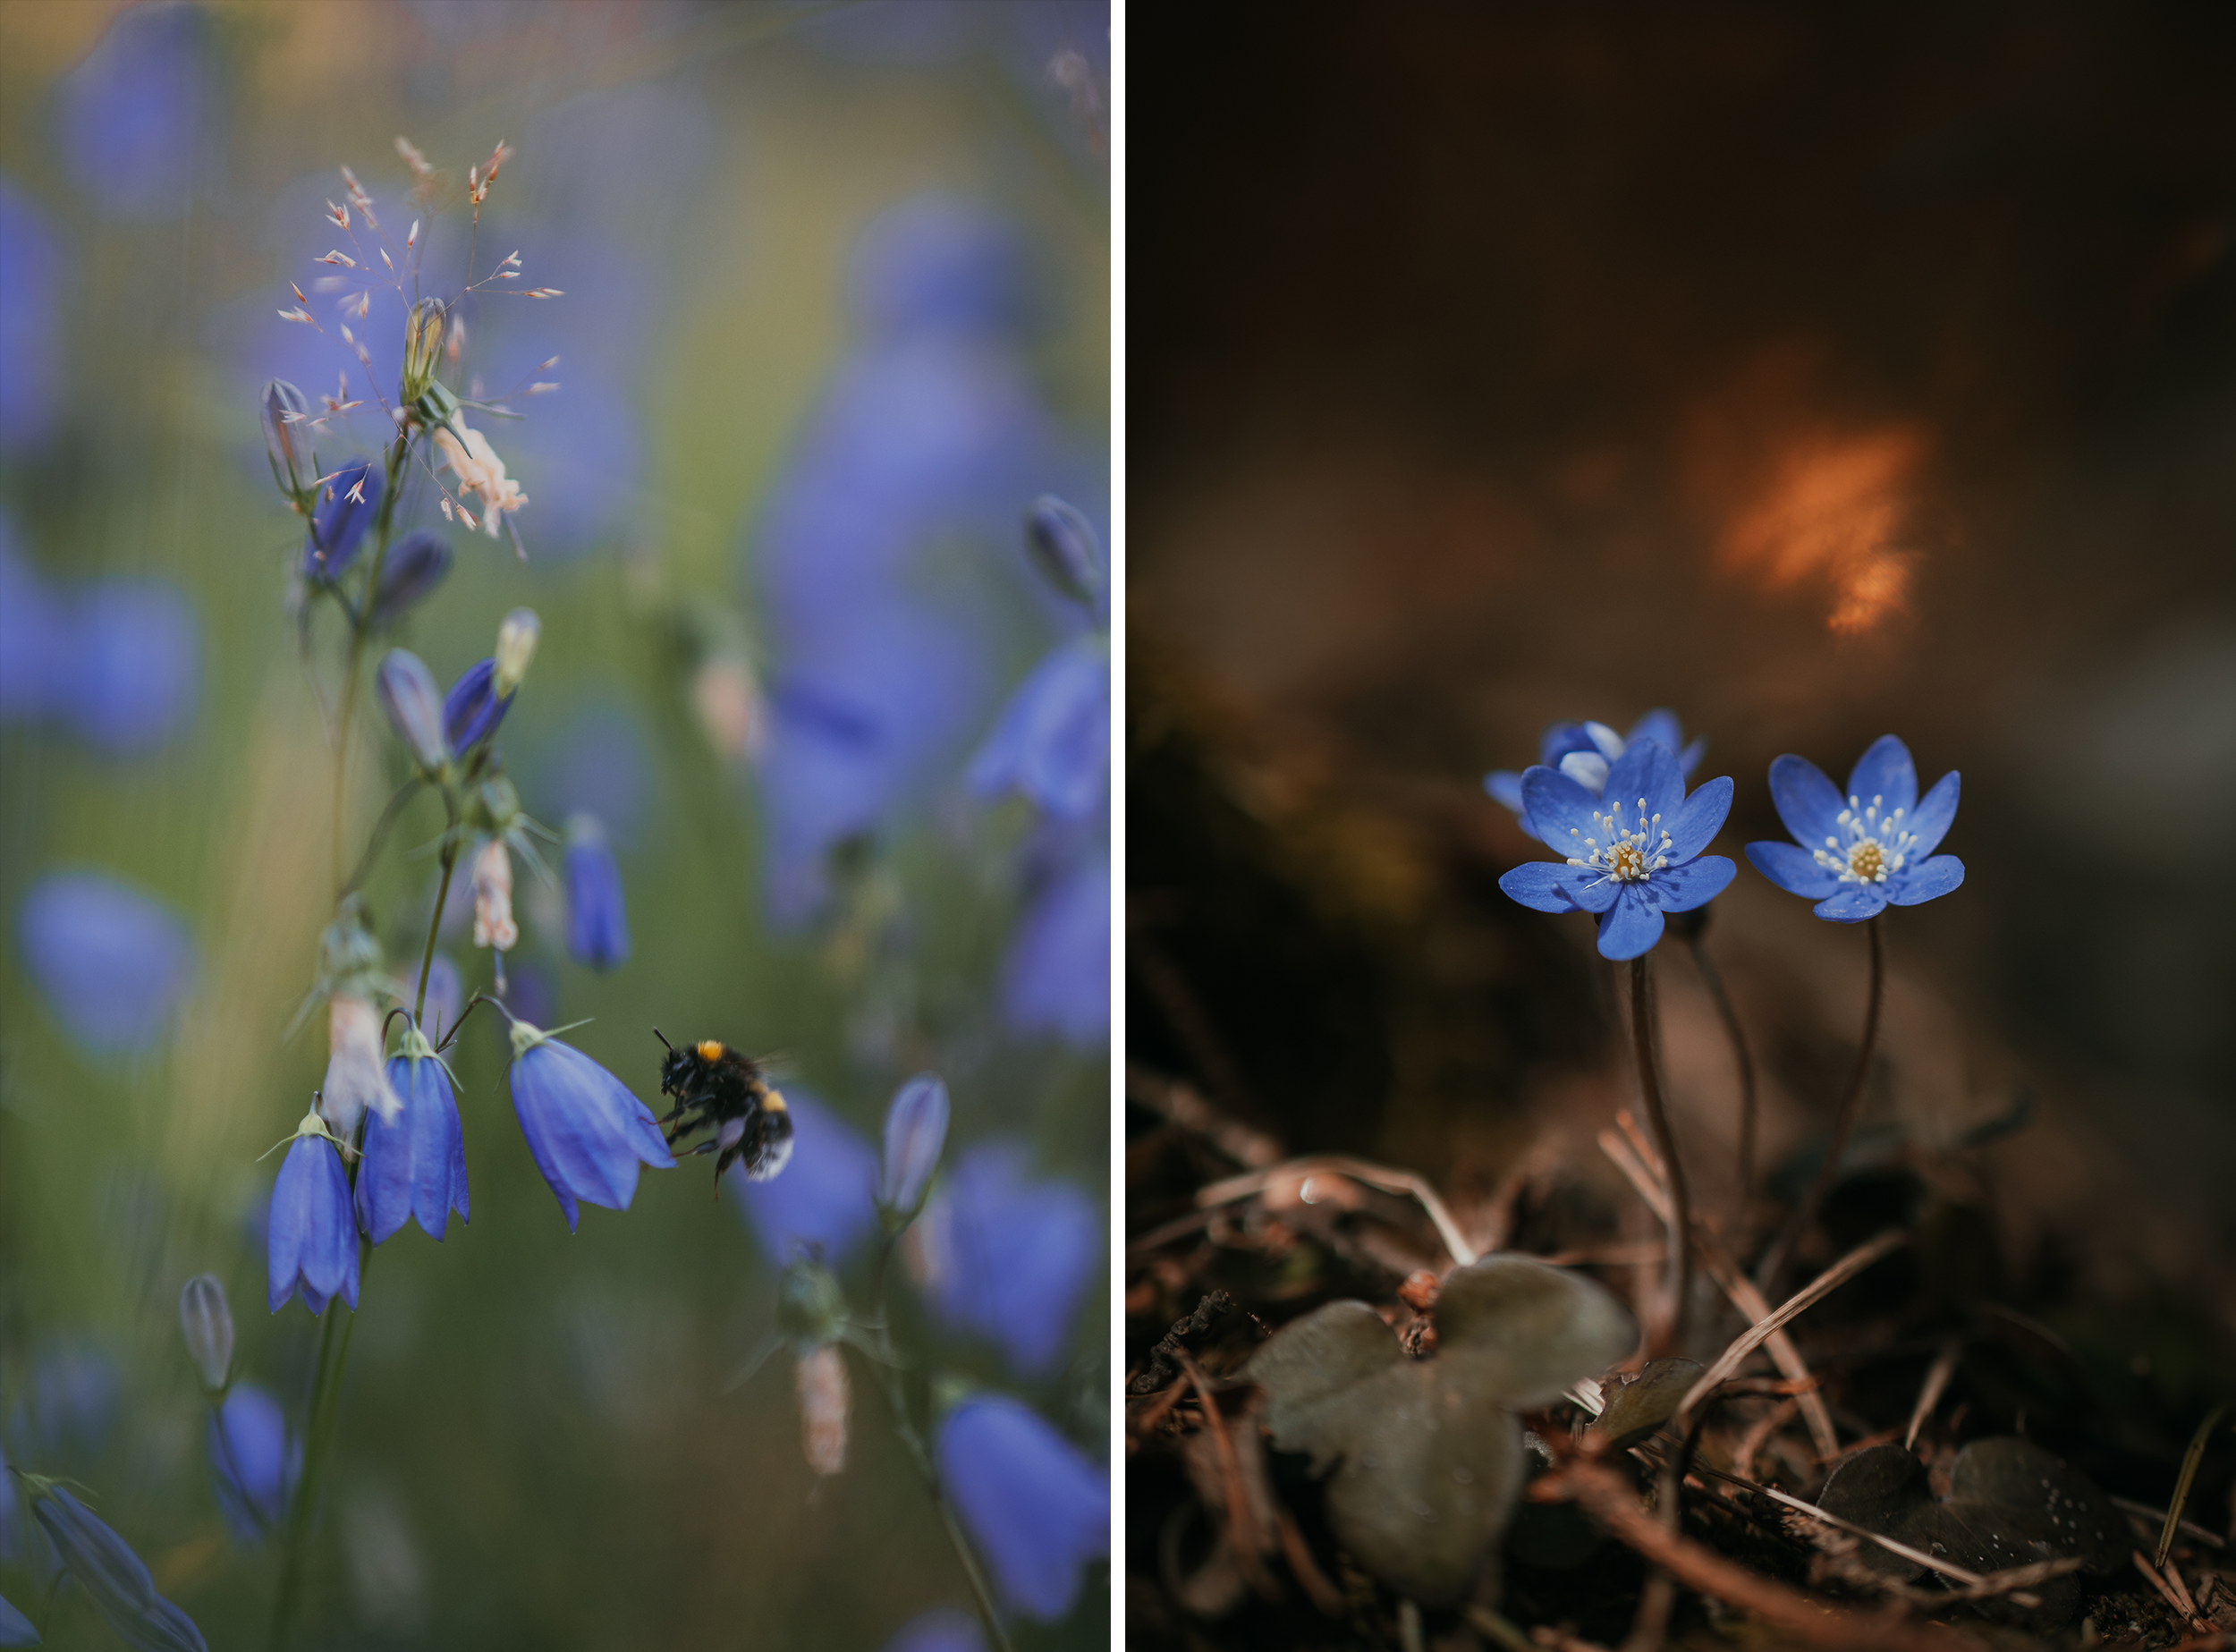
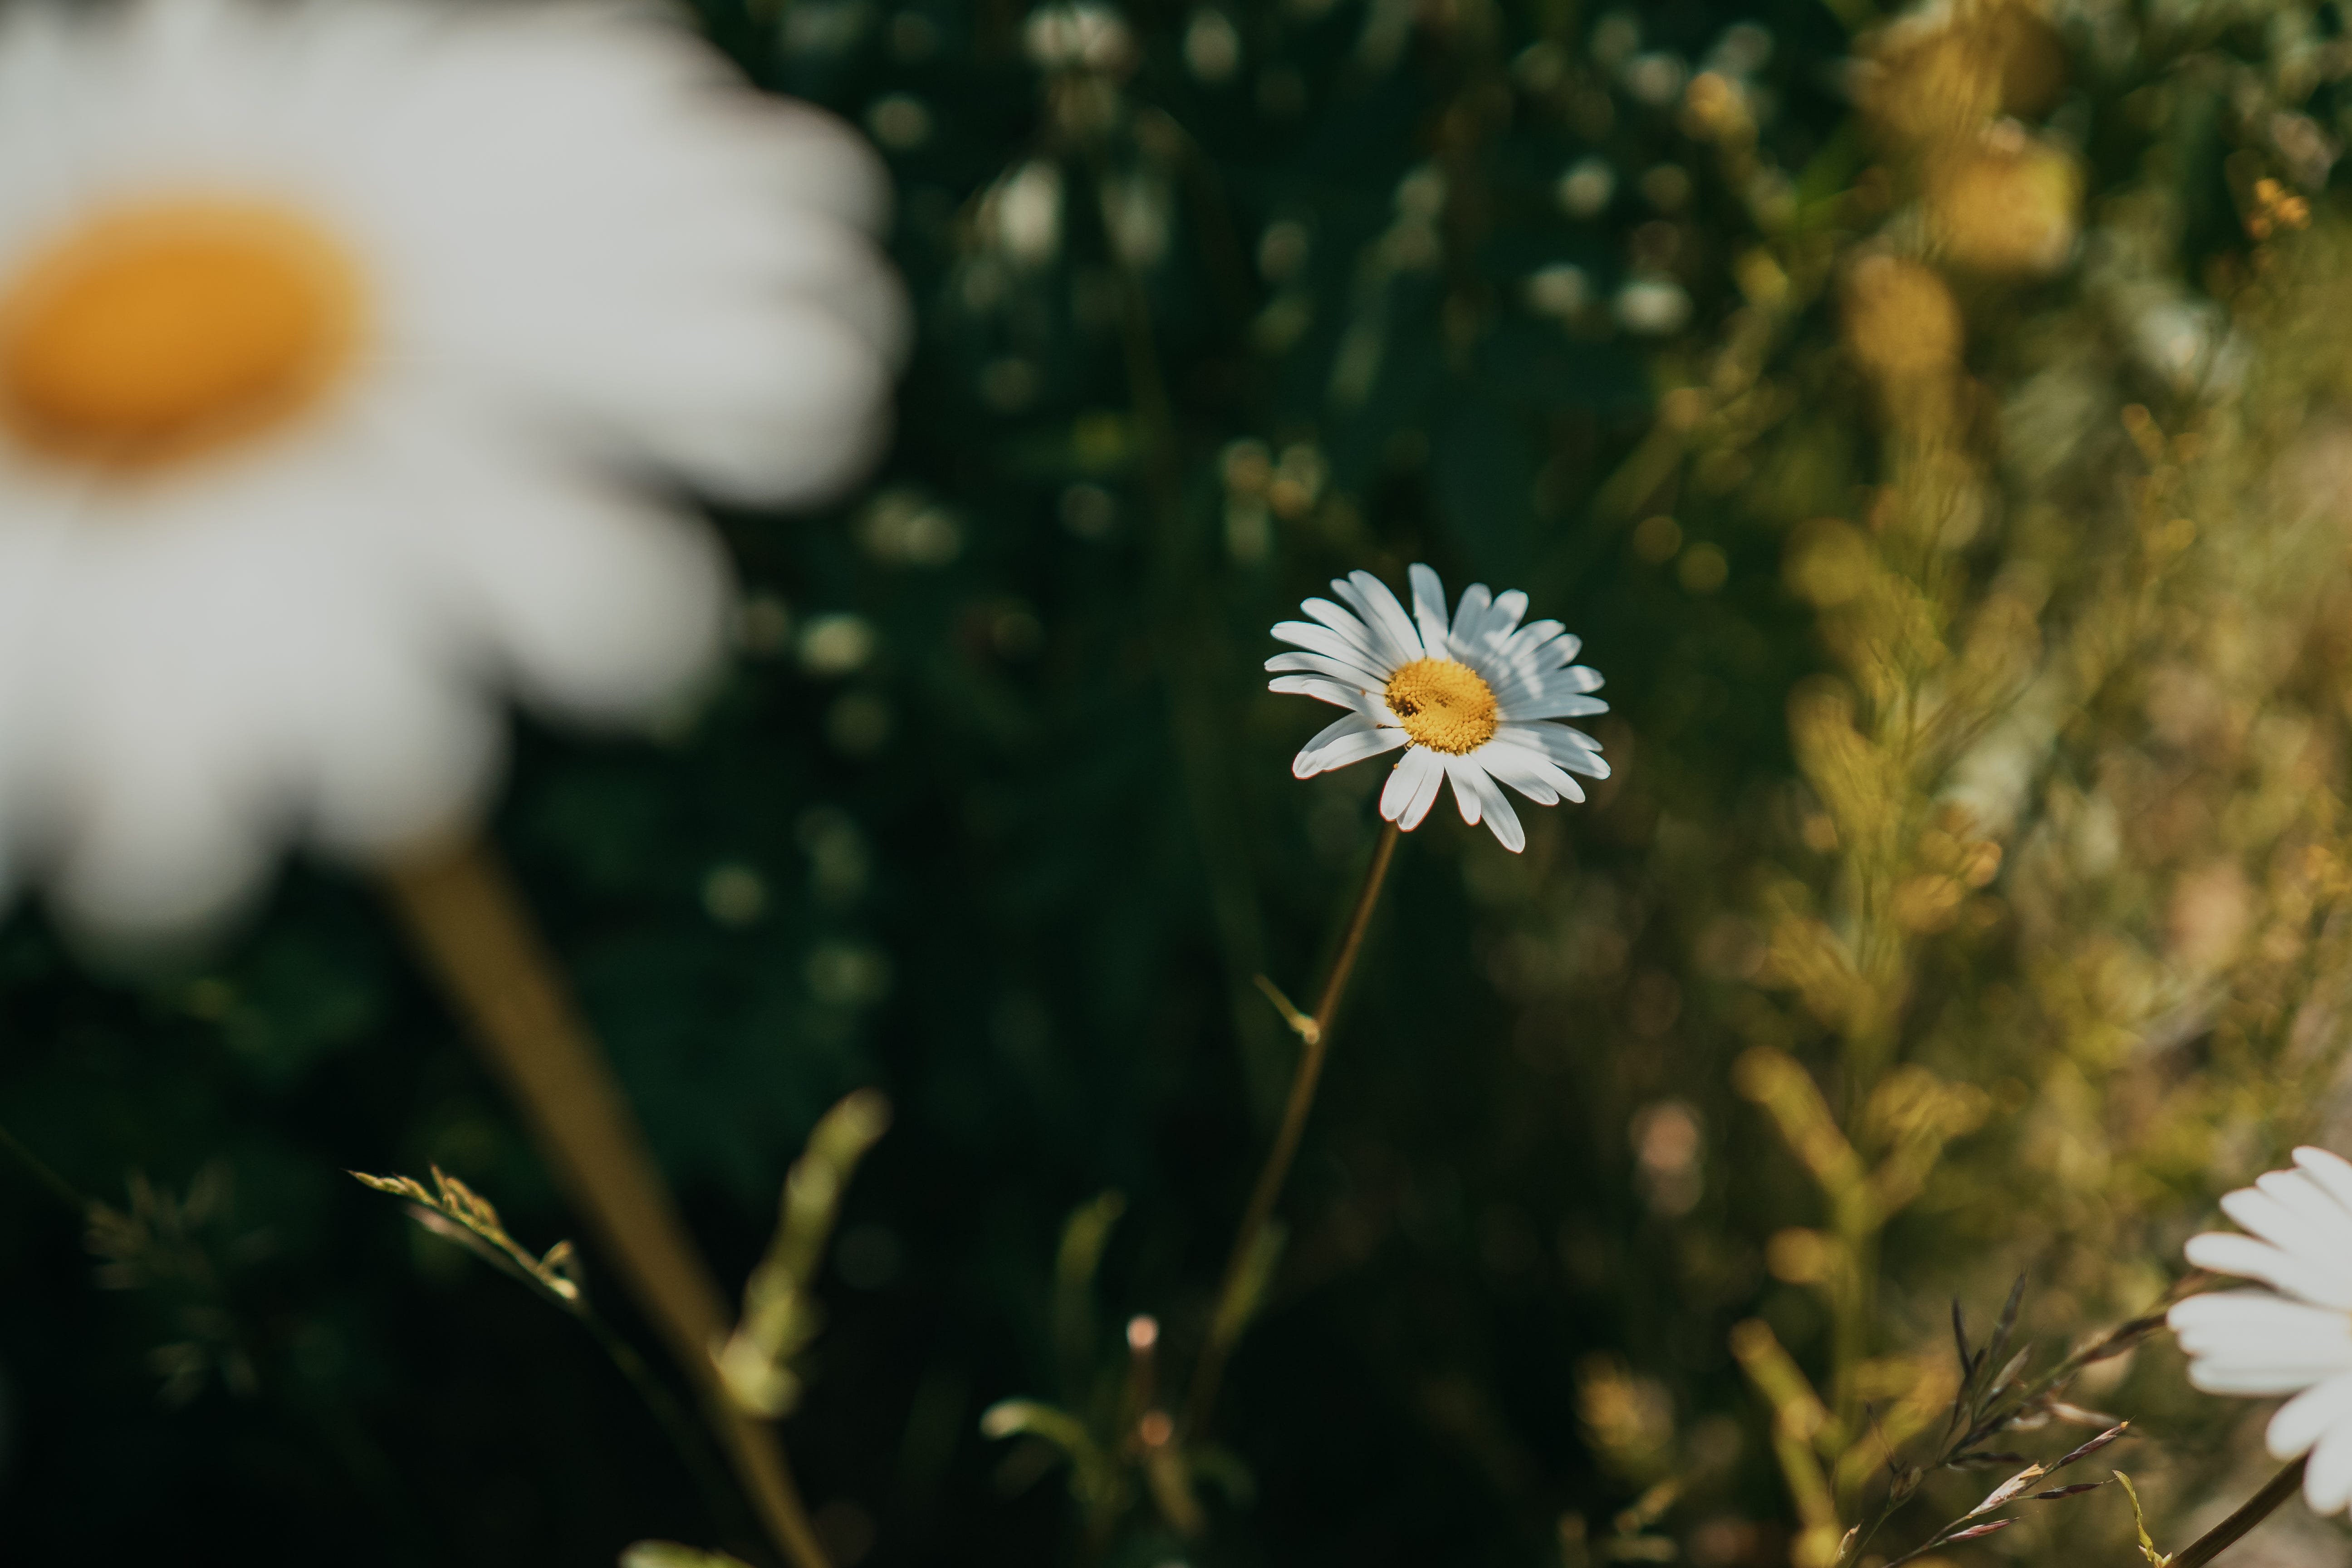
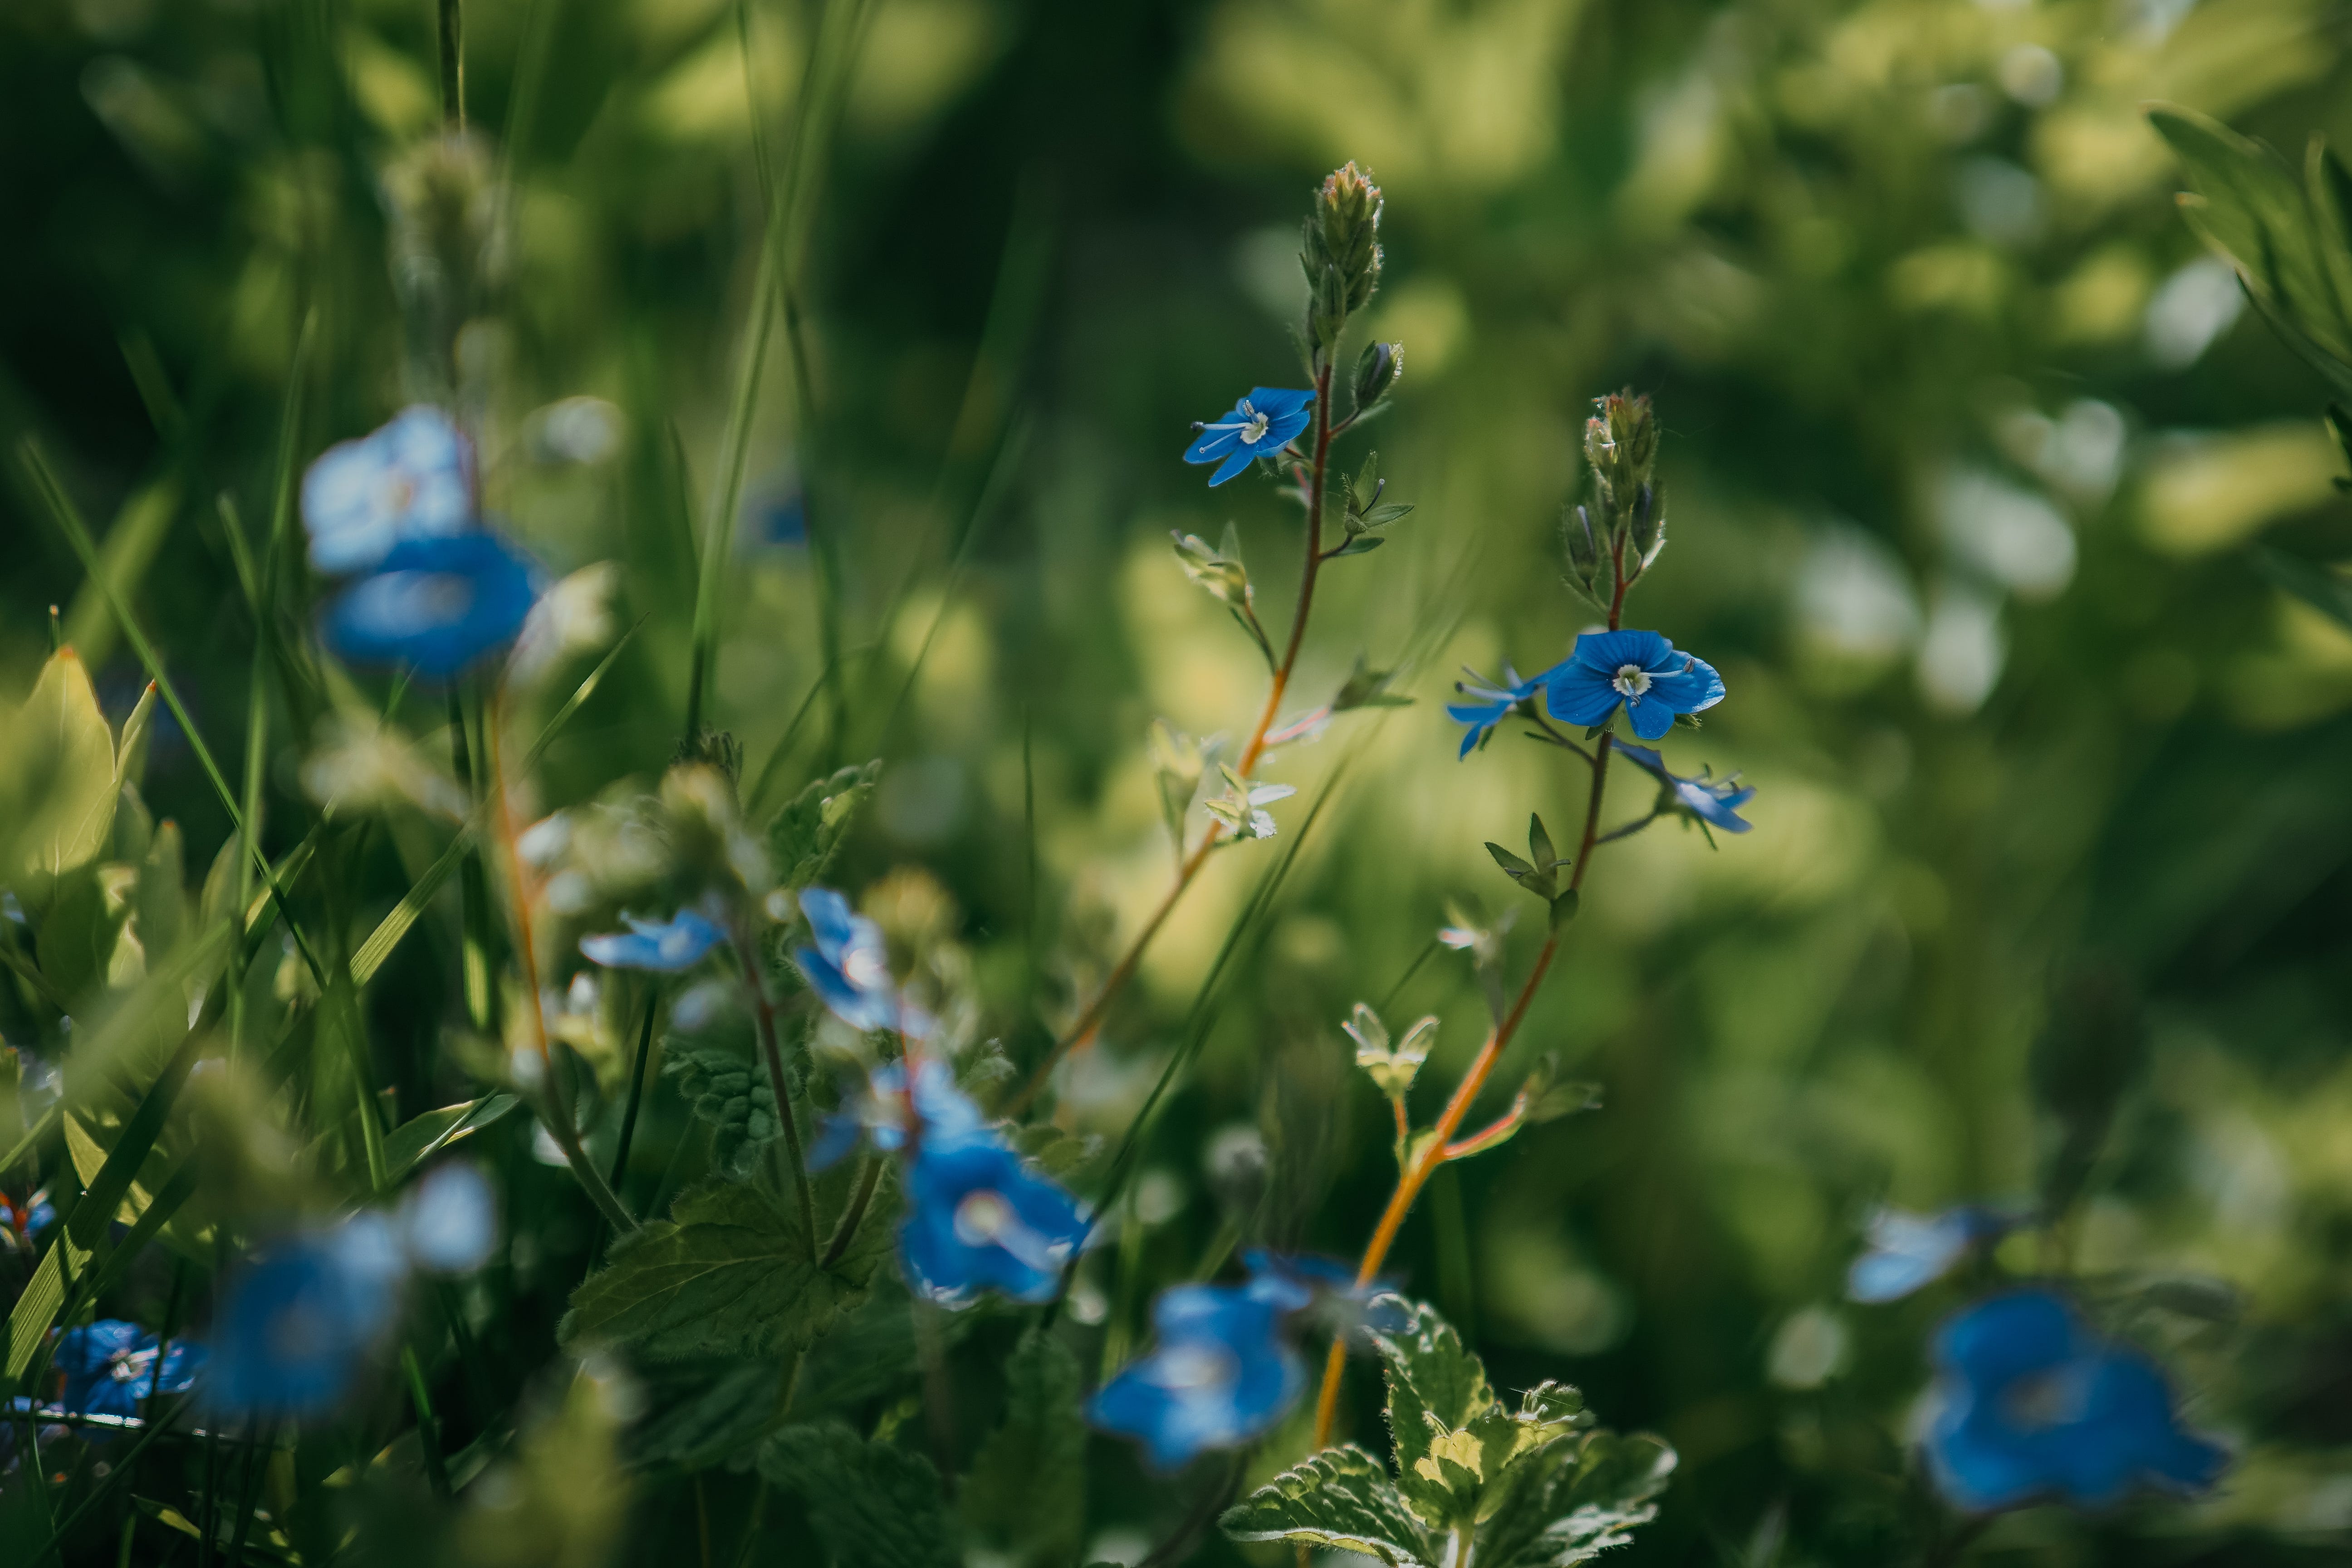
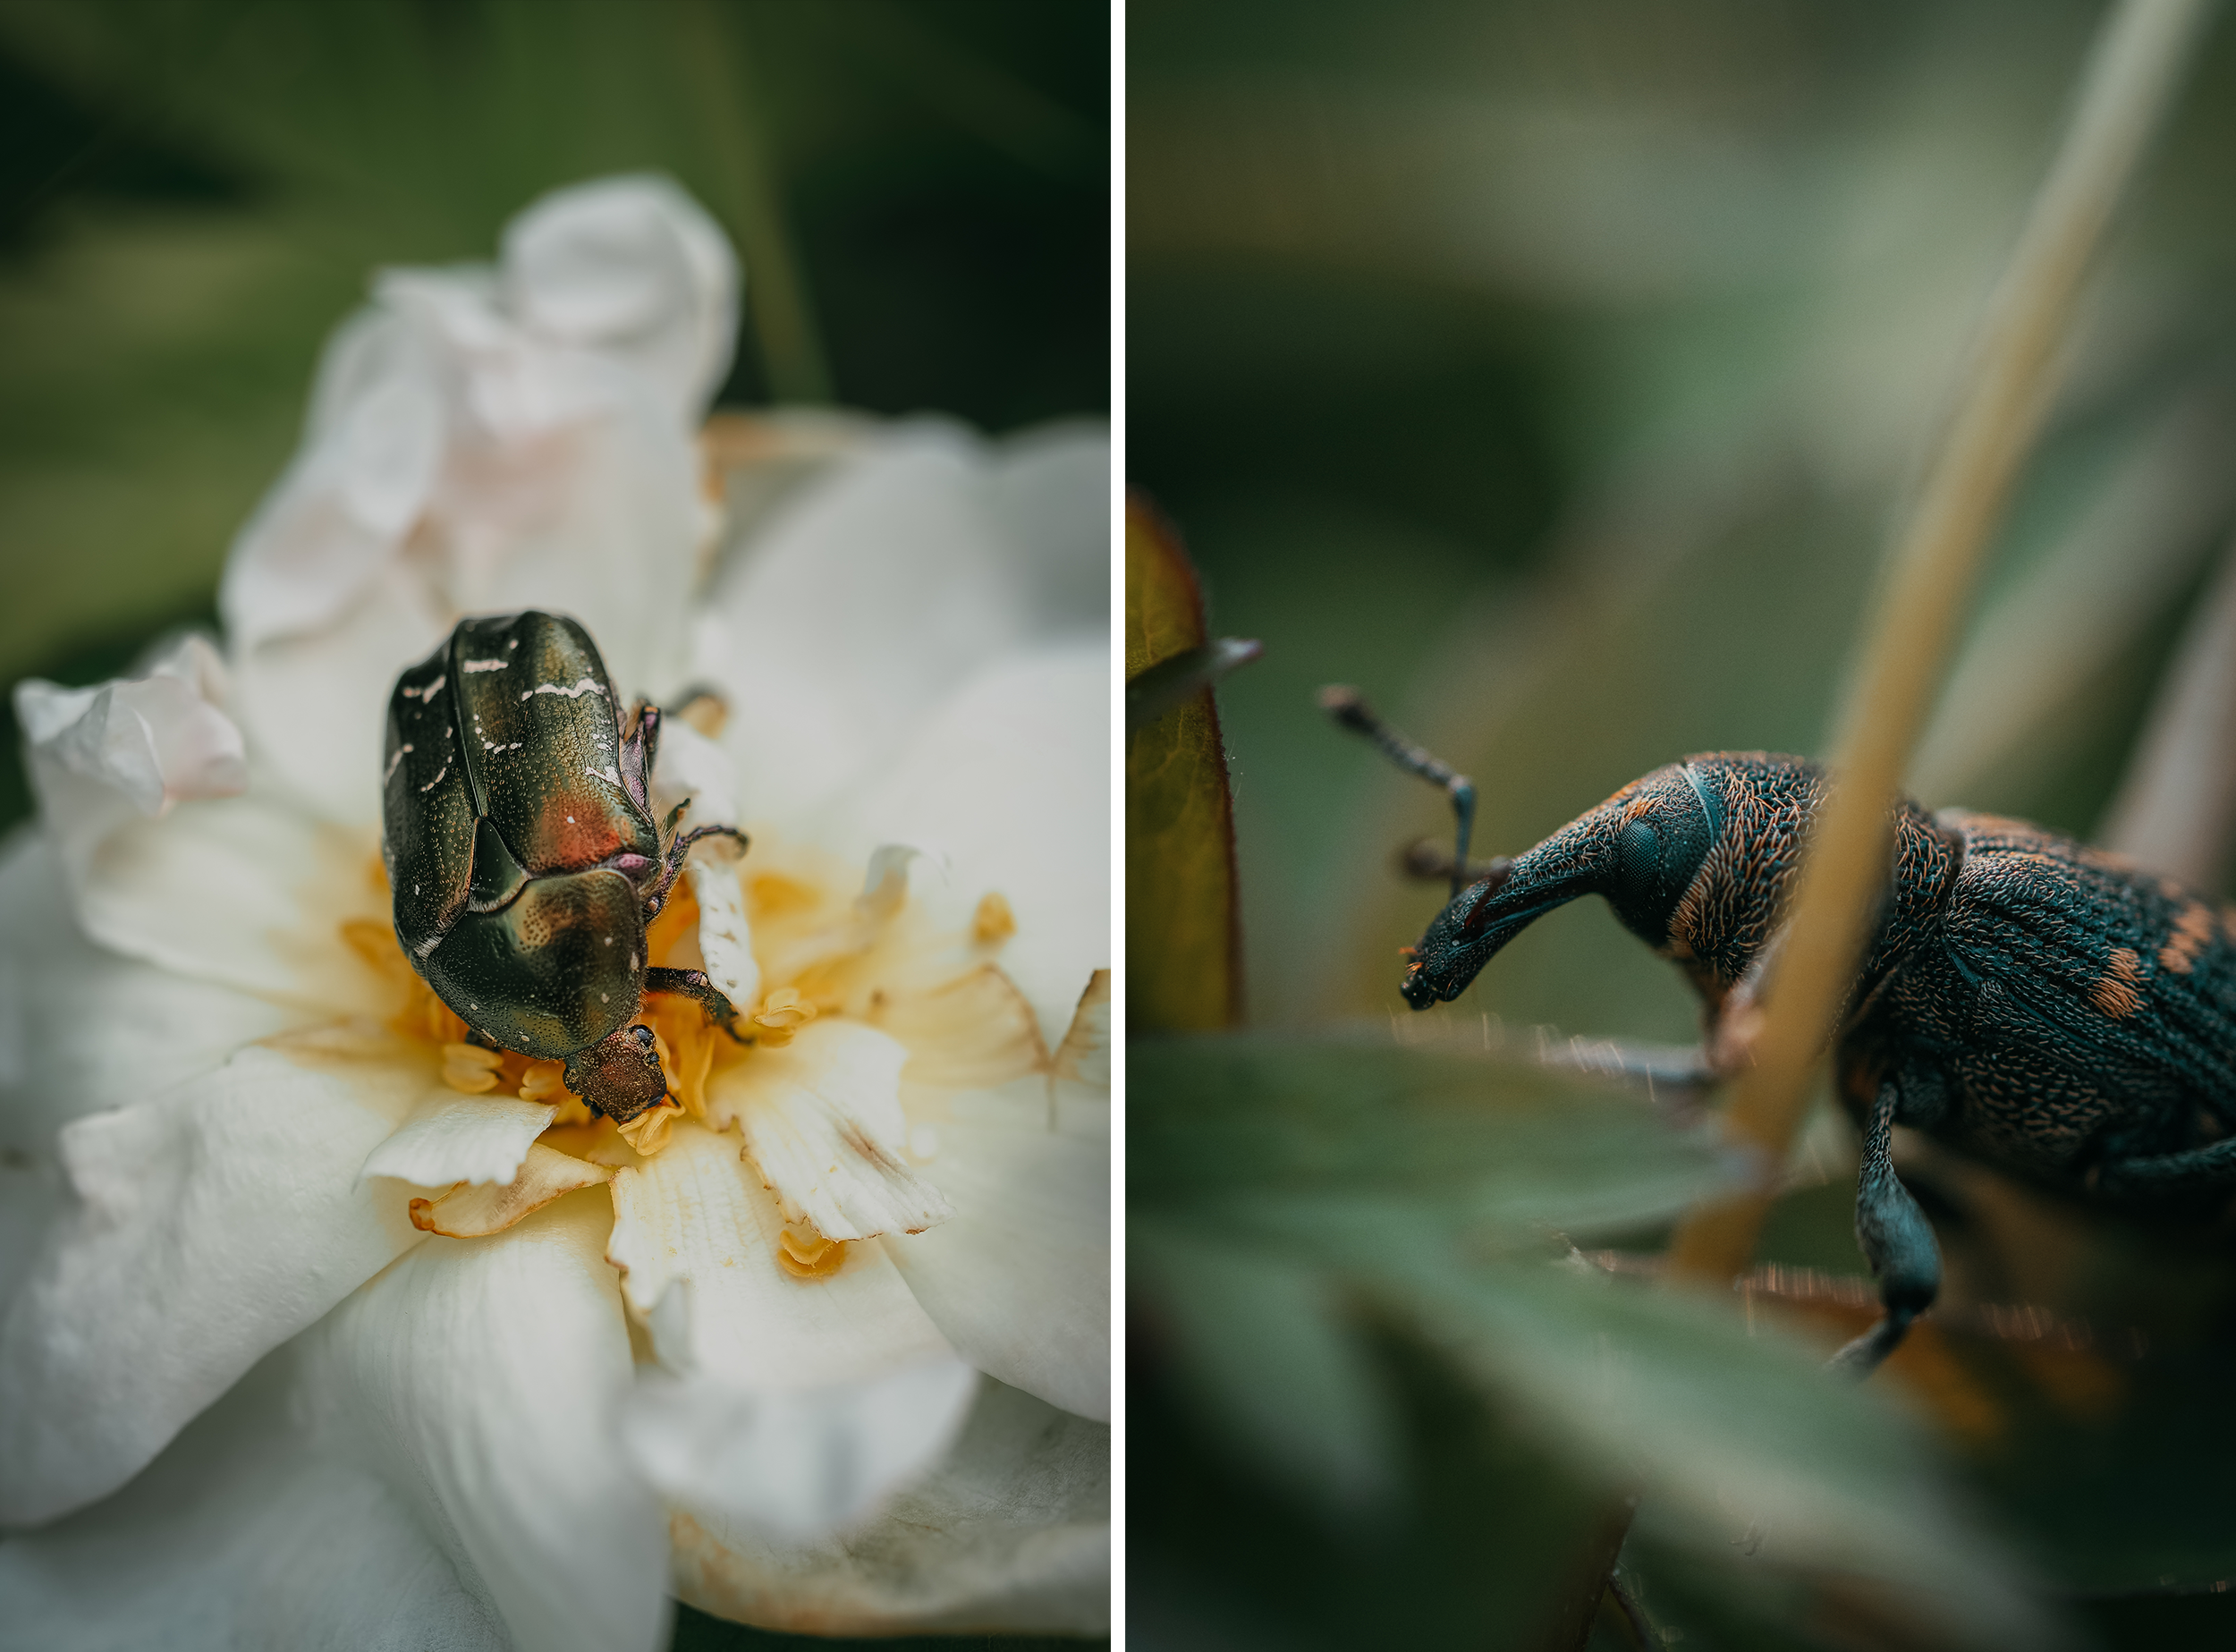
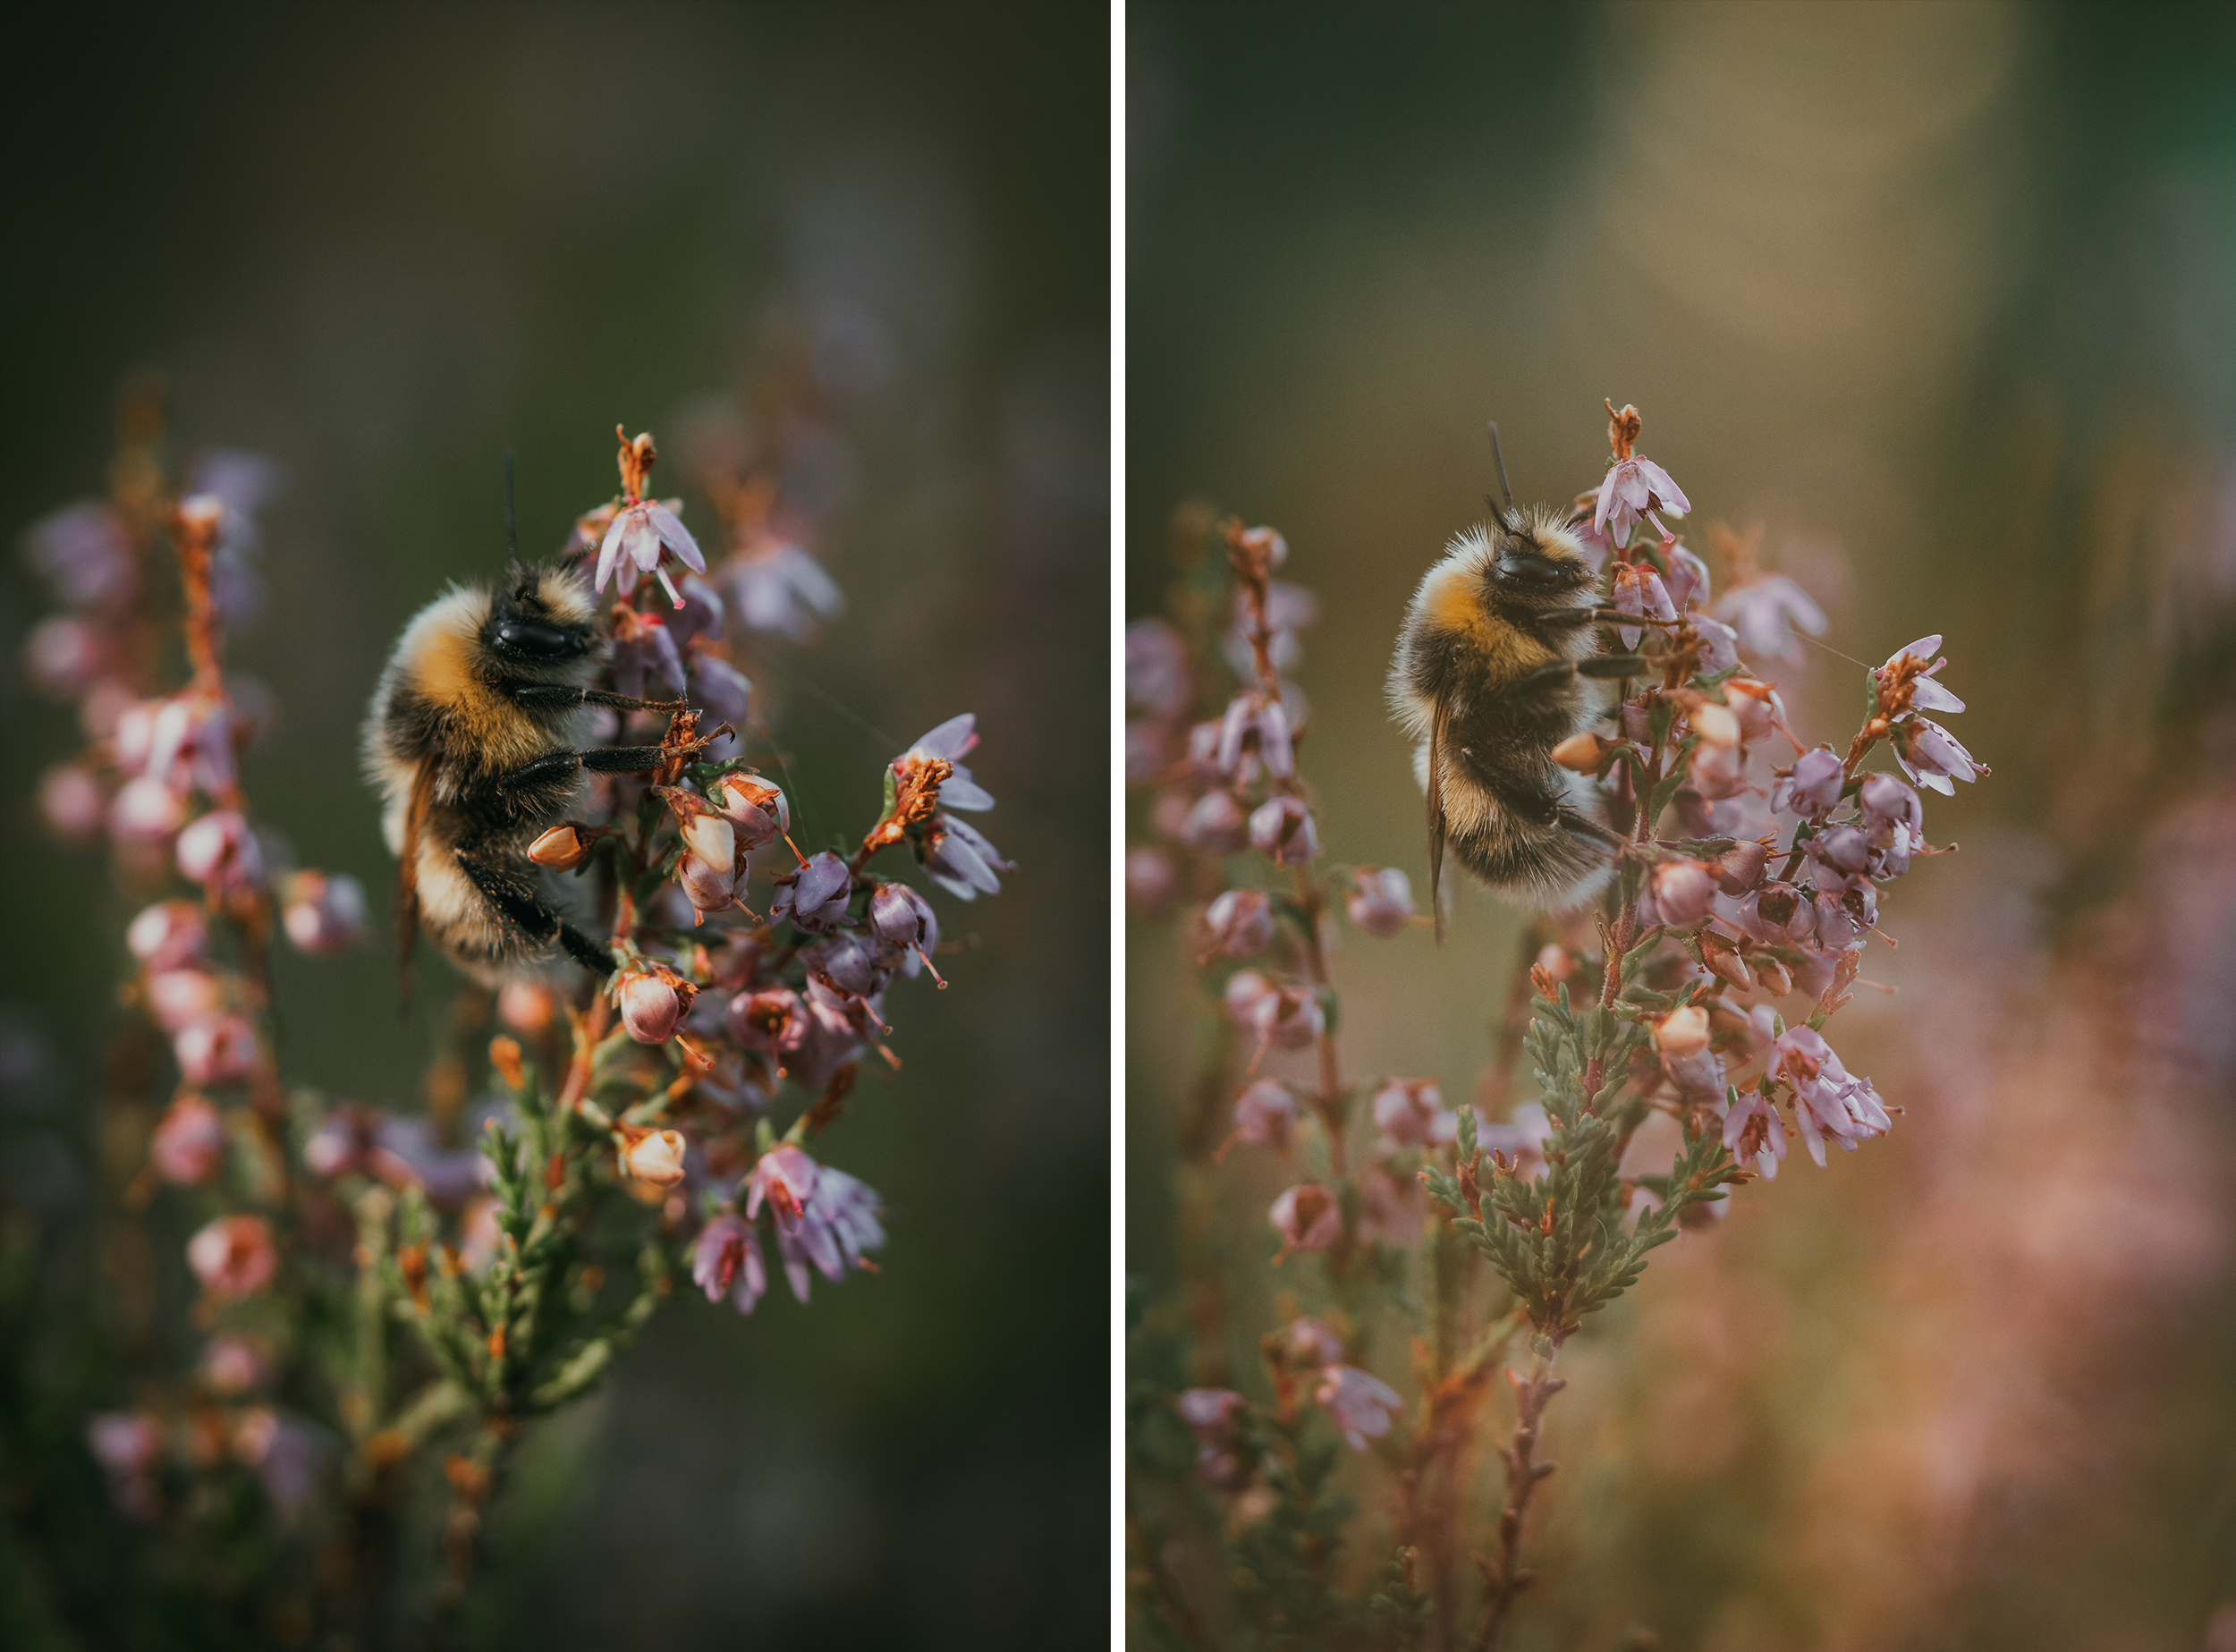
Go low - Capture a different perspective
Normally, when we walk past pretty flowers, it’s easy to stop and capture them from above - the way we naturally see them. But a photograph feels way more interesting when we go low with our camera and show a new perspective, a way we do not normally see flowers. It draws views in to your image, because it’s novel and something they want to look at longer.
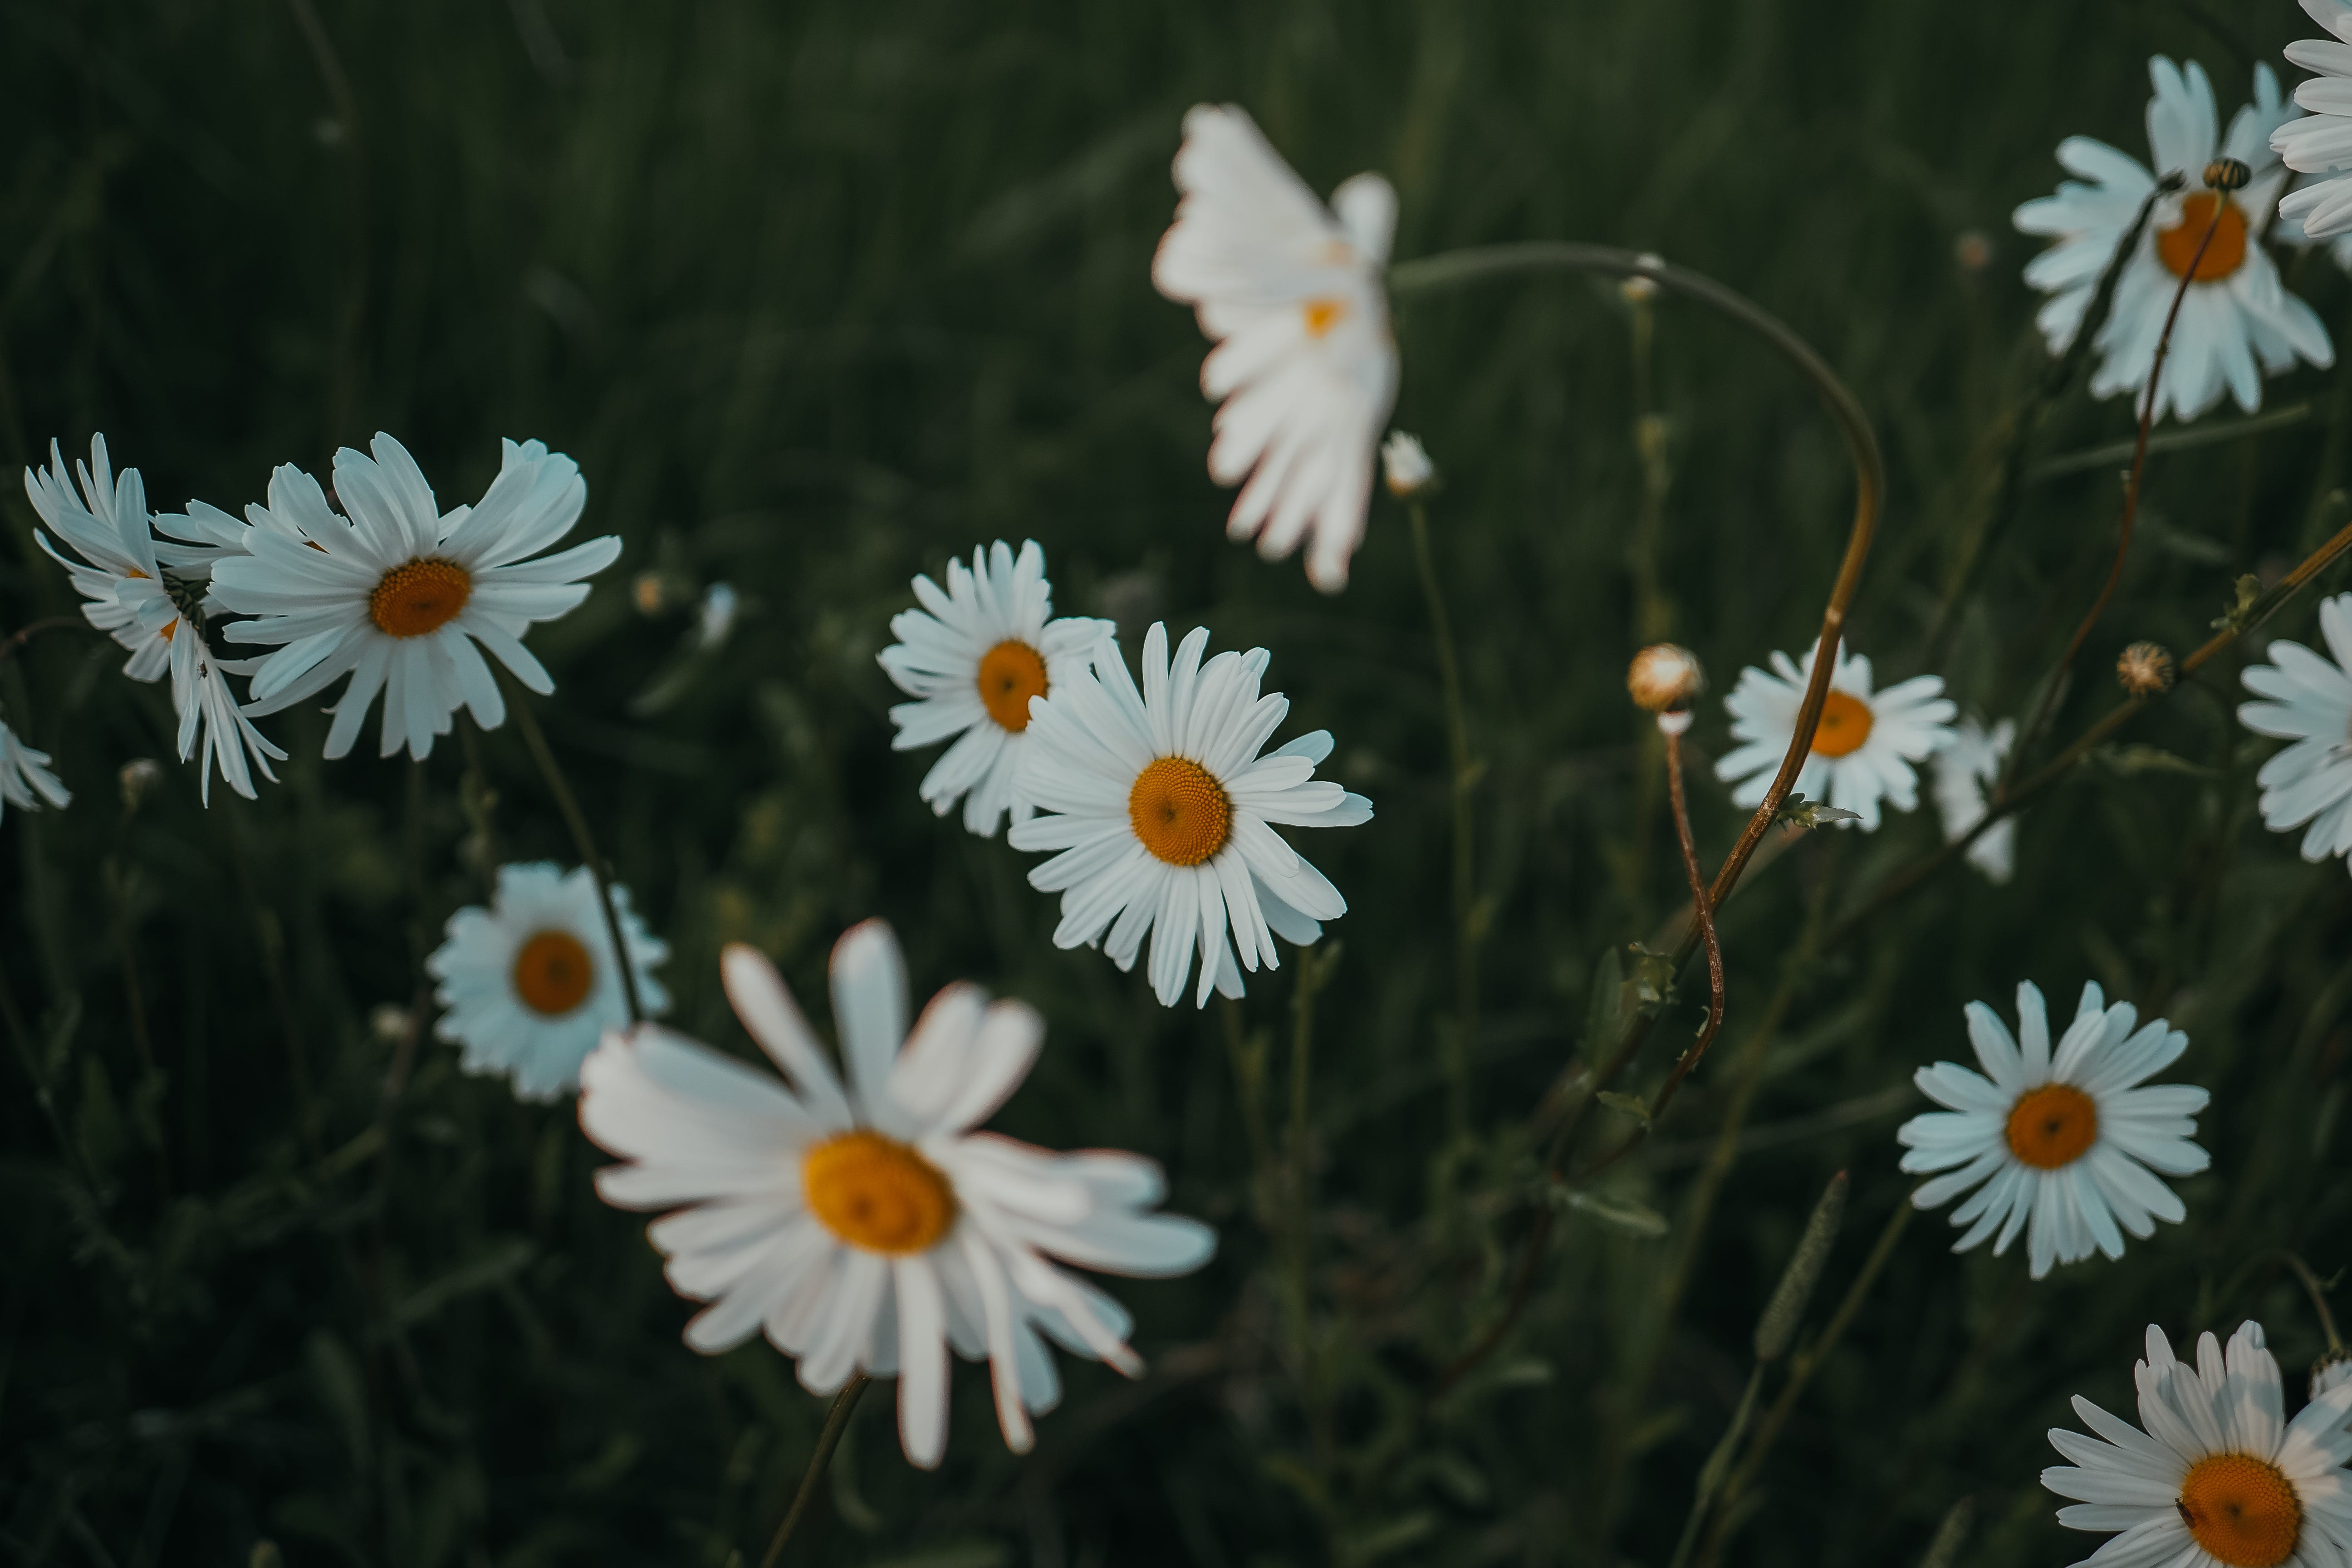
Going low also helps with the hars sunlight. If you move your camera into the thick of it, taller grass and flowers will help shade your subject. As a bonus, these images make you feel like you are in a magical, botanical landscape.
I find going low really effective for photographing insects as well, once again it helps us see them in a new way that we normally don’t. Perhaps it can even help us understand them better.
As a child I was quite scared of insects, mostly wasps and bees, but would definitely let out a loud, shrill yelp and run away from most things that came too close or landed on me. But, as I picked up photography, I found them enticing. Slowly I moved closer to them with my camera, and looking through the viewfinder almost felt like a protective barrier between me and them. As I have gotten to know them through photography, I am no longer scared.
If you like the way I edit my images, I have to preset packs for sale here
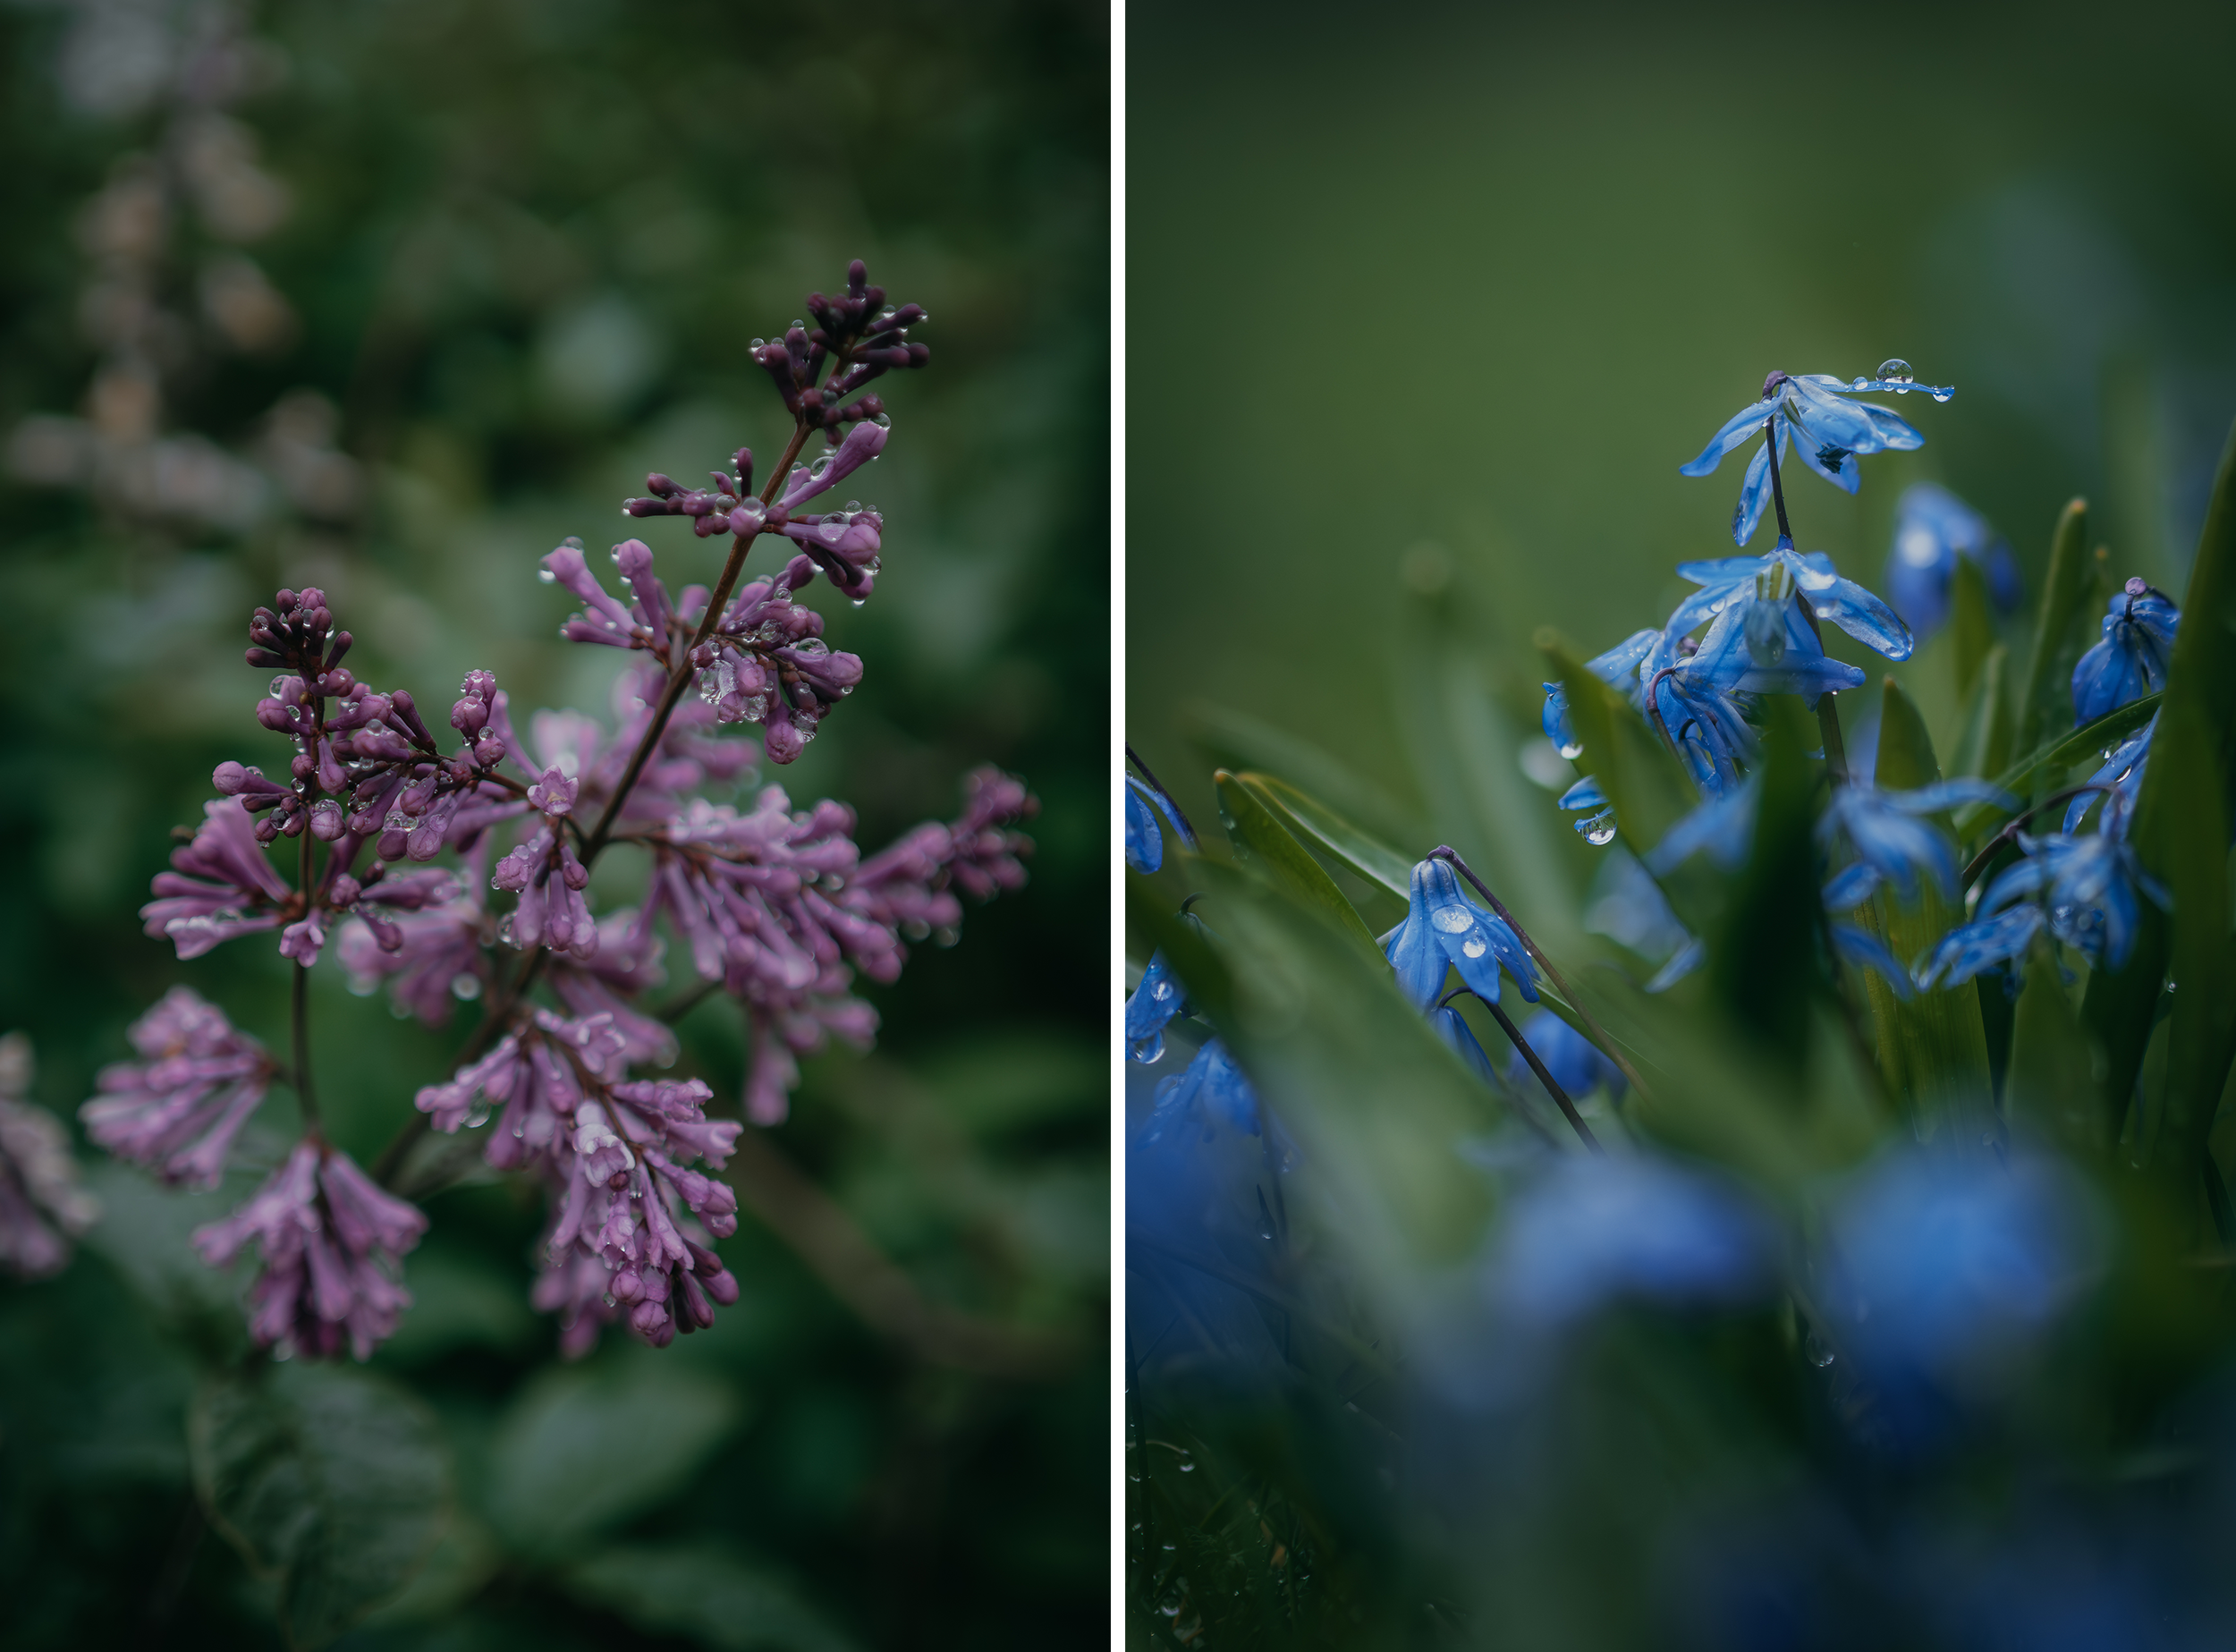
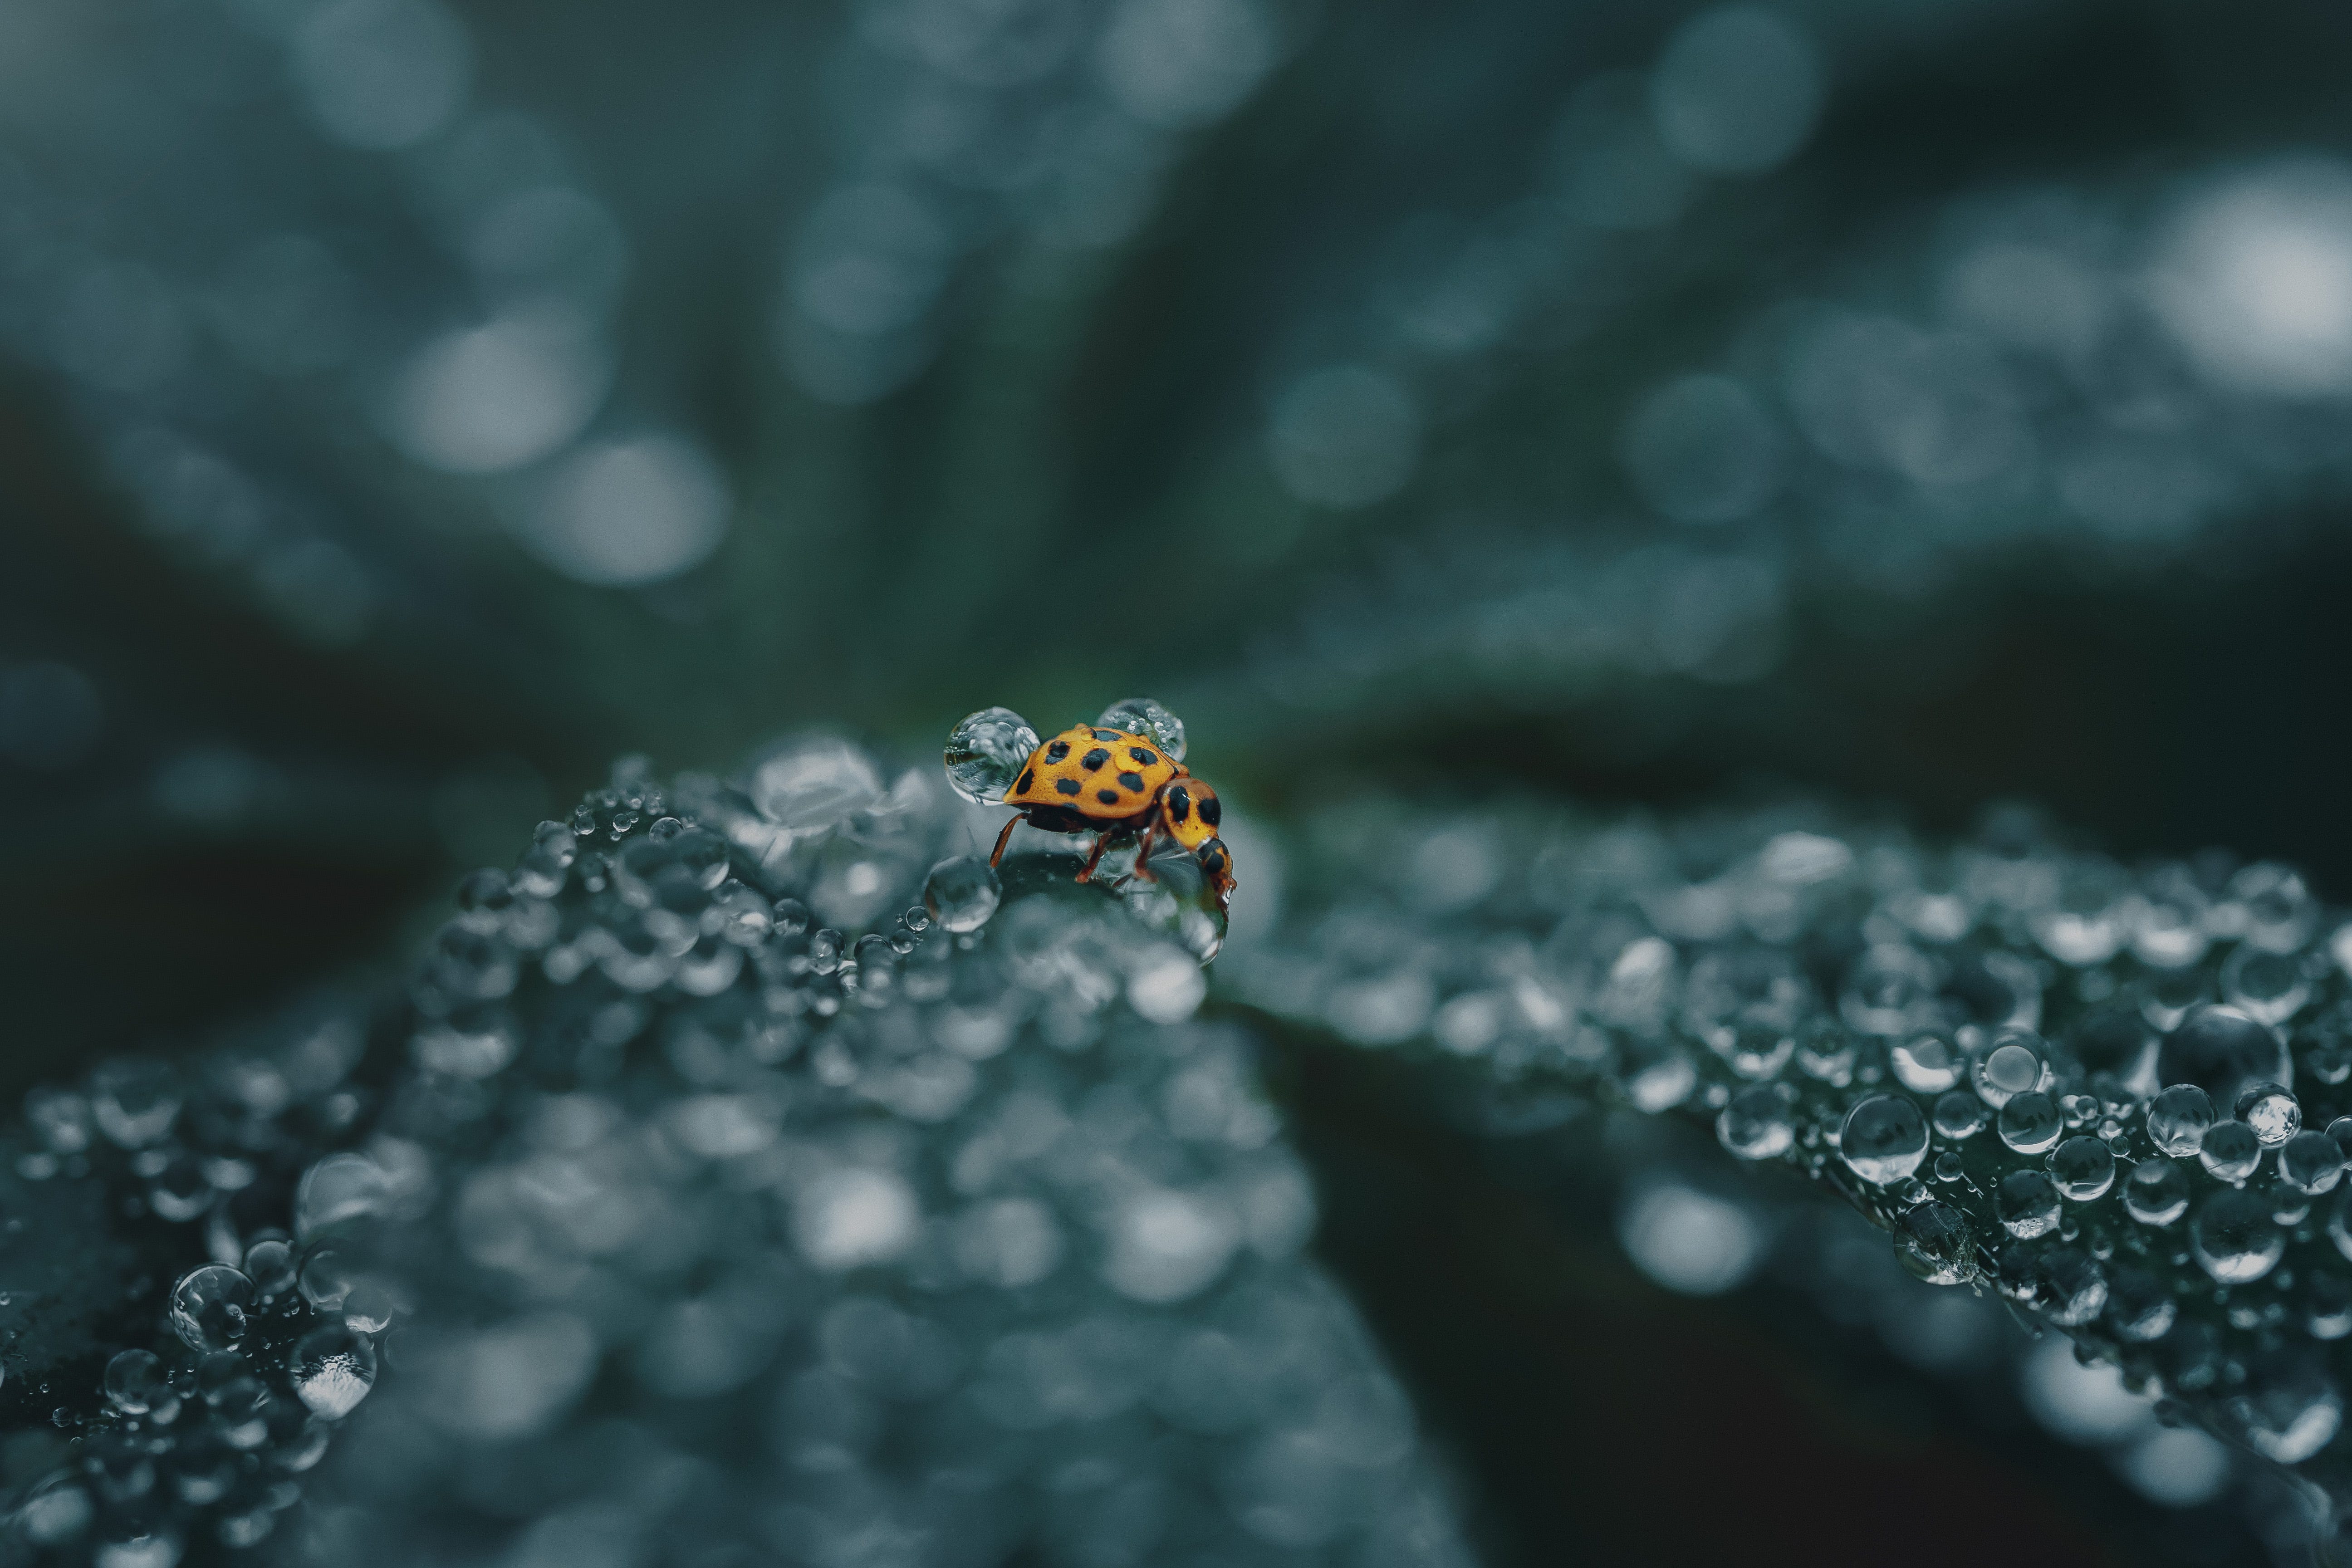
Use the rain
Another way to work around harsh sunlight, if you can’t shoot during golden hour, is of course to shoot when it rains. Because I use OM System gear, it’s all weather sealed and I can be out in the rain. If you can’t, head out shortly after while the drops are still lingering. Read more about the gear I use here:
In my camera bag

In this post I am sharing the gear I use for capturing my photos, and why I pick certain gear for certain scenarios. Each piece of gear is a link leading to the product where you can read more about them if you’re interested in the specs.
When it rains, a natural consequence of it being overcast is that the light is muted and soft, and flowers and plants are (for the most part) gorgeous when they’re wet. When it has rained you can find droplets captured on petals, and the colors and greenery really pops in a different way when saturated.
Shoot through
One of the photography techniques I use the most, that I picked up while interning for a food -and lifestyle photographer named Anna Kern, was to shoot through things. She often had me hold plants and grass in front of her lens while she was photographing everything from food and still lives to portraits. It’s a simply thing that has stayed with me ever since.
What do I mean by shooting through? Well, simply put, to have something close to your lens, that is out of focus. We call it foreground blur. It can be grass, flowers, a sheer fabric or even your own hair (if it’s long enough!).
This technique is good for a few reasons:
It adds depth to an image, even when the subject is simple
It helps lead the viewers eye to where you want to look
It can be used to hide something unwanted: I often find a tree, bush or flower that I can place myself behind in a way where it can help cover a street sign, car, or other man-made, ugly, structure.
Shooting through something sheer or shimmering can soften an image and add interesting effects.
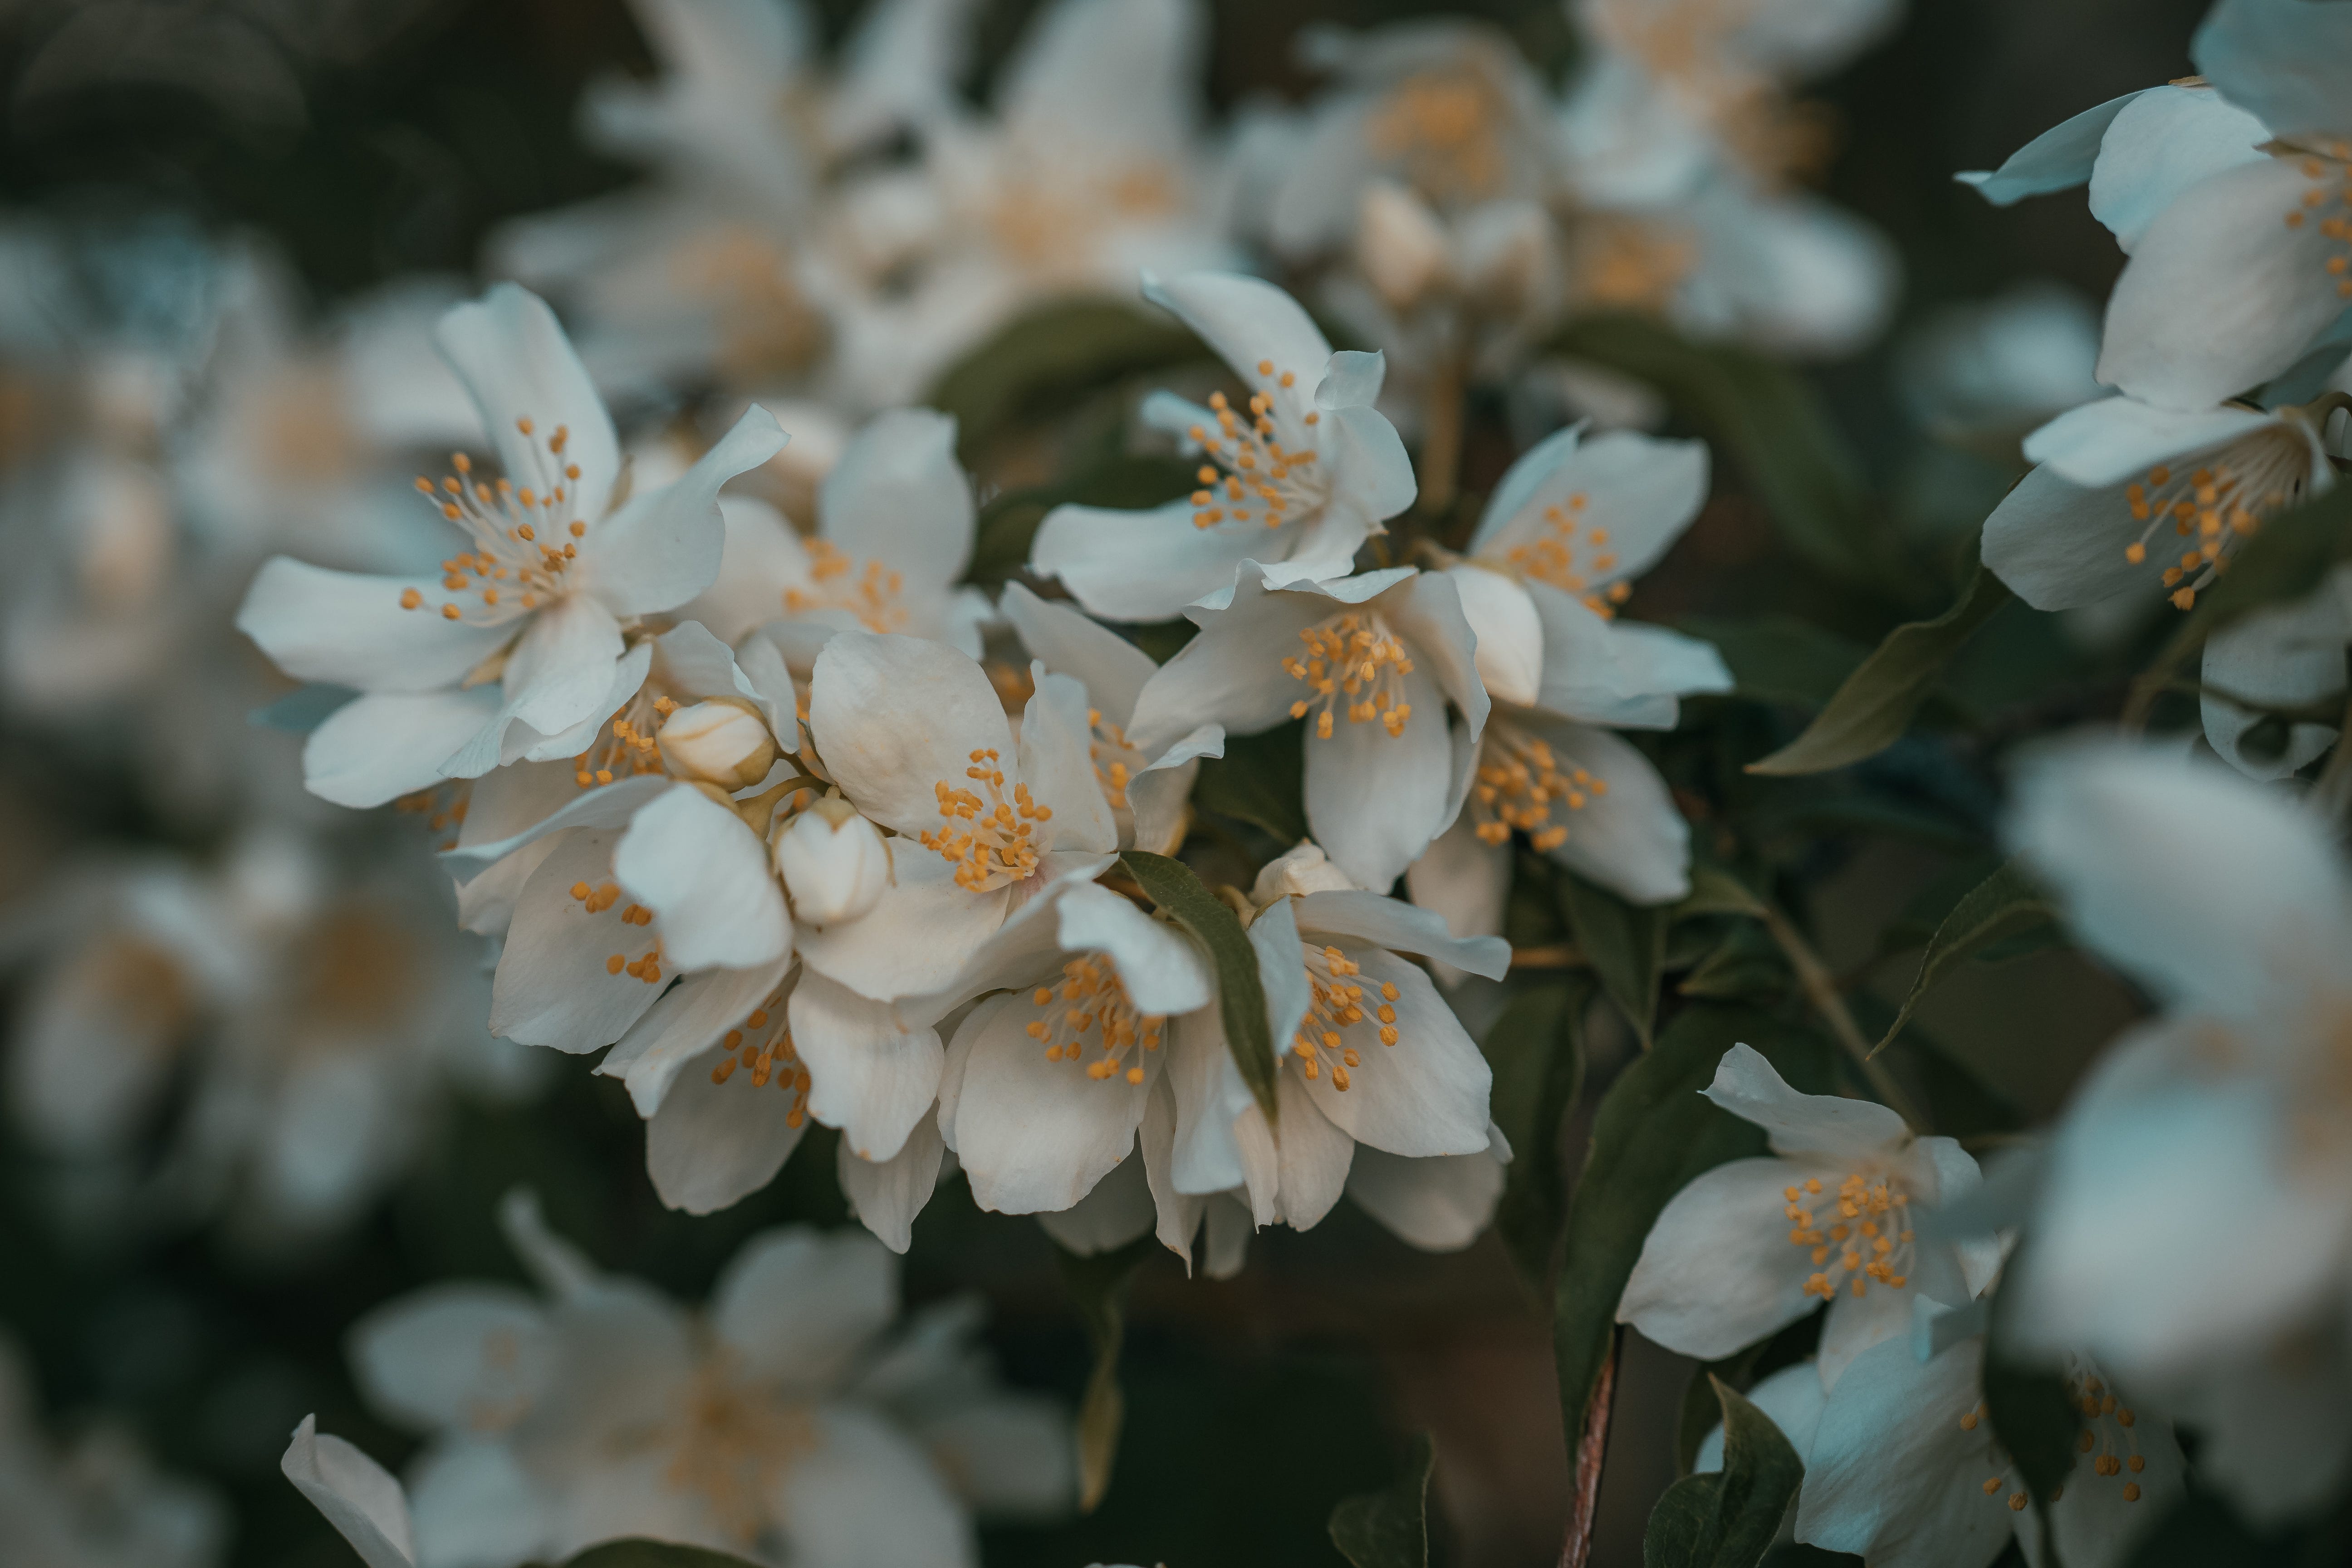
If you scroll through the photos in this post, you will notice I often have something blurry in the foreground. In fact, if you follow me, you will notice it in a lot of my photographs in general. Regardless of it it’s nature, food or portraiture, I use this trick a lot.
A ‘normal’ photo on the left, and on the right I had some of the thin flowers really close to the lens, and they moved a bit in the wind so the motion blur further softened the look - giving the entire image a more soft, dreamy feel to it. Both photos are good, but very different from one another!
If you are based in the EU and considering buying OM gear,
let me know and I can provide a 10% discount code for you ♥︎
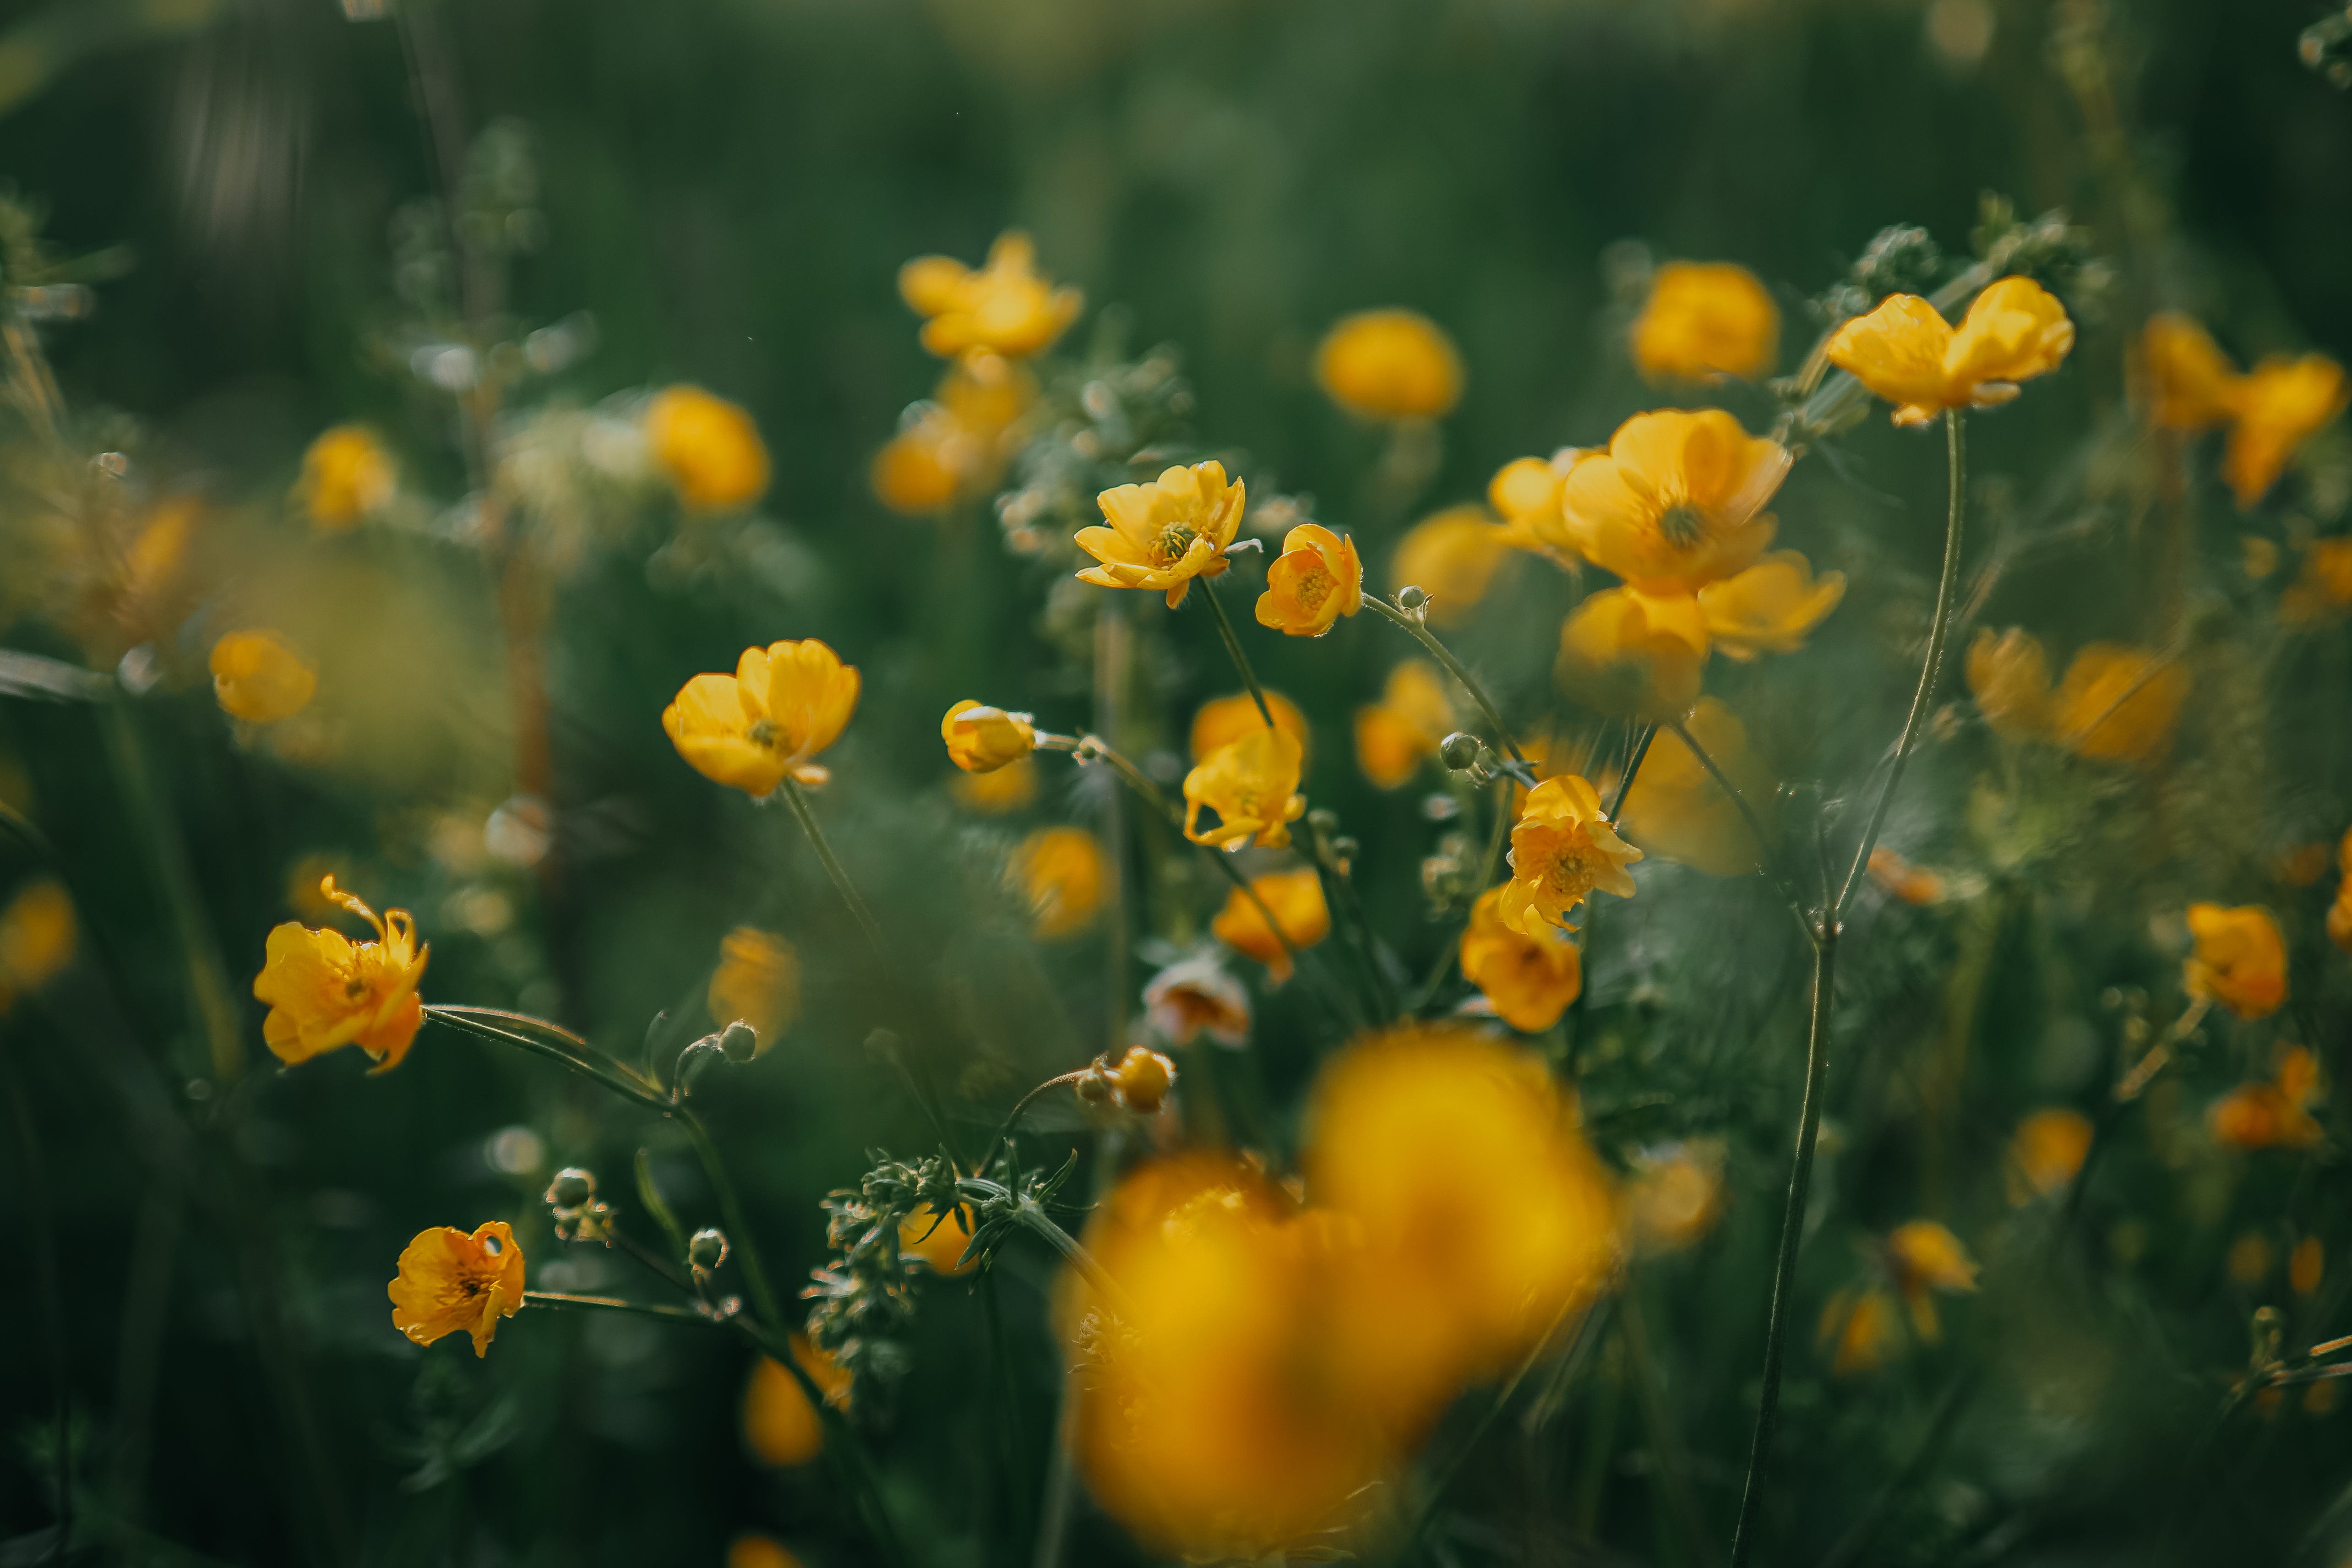
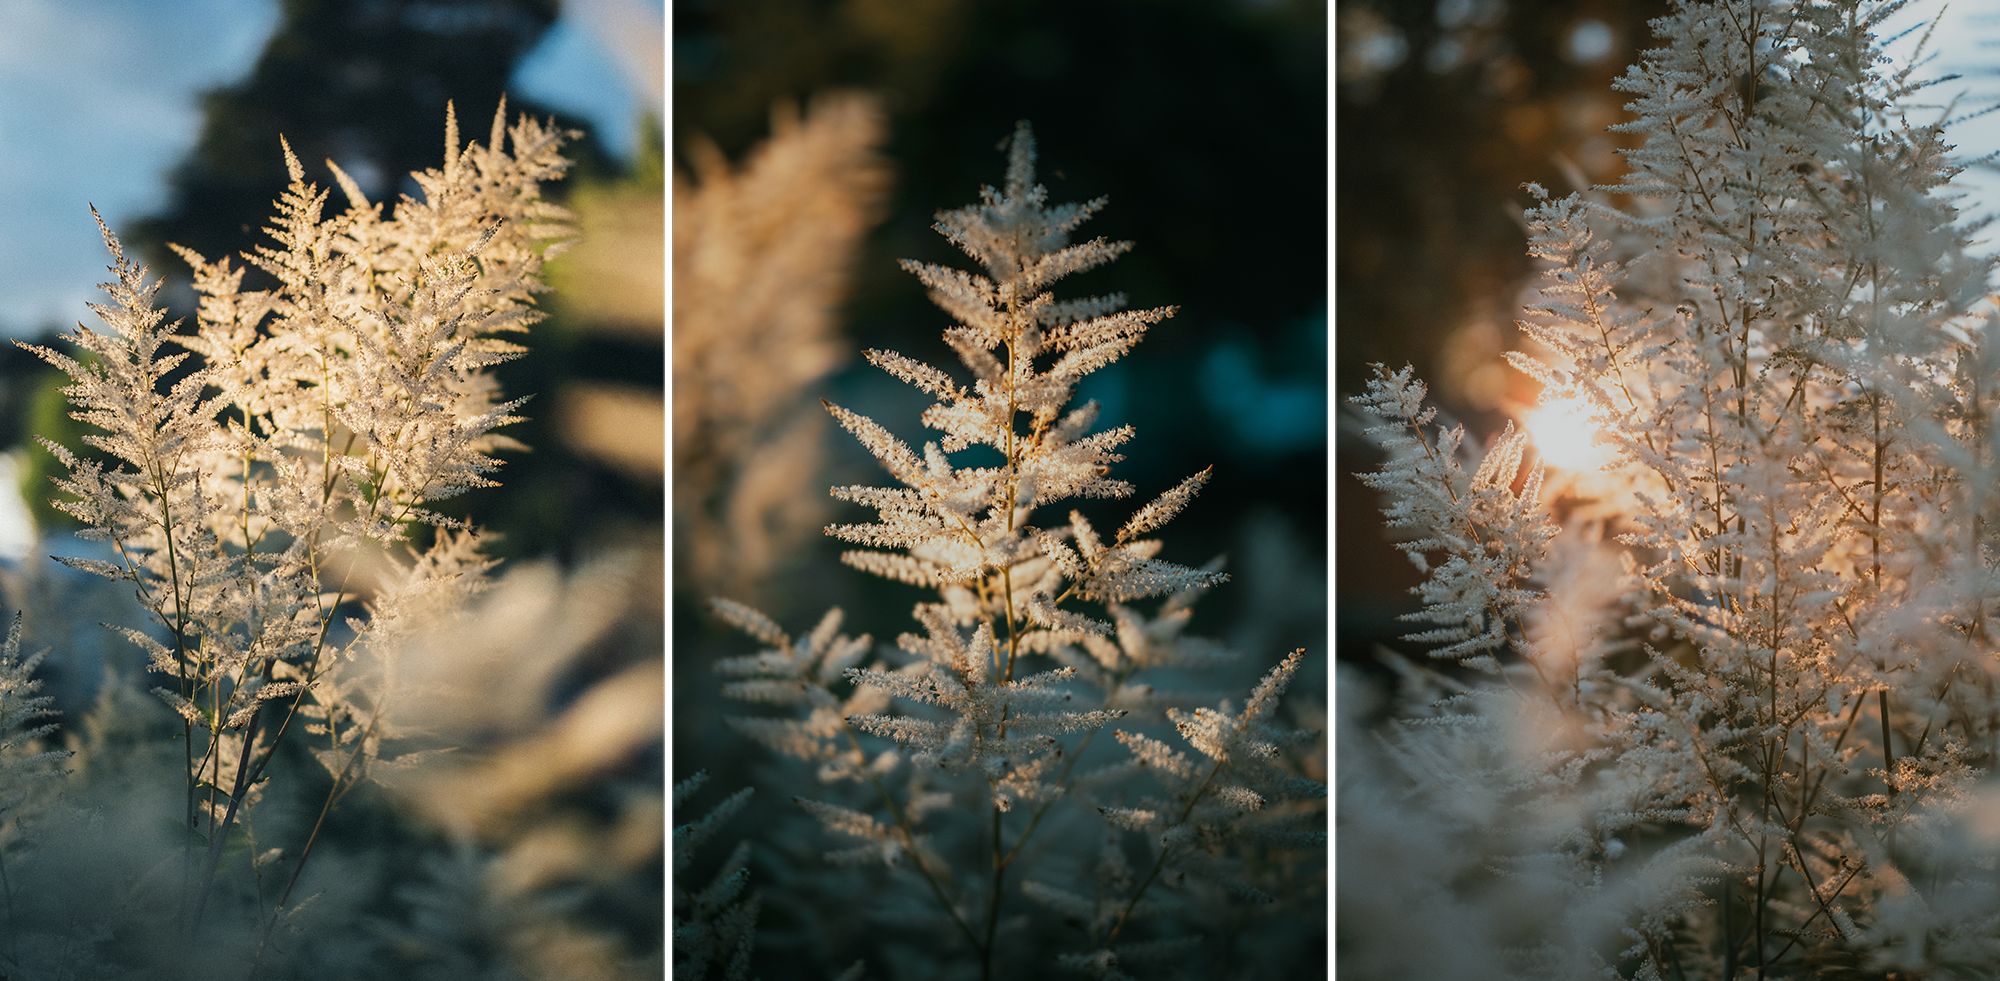
Move around your subject
Once we find a subject and take a picture, it’s easy to feel done and move on. I do this as well. But I am working on slowing down and taking my time.
What does the subject look like from different angles? How does the background change as I move around my subject, and what looks best for the photo? Changing where you stand changes the angle of the light hitting your subject as well. So practice doing this, and really looking at your subject from different angles to find the one you like the most.
Here is the same subject photographed from three very different angles:
And now, for my final trick
Combine it all! These creative tools blend seamlessly for me.
I can be hunched down low, exploring my angles while shooting through something during golden hour. They work really well on their own, but are incredibly strong together. As with anything, the more you do it, the easier it becomes. For me it is some sort of muscle memory, I do not actively think about that I am doing this - it’s just how I see the world now.
I truly hope this felt inspiring and educational, and that you feel ready to head out with your camera and capture spring (and anything else) using these tools.
Shout out to OM System for giving me a platform to meet people live and educate within a topic I am very passionate about.
Live slow, stay wild // Rania
Grain & Fern is a free, reader-supported publication. To receive new posts
and support my work, consider becoming a subscriber, upgrading
your subscription or simply treating me to a cup of coffee.